
Canning tomatoes at home comes down to three things you can’t skip: added acid in every jar, a tested processing time for the style you’re making, and enough boiling water over the jars for the whole time. Get those right and the rest is ordinary kitchen work, mostly peeling and stirring.
Below, you’ll can crushed tomatoes from start to finish, since that style is the most forgiving and the most useful in cooking, and see what changes if you’d rather put up whole or halved fruit.
At a glance
- Method: boiling-water canner (a pressure canner also works).
- Acid per jar: 2 tablespoons (30 ml) bottled lemon juice or ½ teaspoon citric acid per quart; half that per pint. Never optional.
- Crushed tomatoes: ½-inch (1.3 cm) headspace; process pints 35 minutes, quarts 45 minutes at up to 1,000 feet (305 m).
- Tomatoes needed: about 2¾ to 3 pounds (1.25 to 1.4 kg) per quart jar.
- Time: plan on 3 to 4 hours for your first canner load of 7 quarts.
Why Tomatoes Need Added Acid
Tomatoes sit right on the line between high-acid and low-acid foods. The dividing point is a pH of 4.6.
Below it, the bacterium that causes botulism can’t grow in a sealed jar, so a boiling-water bath is enough. Above it, only the higher temperature of a pressure canner is safe.
Many tomatoes test just under that line, but some varieties, and fruit that is overripe, shaded or picked from a dying vine, can drift above it, and you can’t taste the difference.
Adding a measured amount of acid to each jar removes the guesswork. It applies to every tomato, including heirlooms, which aren’t any less acidic than modern varieties despite what you may have heard.
Per quart jar, add one of these: 2 tablespoons bottled lemon juice, ½ teaspoon (2.5 ml) citric acid, or 4 tablespoons (60 ml) vinegar of 5% acidity.
Per pint (473 ml), use half: 1 tablespoon (15 ml) lemon juice, ¼ teaspoon (1.25 ml) citric acid or 2 tablespoons vinegar.
Use bottled lemon juice, not fresh. Commercial juice is standardized to a consistent acidity, while the acidity of a fresh lemon varies with its ripeness.
Citric acid, sold in the canning aisle, has no flavor beyond tartness, which makes it my pick for tomatoes. Vinegar works but can leave a pickled edge.
If the jars taste sharp when you open them, a pinch of sugar at serving time fixes it.
Choose Your Style: Crushed, Whole or Sauce
Each style has its own tested headspace (the gap you leave between the food and the rim of the jar) and processing time, so decide before you start. Times below are for a boiling-water canner at up to 1,000 feet (305 m).
| Style | Headspace | Pints | Quarts |
| Crushed (no added liquid), hot pack | ½ inch | 35 min | 45 min |
| Whole or halved, packed in water, raw or hot | ½ inch | 40 min | 45 min |
| Whole or halved, packed in tomato juice or raw with no liquid | ½ inch | 85 min | 85 min |
| Tomato sauce, thin or thick, hot pack | ¼ inch (6 mm) | 35 min | 40 min |
Above 1,000 feet, add time. Water boils at a lower temperature as elevation rises, so the jars need longer.
For all four styles, add 5 minutes at 1,001 to 3,000 feet (305 to 914 m), 10 minutes at 3,001 to 6,000 feet (914 to 1,829 m), and 15 minutes above 6,000 feet.
If you don’t know your elevation, a mapping app will show it, or your local Extension office can tell you.
Crushed tomatoes are where I’d start. You cut the tomatoes into quarters and cook them briefly, so there’s no fussing with whole fruit, and the jars go straight into soups, chili and pasta sauce.
Whole or halved tomatoes in water look lovely and hold their shape for dishes where you want visible pieces, but they’re watery in the jar.
The two no-added-liquid whole packs give the best flavor of the whole styles, at the cost of an 85-minute boil.
Sauce takes the most tomatoes and the longest stove time, because you cook it down by a third to a half before it goes in jars.
Choosing and Buying Tomatoes
Choose firm, ripe, unblemished tomatoes. Skip any with soft spots, cracks, mold, blossom-end rot or insect damage, and never can fruit from vines that are dead or killed by frost.
Those conditions lower the fruit’s acidity, and the standard dose of added acid isn’t enough to make up for it. Green tomatoes are fine; they’re more acidic than ripe ones and can be canned with any of these methods.
Paste tomatoes such as Roma, San Marzano and Amish Paste are the best choice for crushed tomatoes and sauce. They have more flesh and less juice and seed, so they cook down faster and fill jars with less liquid on top.

Slicing tomatoes work too, especially for whole or halved packs; they’ll just give you more juice. A mix of whatever is ripe is perfectly fine.
Budget roughly 3 pounds of tomatoes per quart for whole packs and 2¾ pounds for crushed, or about 1½ pounds (680 g) per pint.
A full canner load of 7 quarts takes around 21 to 22 pounds (9.5 to 10 kg). A 25-pound (11 kg) box from a farm stand makes about 9 quarts of crushed tomatoes, enough for one full canner load and a couple of jars for a second.
👉 Learn more about 76 Best Tomato Varieties to Grow: Top Picks for Every Garden
Equipment and Ingredients
You don’t need a dedicated canner, but you do need a pot deep enough to keep jars covered by 2 inches (5 cm) of water at a full boil. Most tomato processes run longer than 30 minutes, and that is the depth recommended for those.
A quart jar is about 7 inches (18 cm) tall, so with a rack, 2 inches of water on top and room to boil, you need a pot at least 11 to 12 inches (28 to 30 cm) deep. Measure yours before canning day.
On an electric range, the pot needs a flat bottom and should be no more than 4 inches (10 cm) wider than the burner, or the jars won’t heat evenly.
- Boiling-water canner or deep stockpot with a lid and a rack, so jars don’t sit directly on the hot bottom.
- Canning jars (pint or quart) with no chips or cracks, plus new flat lids and screw bands.
- Jar lifter, which grips a wet, hot jar far more securely than kitchen tongs.
- Wide-mouth canning funnel, headspace tool or ruler, and a clean damp cloth for wiping rims.
- A second large pot for cooking the tomatoes, plus a pot of boiling water and a big bowl of ice water for peeling.
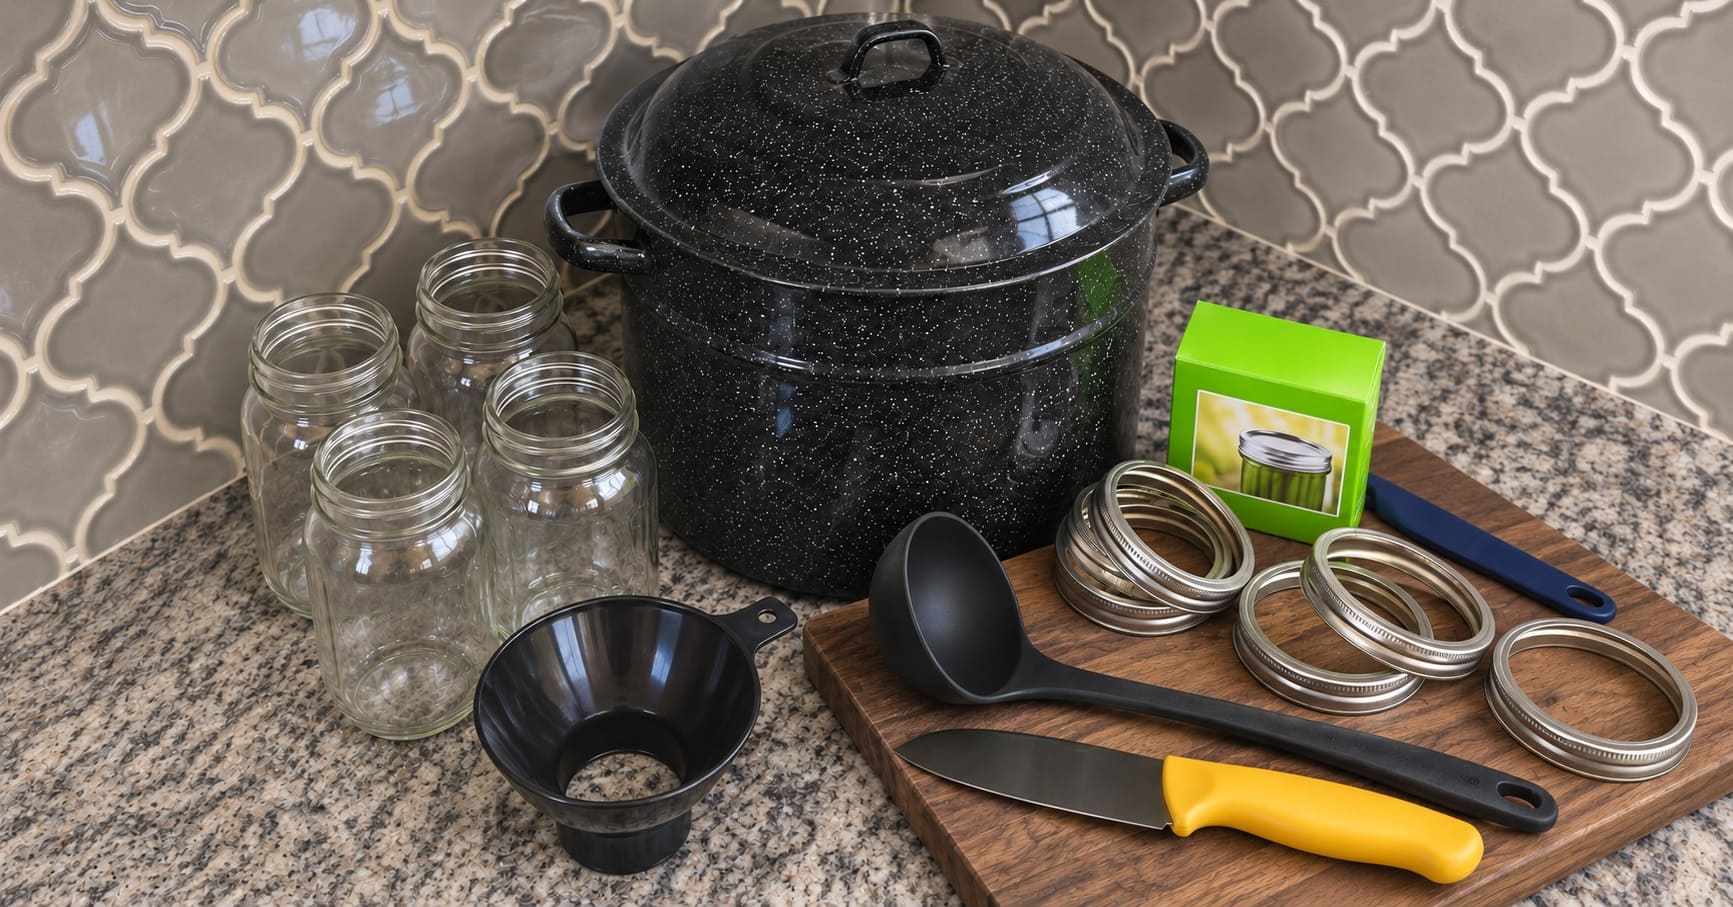
For ingredients, you need only tomatoes, bottled lemon juice or citric acid, and salt if you like it. Salt is for flavor only; add 1 teaspoon (5 ml) per quart or ½ teaspoon per pint, or leave it out. Canning salt dissolves clear, while table salt may cloud the liquid slightly.
Outside the US, where canning is often called bottling, the times in this guide were tested with two-piece mason-style lids.
If you use a different jar system, such as clip-top or rubber-ring jars, follow its maker’s instructions and your local food-safety guidance.
How to Can Crushed Tomatoes Step by Step
Read through all the steps once before you begin. The sequence matters more than speed, and things go smoothly when the canner is hot by the time the tomatoes are ready.
Get the Canner and Jars Ready
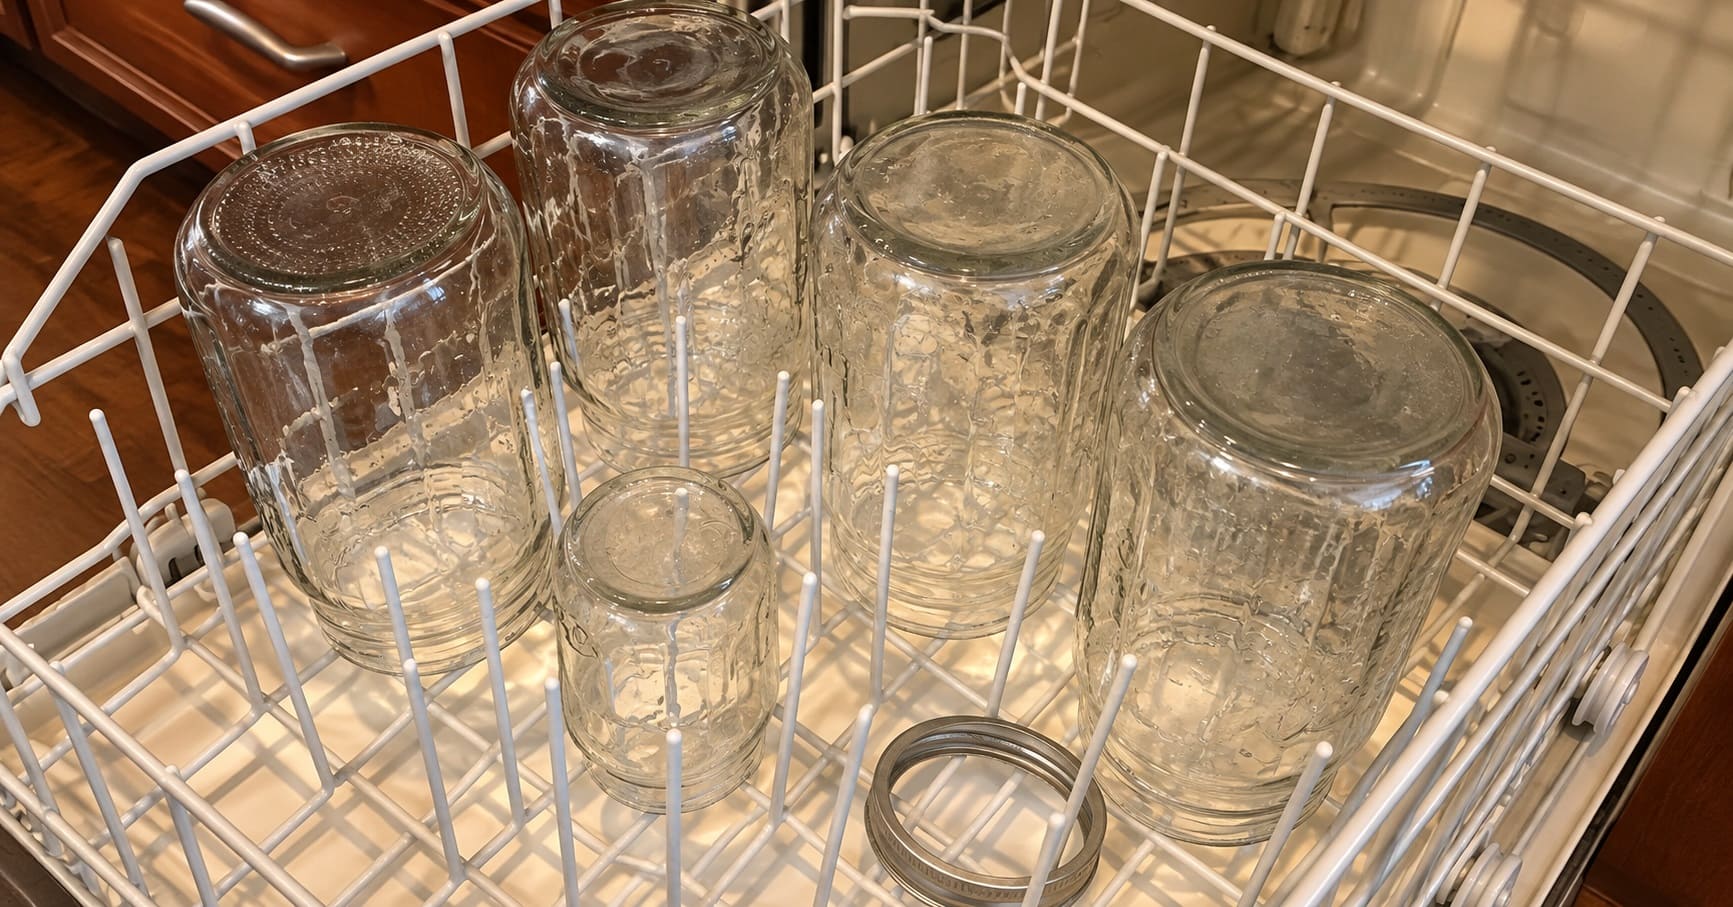
- Wash jars, lids and bands in hot soapy water and rinse them. You don’t need to sterilize jars for tomatoes, because a process of 10 minutes or longer takes care of that inside the canner.
- Set the rack in the canner, add the jars and fill the canner about halfway with water. Heat it to about 180°F (82°C), just short of a simmer. Keeping the jars in that water keeps them hot, so they won’t crack when hot tomatoes go in.
- Prepare the lids as the box directs. Many current lids need only a wash, but follow what your brand says.
Peel and Cook the Tomatoes
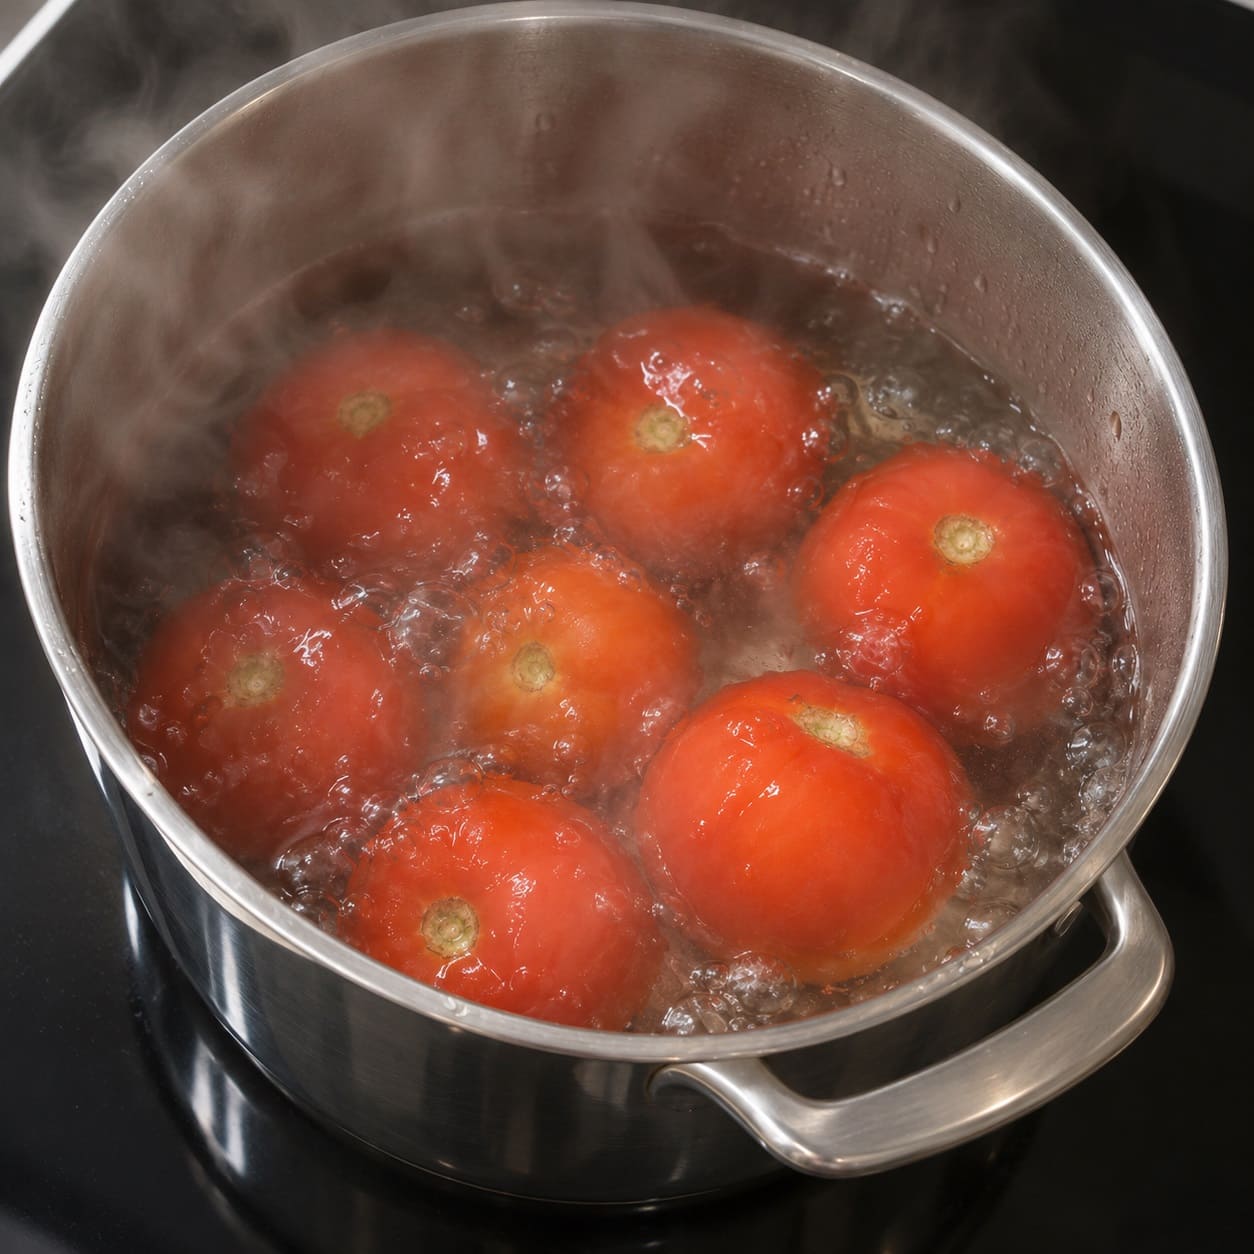
- Get a big pot of water boiling hard. Lower in a few tomatoes at a time for 30 to 60 seconds, until the skins split, then move them straight into ice water.
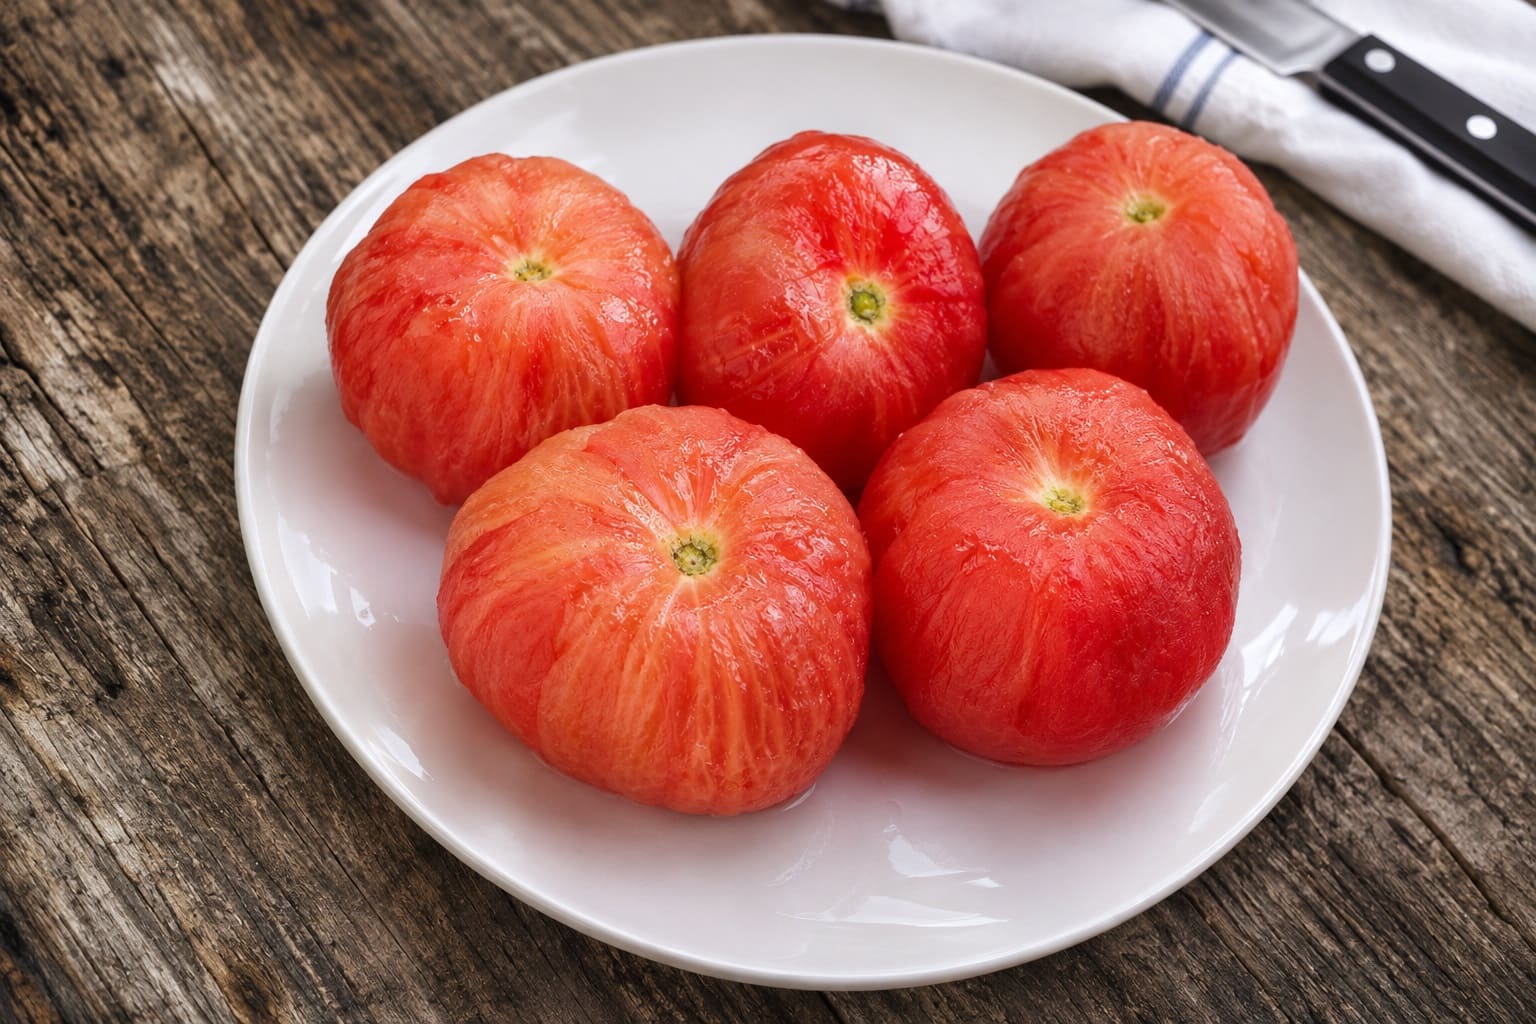
- Slip off the skins, cut out the cores, and trim away any bruised or discolored spots. Cut the tomatoes into quarters.
- Put about one-sixth of the quarters in your cooking pot over high heat and crush them with a potato masher or wooden spoon as they go in. They’ll release their juice, which keeps the rest from scorching.
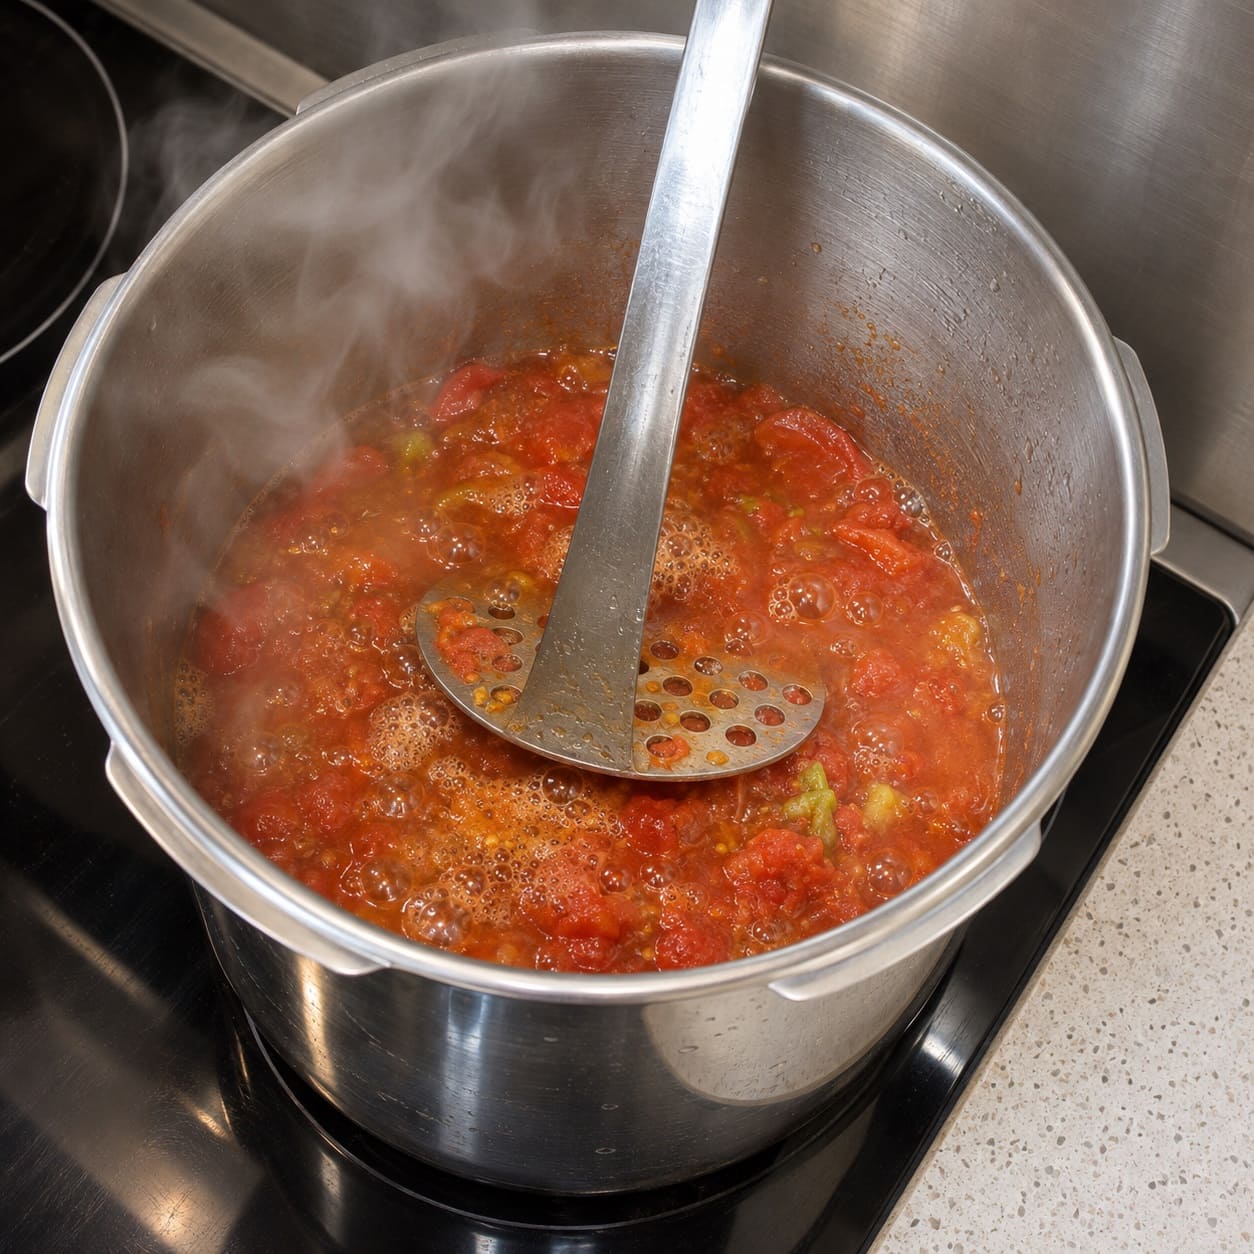
- Once that first batch boils, add the remaining quarters a handful at a time, stirring constantly. You don’t need to crush these; they’ll soften as they heat.
- When all the tomatoes are in and boiling, boil them gently for 5 minutes, stirring often so nothing sticks.
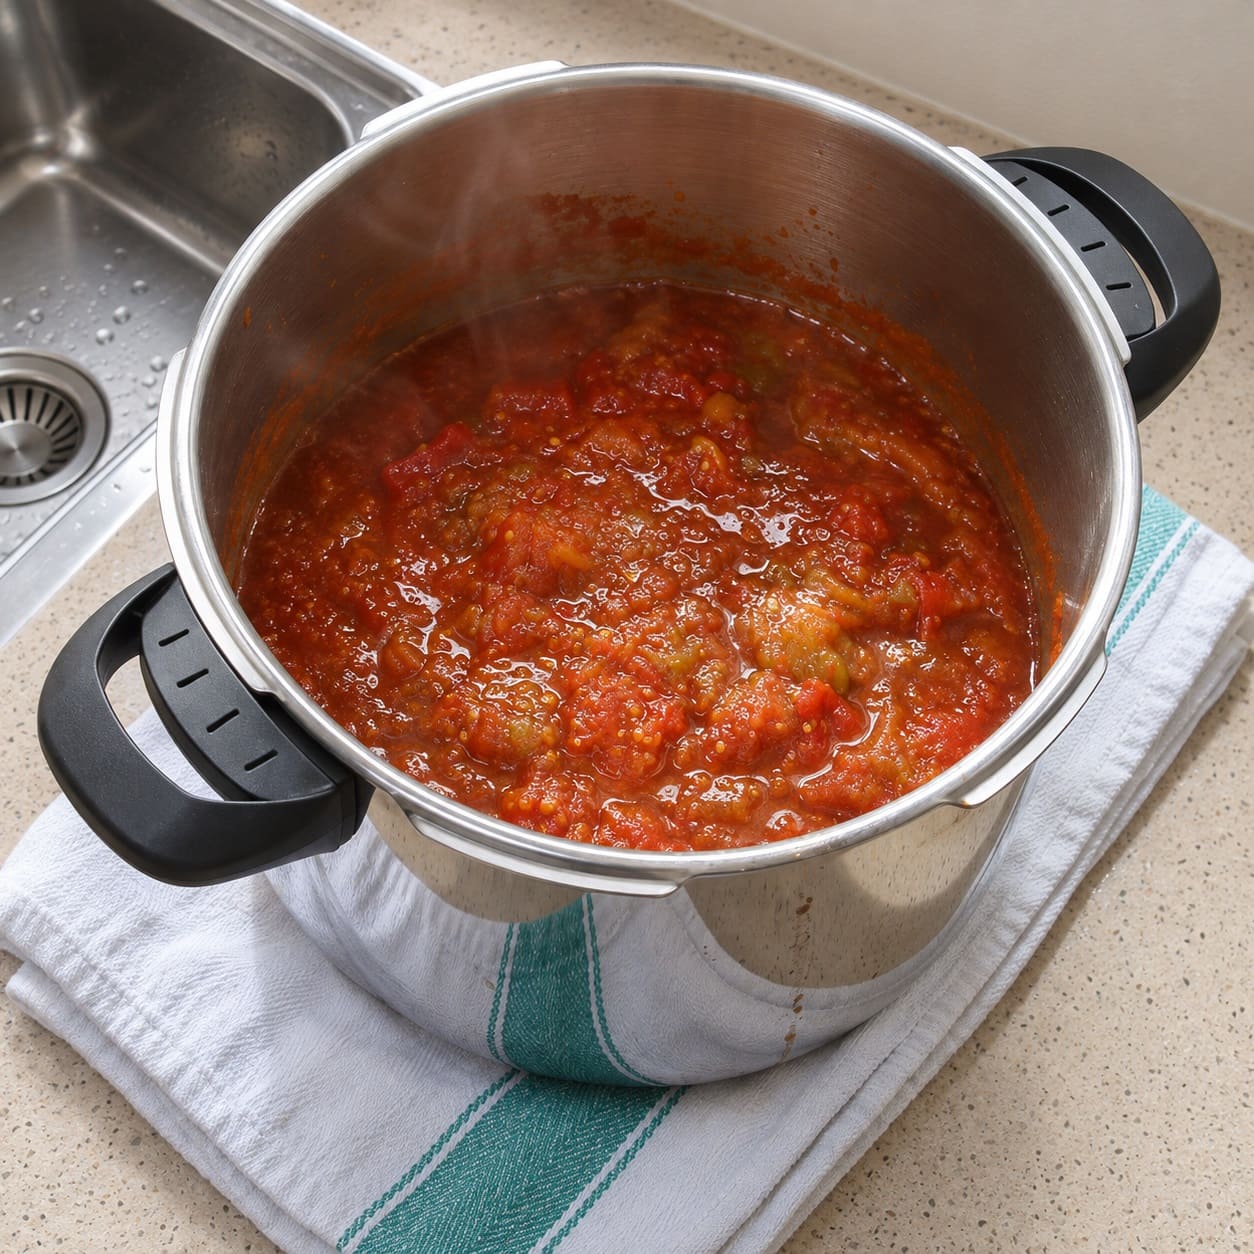
Heating that first portion hard and fast is not just a cooking preference. Tomatoes contain an enzyme that breaks down their structure once they’re cut, and it’s what makes some jars separate into a layer of watery liquid under red pulp. Fast heating shuts it down early.
Fill, Seal and Process the Jars
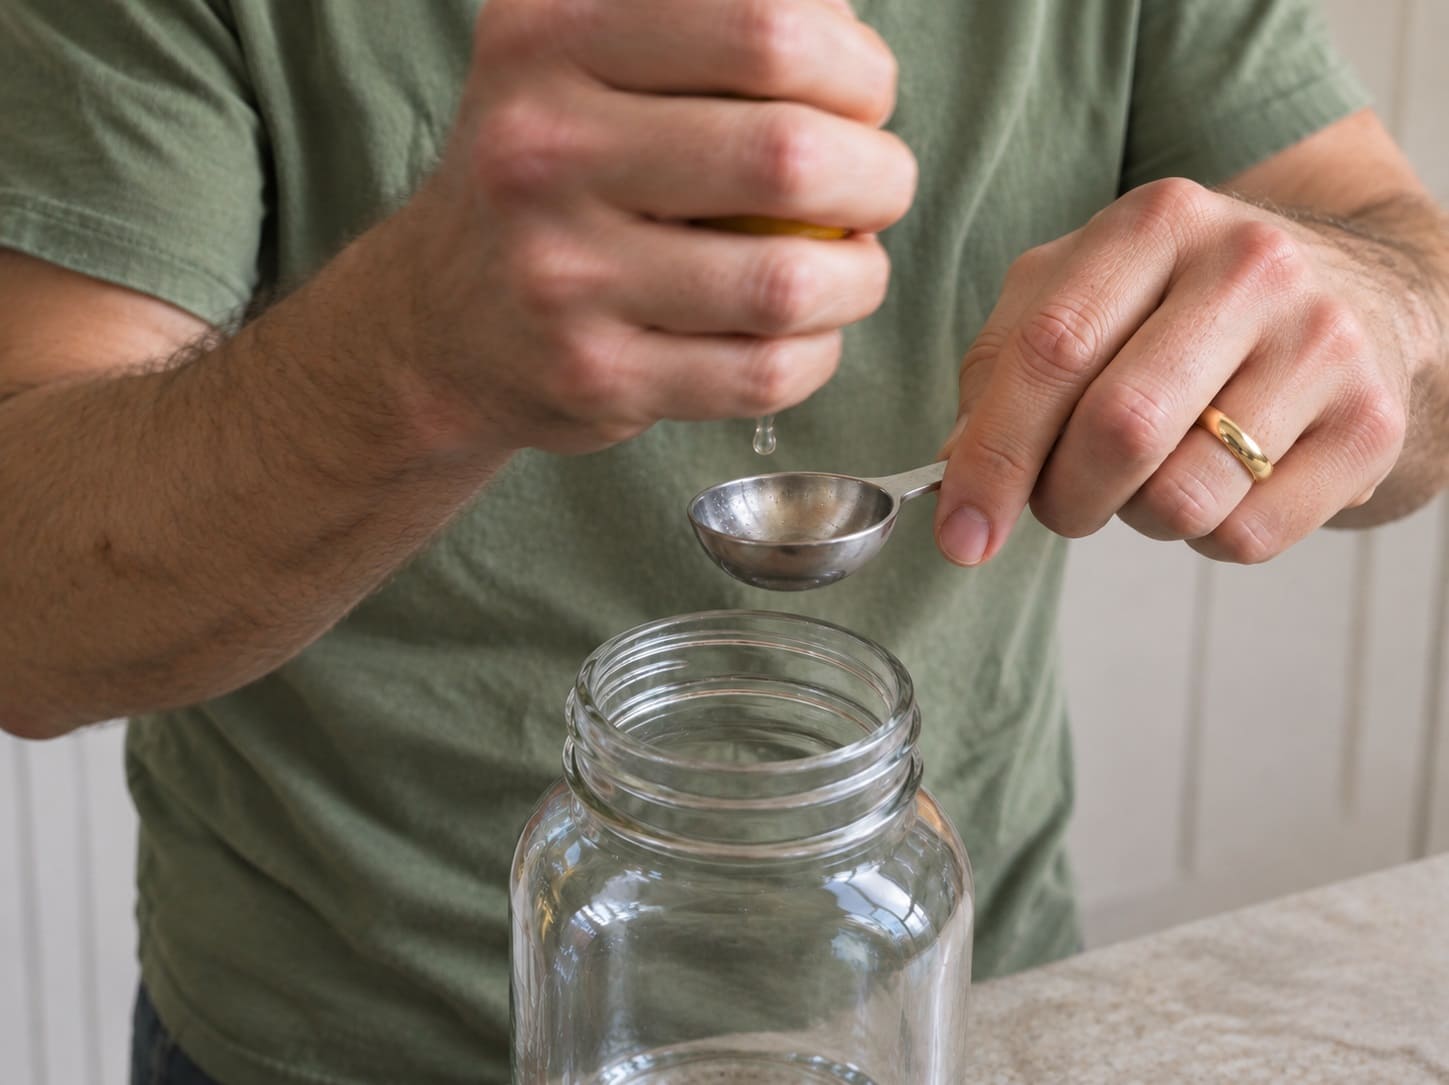
- Lift a jar from the canner, tip the water back in, and set it on a towel. Add the acid first: 2 tablespoons bottled lemon juice or ½ teaspoon citric acid per quart. Add salt now if you’re using it.
- Ladle in hot tomatoes through the funnel, leaving ½ inch of headspace. Run a thin plastic spatula or bubble tool around the inside to release trapped air, then top up to ½ inch again if the level drops.
- Wipe the rim with a clean damp cloth. A seed or a smear of pulp on the rim is one of the most common reasons a lid fails to seal.
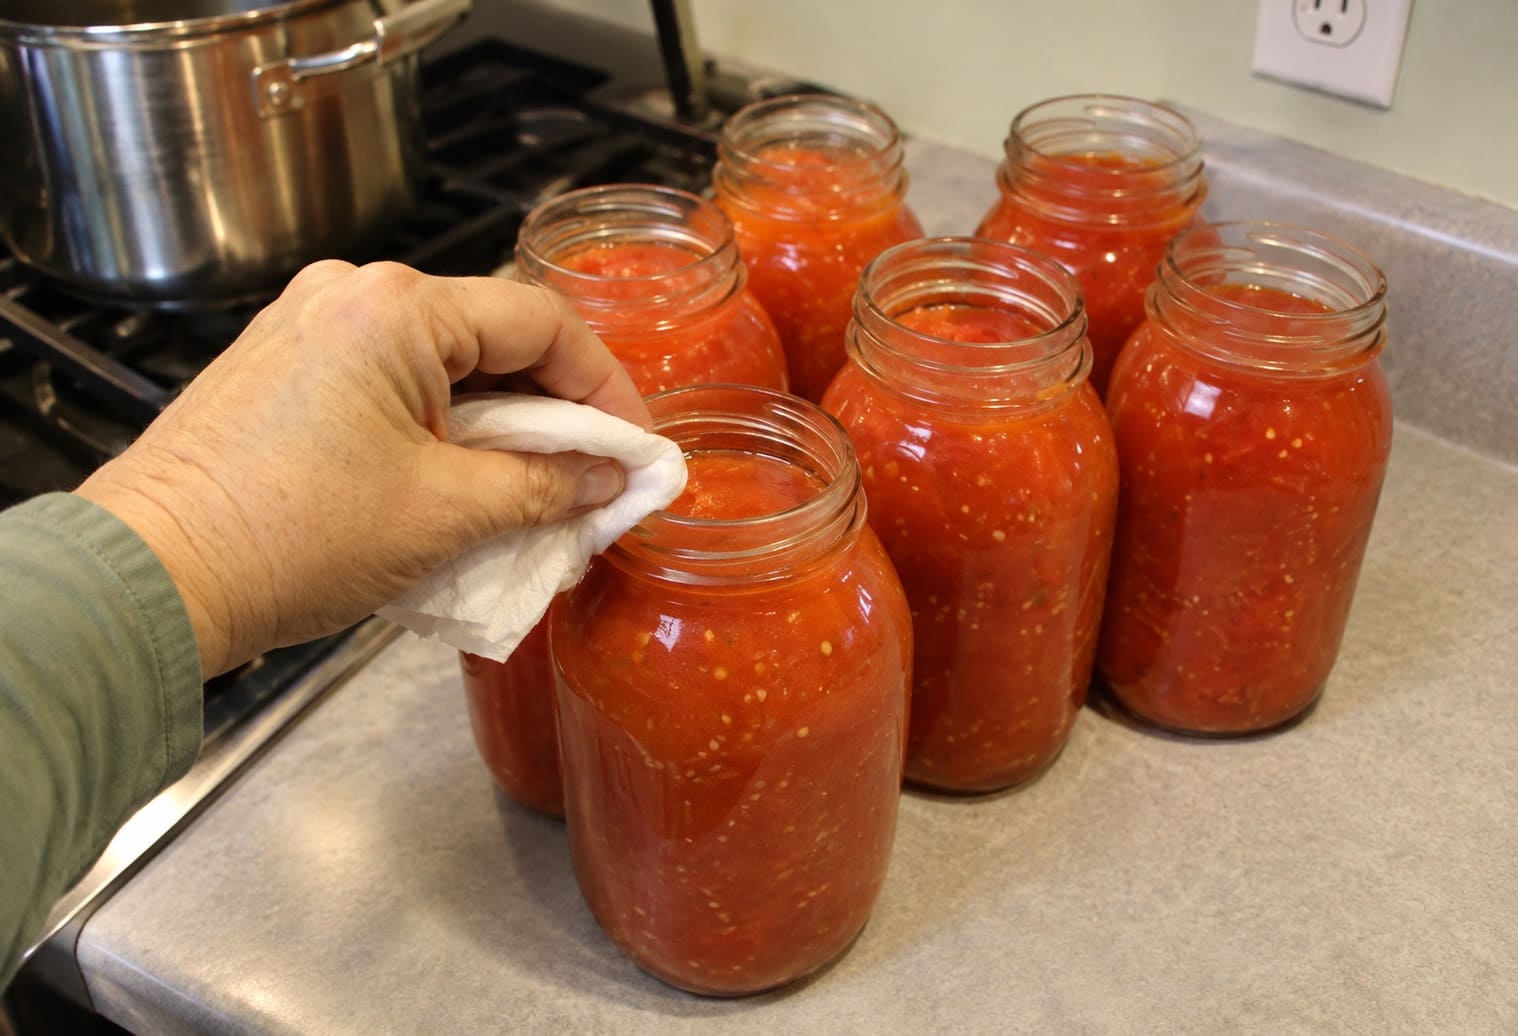
- Center the lid and screw on the band until you feel resistance, then stop. This is called fingertip tight. Over-tightening traps air that needs to escape during processing.
- Set each filled jar back in the canner with the jar lifter, keeping it upright. Repeat until the canner is loaded.
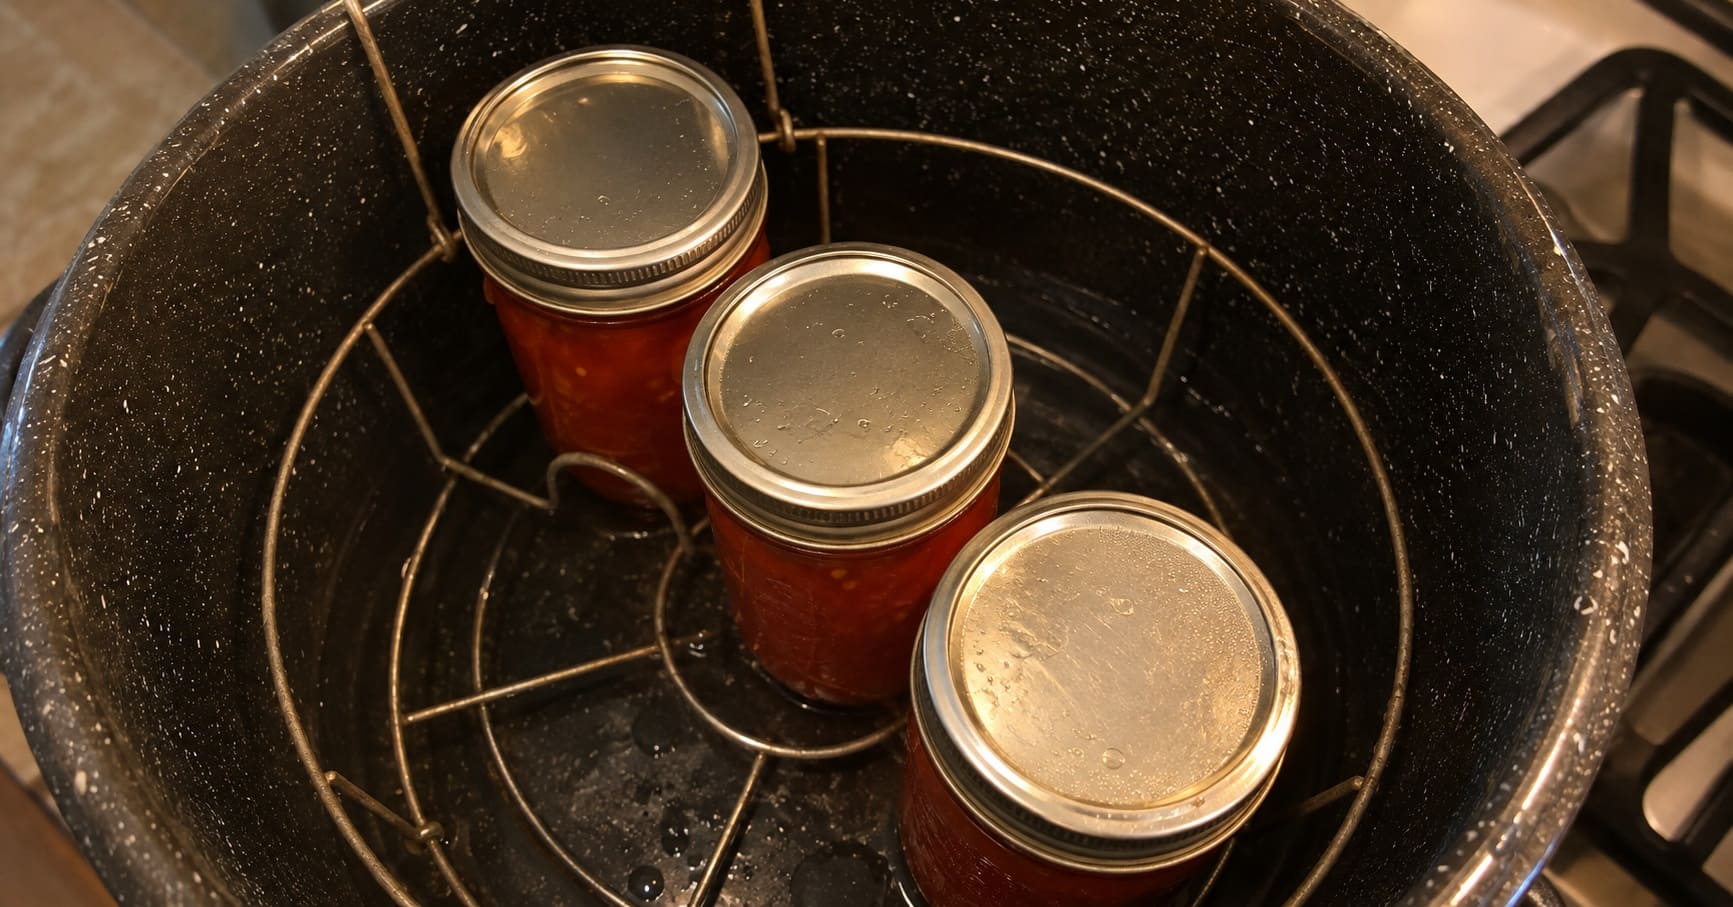
- Add hot water as needed until the jars are covered by at least 2 inches. Cover the canner and turn the heat to high.
- Start the timer only when the water reaches a full, rolling boil: 35 minutes for pints and 45 minutes for quarts, plus any elevation adjustment. Keep it boiling the whole time. If the boil stops at any point, bring it back up and restart the timer from the beginning.
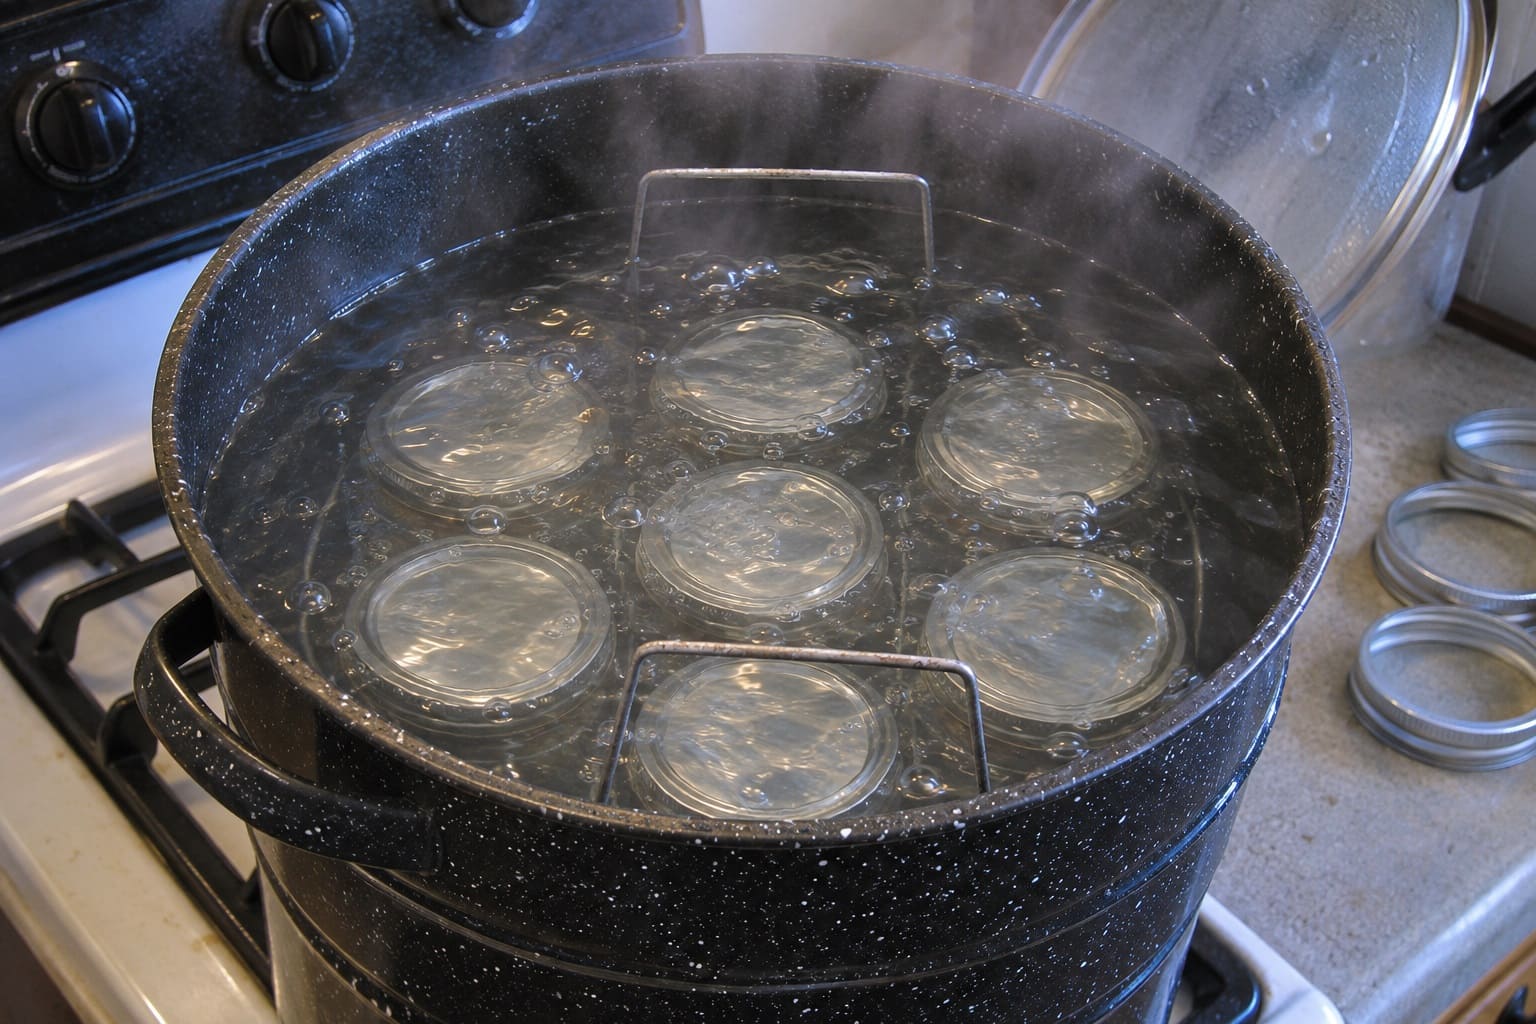
- When the time is up, turn off the heat and take off the canner lid. Leave the jars in the water for 5 minutes. This short rest lets them settle and reduces liquid seeping out under the lids.
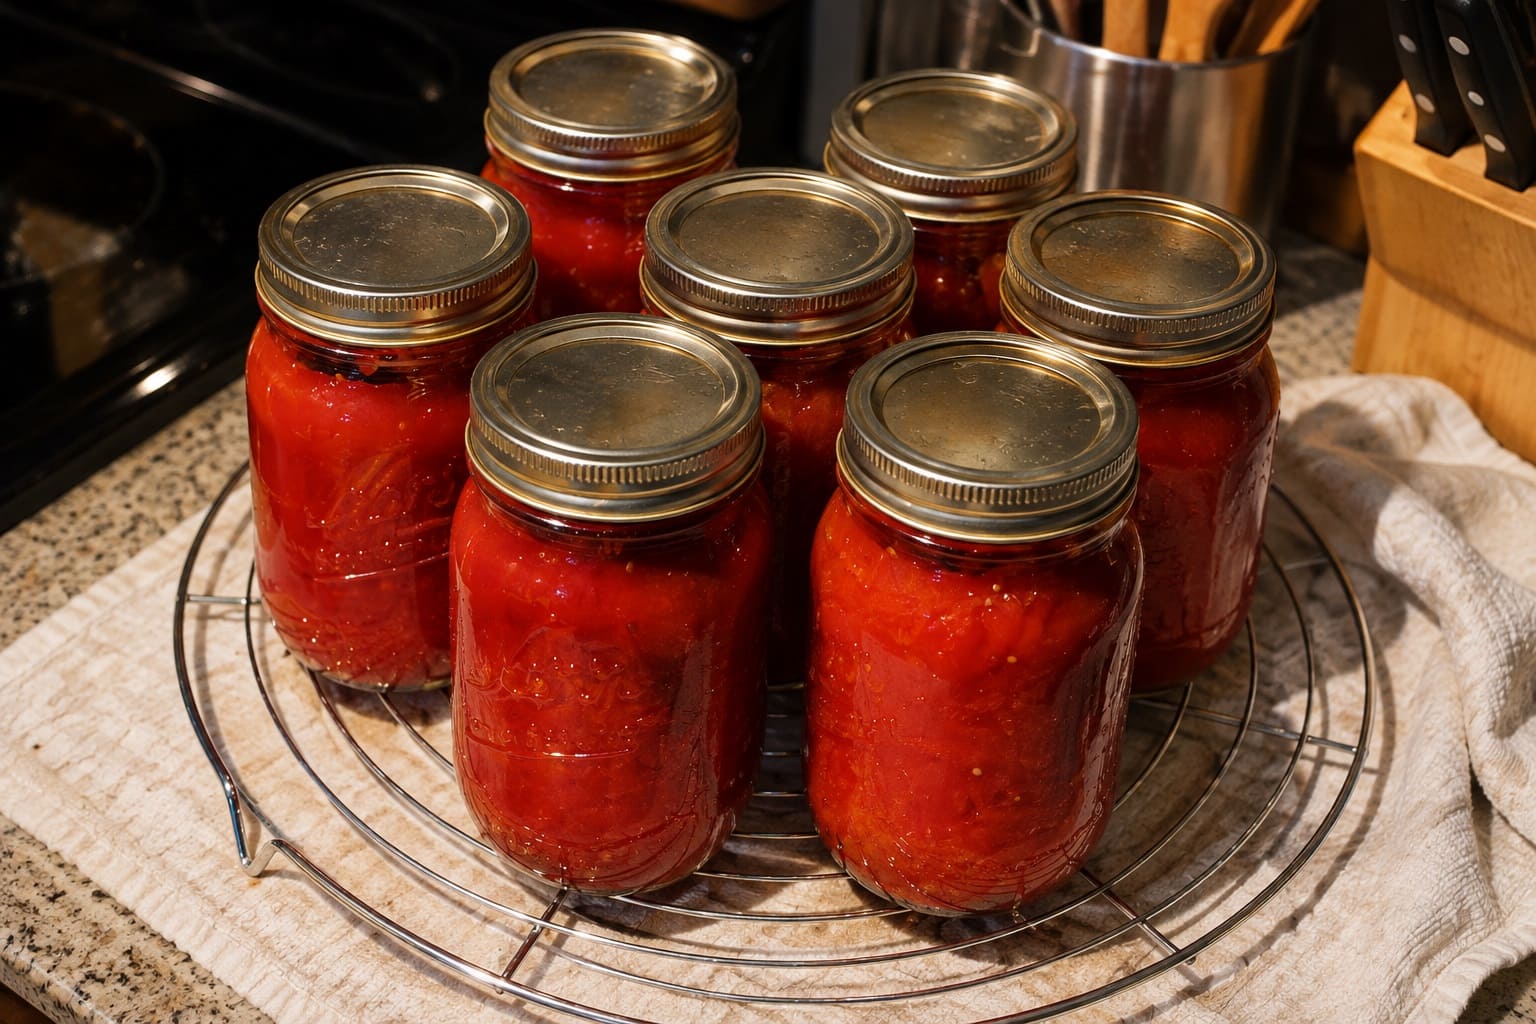
- Lift the jars straight out, without tilting, onto a towel or rack away from drafts. Leave an inch or two between them.
| Safety check: The acid, the headspace, the processing time and the 2 inches of water are what make this safe. Change any of them, or add ingredients not listed here, and the tested time no longer applies. |
Canning Whole or Halved Tomatoes Instead
Peel and core the tomatoes exactly as above, then leave them whole or cut them in half. From there, you choose a raw pack or a hot pack.
For a raw pack, put the acid in the jars, fill them with raw tomatoes, and pour boiling water over them, leaving ½ inch of headspace. Start the canner water at about 140°F (60°C) rather than 180°F, since the jars aren’t as hot.
For a hot pack, cover the tomatoes with water in a pot, boil them gently for 5 minutes, and fill hot jars with the tomatoes and their cooking water, again with ½ inch of headspace.
Either way, process pints for 40 minutes and quarts for 45 minutes at up to 1,000 feet.
Hot packing takes a few extra minutes, but it’s worth it. Heating shrinks the fruit and drives out air, so you fit more tomatoes per jar and they won’t float to the top and leave a pale band of liquid at the bottom.
Raw-packed jars almost always float a little. That’s a matter of appearance, not safety.
If you’d rather skip the added water, you can pack peeled raw tomatoes tightly, pressing them until their own juice fills the gaps, or pack them in tomato juice. Both give a richer jar but need 85 minutes for pints or quarts.
👉 Learn How to Can Peaches: Safe Step-by-Step Guide (Hot or Raw)
After the Canner: Cooling, Checking Seals and Storing
Leave the jars alone for 12 to 24 hours. Don’t tighten the bands, press the lids or tip the jars to look at them. You’ll hear the lids pop down as they cool, which is the vacuum forming, but the real test comes the next day.
Once they’re completely cool, remove the bands and check each lid. A sealed lid is curved slightly downward and doesn’t flex or click when you press the center. Lift the jar gently by the edge of the lid; a good seal holds. If the lid moves, the jar didn’t seal.
For an unsealed jar, you have two choices. Put it in the refrigerator and use it within a few days, or reprocess it within 24 hours: reheat the tomatoes, refill a clean hot jar with a new lid, and run the full processing time again.
Reprocessed tomatoes turn softer, so refrigerating that jar and using it first is usually the easier choice.
Wipe the sealed jars, label them with the contents and date, and store them without bands in a cool, dark, dry place, ideally 50 to 70°F (10 to 21°C).
Keep them away from stoves, furnaces, sunny shelves and anywhere that gets above 95°F (35°C). Plan to use them within a year for the best flavor and color, which also means canning only what you’ll eat in a year.
Troubleshooting Common Problems
| What you see | Likely cause | What to do |
| Tomatoes floating with clear liquid below | Raw pack, or very ripe, juicy fruit | Safe if sealed. Hot pack next time and use paste tomatoes. |
| Watery layer under the pulp | Enzymes acting before the tomatoes heated up | Safe if sealed. Stir it in when cooking; heat the first batch fast next time. |
| Liquid lost from the jar during processing | Jars too full, air bubbles left in, or jars cooled too fast | Don’t open to add liquid. If about half is gone, refrigerate and use within 2 to 3 days. |
| Lid didn’t seal | Food on the rim, a nicked jar, or a band too tight or too loose | Refrigerate and use, or reprocess within 24 hours with a new lid. |
| Darkened tomatoes at the top of the jar | Air in the headspace | Fine to eat if sealed. Check your headspace next time. |
| Bulging lid, leaks, mold, spurting or an off smell when opened | Spoilage from underprocessing or a failed seal | Don’t taste it. Discard it where people and animals can’t reach it. |
Spoiled tomatoes can smell sour even when the lid still looks sealed, a defect called flat sour that comes from heat-resistant bacteria. If anything about a jar seems wrong, throw it out without tasting.
Shortcuts That Aren’t Safe
You’ll find plenty of tomato-canning methods online that skip a step, and some come with family stories of decades without trouble. Botulism is rare, but it doesn’t announce itself with a bad smell or a bulging lid, so luck isn’t evidence. Skip these:
- Open-kettle canning, where you fill jars with hot tomatoes and let the lids seal on the counter without processing.
- Oven, microwave or dishwasher processing. None of them heats jars evenly or reliably enough.
- Turning jars upside down to seal them instead of processing them.
- Fresh lemon juice or leaving out the acid because your tomatoes taste tart or are an heirloom variety.
- Adding onions, peppers, garlic, celery, oil or flour to a plain tomato recipe. They raise the pH or slow the heat reaching the center of the jar. Season when you open the jar, or use a tested recipe, such as stewed tomatoes or spaghetti sauce, that’s designed for a pressure canner.
- Guessing a processing time for a jar size or style not in a tested recipe.
An atmospheric steam canner is a newer option that is accepted for acidified tomatoes, with conditions: the jars must be preheated, the canner fully vented before timing starts, and the total processing time, including any elevation adjustment, can’t go over 45 minutes.
That rules out the 85-minute whole packs and quarts at higher elevations, and you can’t open it to add water partway through.
Frequently Asked Questions
Do I have to peel tomatoes before canning?
Yes, if you’re using these processing times. Every USDA-tested procedure for whole, halved and crushed tomatoes starts with peeled fruit, so unpeeled jars fall outside what was tested. For sauce, a food mill removes skins and seeds for you.
Can I use a pressure canner for tomatoes?
Yes, and it often gives better flavor and texture, because the process is shorter. You still add the same acid to each jar, since the USDA pressure times for tomatoes were developed with it in the jar.
Use the pressure, time and gauge type listed for your specific tomato style in a tested source such as the National Center for Home Food Preservation.
Can I reuse jars and lids?
You can reuse canning jars for years as long as the rims have no nicks or cracks, and screw bands are fine unless they’re rusted or bent.
Flat lids are single-use, because the sealing compound keeps the dent from its first seal. Mayonnaise-type jars that take a two-piece lid can work for tomatoes, but they’re thinner than canning jars, so expect more breakage and failed seals.
Your First Canning Day
For your first batch, keep it simple: one canner load of crushed tomatoes in quarts, with everything measured and the canner heating before you peel the first tomato.
Once you’ve seen the whole process through and have a shelf of sealed jars, whole packs and sauce feel easy.
Bookmark the processing table, check your elevation, and you’ll have tomatoes for chili and pasta sauce long after the garden is done.

