
Dehydrating bananas takes about 15 minutes of hands-on work and most of a day of waiting: peel, slice evenly, and dry at 135 to 140°F (57 to 60°C) until a cooled piece passes the doneness test.
What surprises most first-timers is the result. Home-dried bananas come out chewy, amber and intensely sweet, not pale and crunchy like bulk-bin chips, and that’s normal.
You can push them to crisp, too. Ripeness, slice thickness, heat and time decide which texture you get, and once you know how each one pulls, you can make either on purpose and keep it for up to a year.
At a glance
- Bananas: fully yellow with a few brown freckles. Save mushy ones for banana leather.
- Slices: ¼ inch (6 mm) for chewy, ⅛ inch (3 mm) or thinner for crisp, all the same thickness.
- Dehydrator: 135 to 140°F (57 to 60°C), roughly 6 to 12 hours for chewy and 12 to 24 for crisp.
- Done: judged on a piece cooled for 10 minutes. Chewy pieces bend and show no moisture when torn; crisp ones snap.
- Storage: condition in a jar for 7 to 10 days, then keep airtight, cool and dark.
- Yield: 1 pound (450 g) of peeled banana dries to roughly 4½ to 5 ounces (125 to 140 g).
Why Homemade Banana Chips Don’t Taste Like Store-Bought
The crunchy, pale chips sold in bags and trail mixes are usually deep-fried, often in coconut oil, and many are sweetened with sugar or honey. That’s where the snap comes from, along with most of their calories.
The National Center for Home Food Preservation adds another reason you can’t copy them exactly: some commercial chips get a crisping treatment that can’t be done at home.
Yours will darken to amber or deep brown, taste like concentrated banana, and land anywhere from leathery to brittle. Plenty of people prefer it, but if you want a pale, fried-style crunch, a dehydrator won’t give it to you.
Choosing Bananas for Dehydrating
Use bananas that are fully yellow with a few small brown freckles: ripe enough to taste sweet, firm enough to slice cleanly.
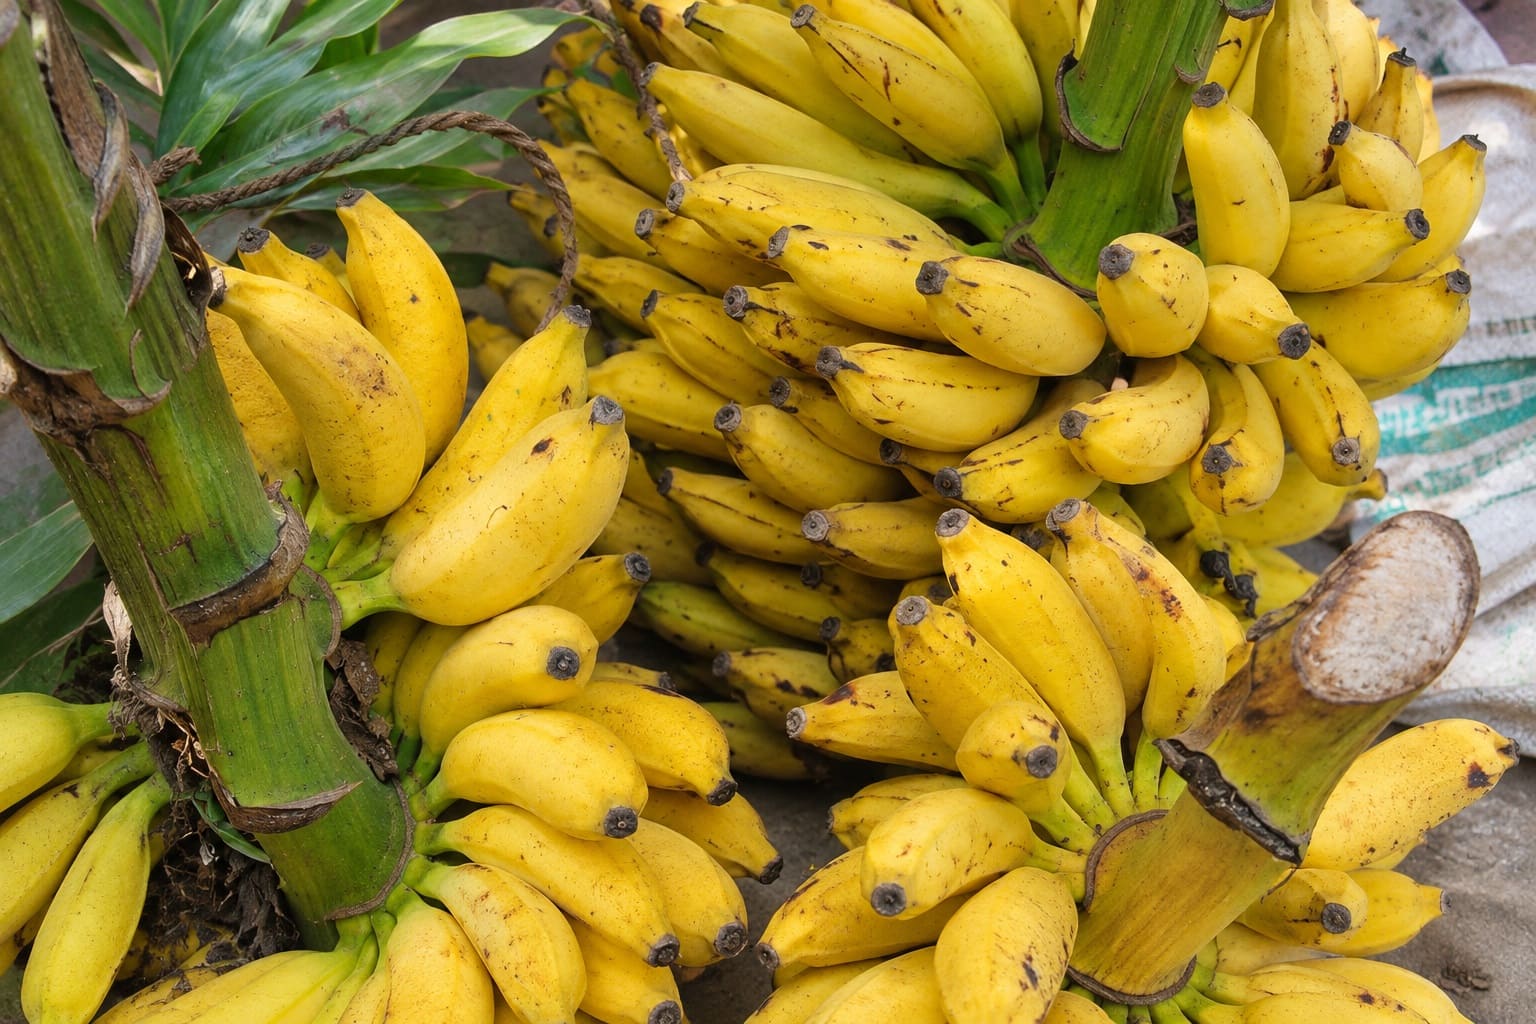
Colorado State University Extension’s guidance agrees: it calls for solid yellow or lightly brown-flecked fruit and rules out overripe or bruised bananas.
You’ll see advice pulling both ways from there. Barely ripe fruit slices thin and neat and dries paler, but bananas with any green on the peel are still starchy, and they dry into something flat that people often describe as tasting green.
Heavily spotted fruit dries sweeter and darker, but it’s hard to cut neatly and sticks harder to the tray. When in doubt, taste a bite: if it’s properly sweet and still holds its shape under the knife, it’s ready.
Bananas too soft to slice still have a use. Blend them smooth, spread the purée about ⅛ inch (3 mm) thick on a lined solid tray, and dry it into banana leather at 140°F (60°C) for about 6 to 8 hours, until touching the center leaves no dent and the edge peels away cleanly.
Plain banana leather tends to dry brittle, more like bark than a fruit roll, so blending in some strawberries or pineapple gives a more pliable sheet.
Variety matters far less than ripeness: the everyday Cavendish and smaller lady finger or apple bananas all dry well. Plantains are starchier and behave differently.
👉 Related post: Are Bananas an Herb? The Surprising Truth About This Fruit
Slicing: Thickness Decides the Texture
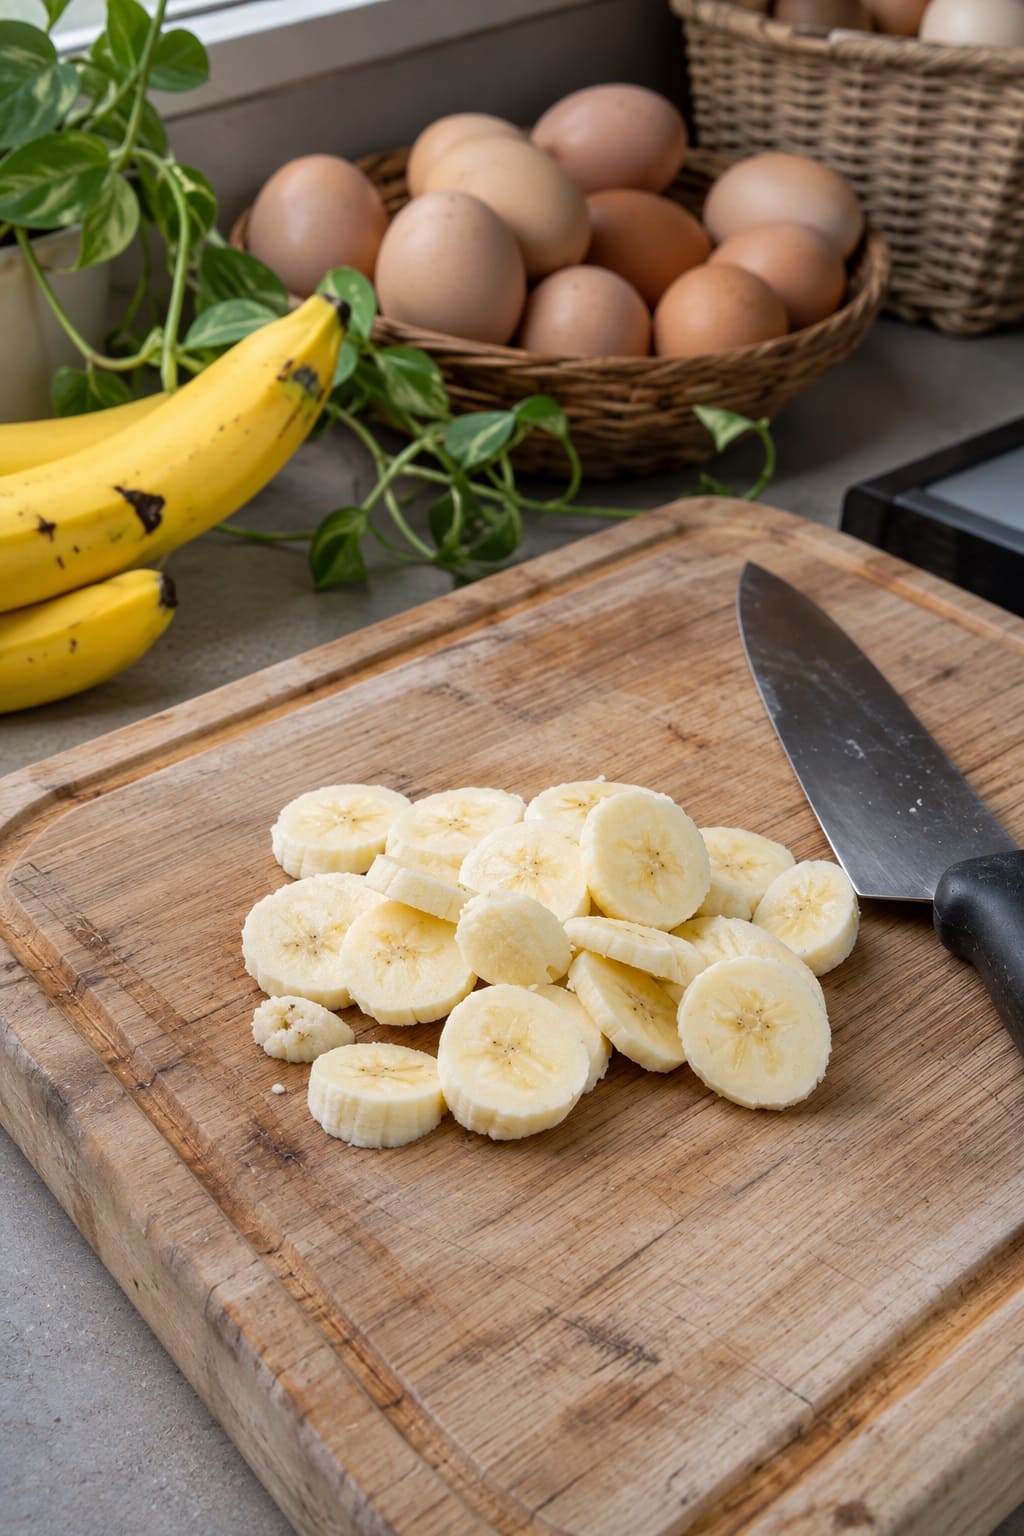
Thickness is the biggest single control you have. Slices about ¼ inch (6 mm) thick dry to chewy, leathery pieces. At ⅛ inch (3 mm) or thinner, real crispness becomes possible. Go much thicker than ¼ inch and the centers take so long that the outsides overdry first.
Even thickness matters more than the exact number. Mixed slices finish hours apart, leaving you to pick pieces off one by one or overdry the thin ones.
A mandoline makes uniform slices fast; use the hand guard or a cut-resistant glove, because peeled banana is slippery. If the fruit is too soft to cut neatly, chill it in the fridge for 10 minutes first.
Rounds are the classic chip shape and the quickest to cut. They also dry the hardest, so thick rounds can turn tough rather than chewy.
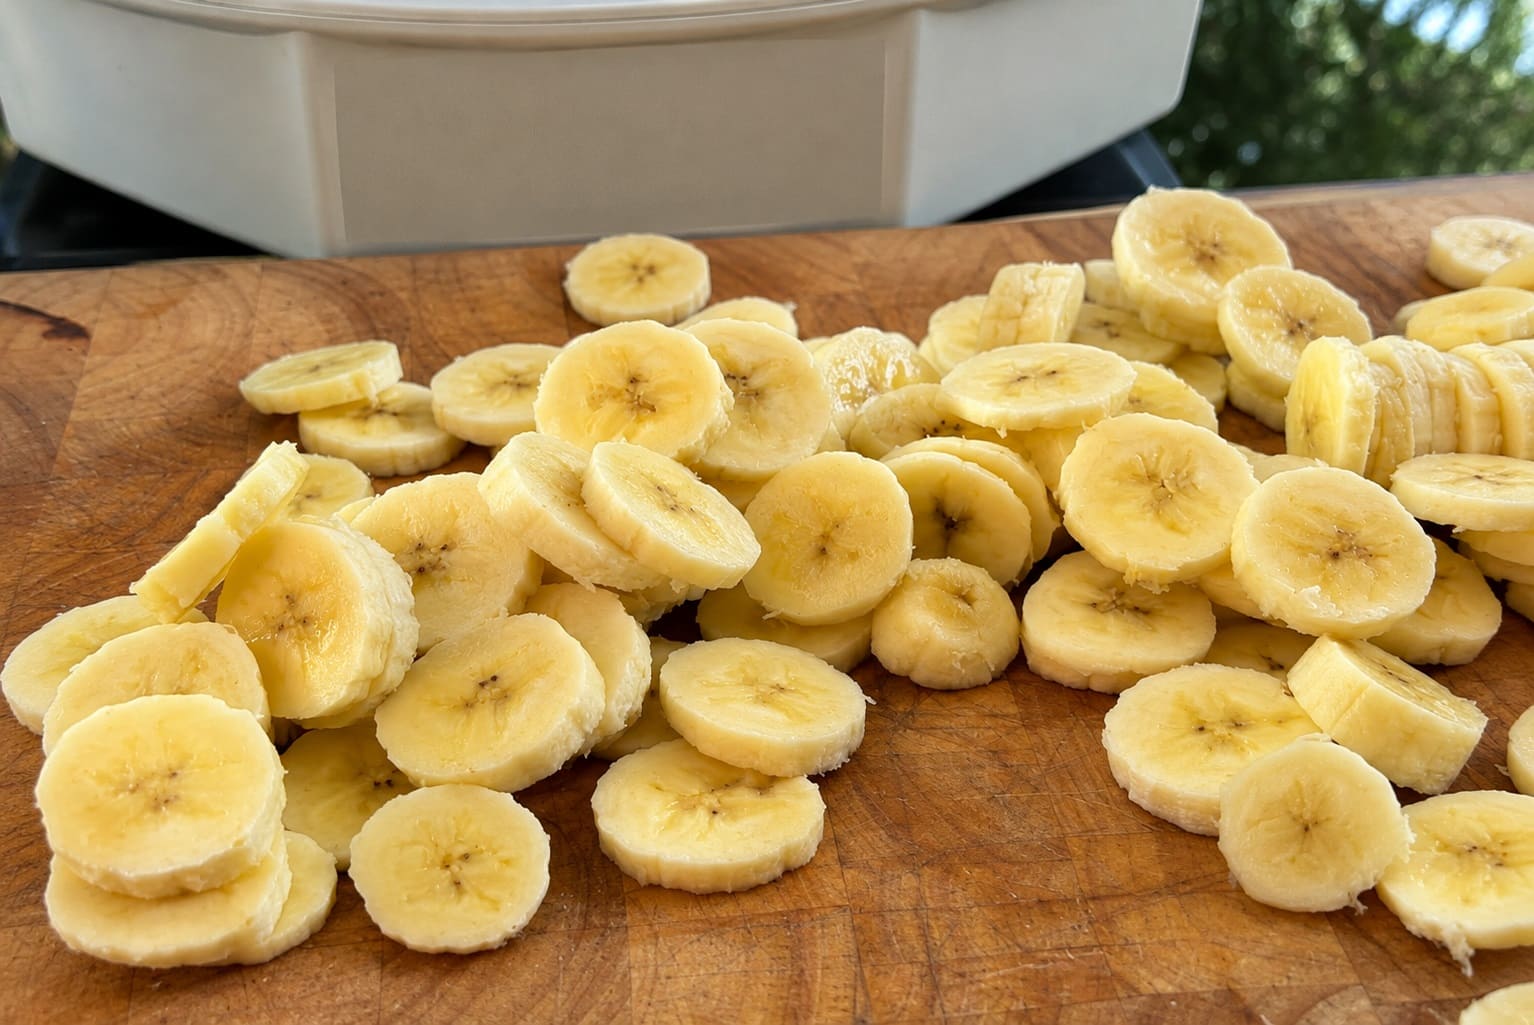
Diagonal ovals have more surface per piece, so they dry a little faster and look nicer on oatmeal or yogurt.
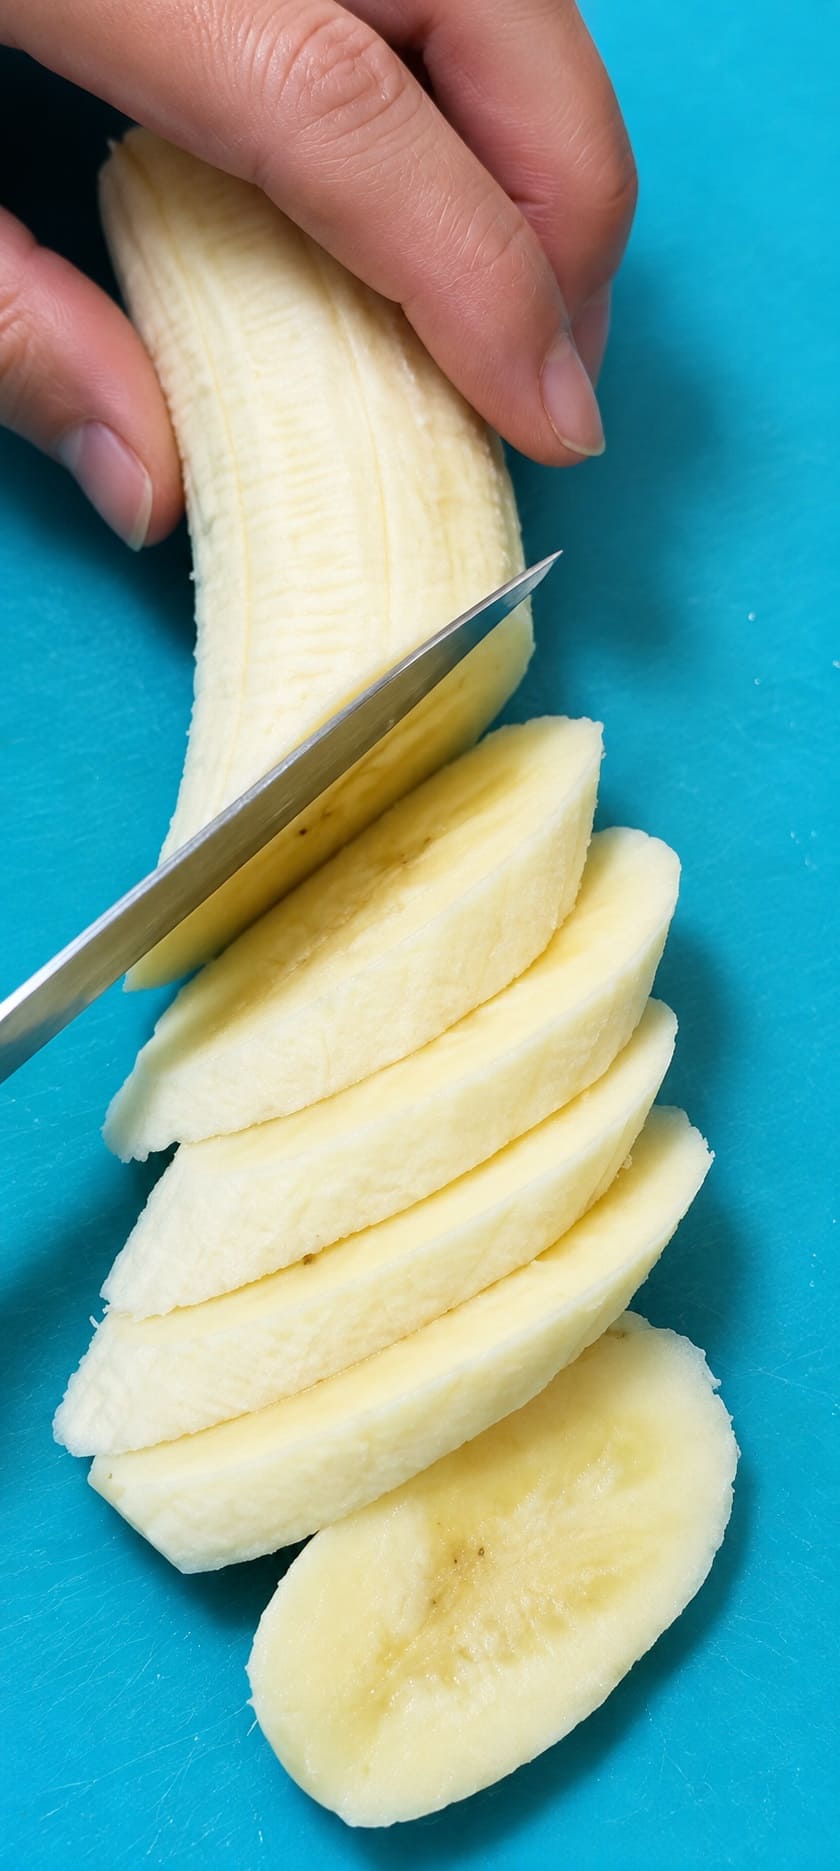
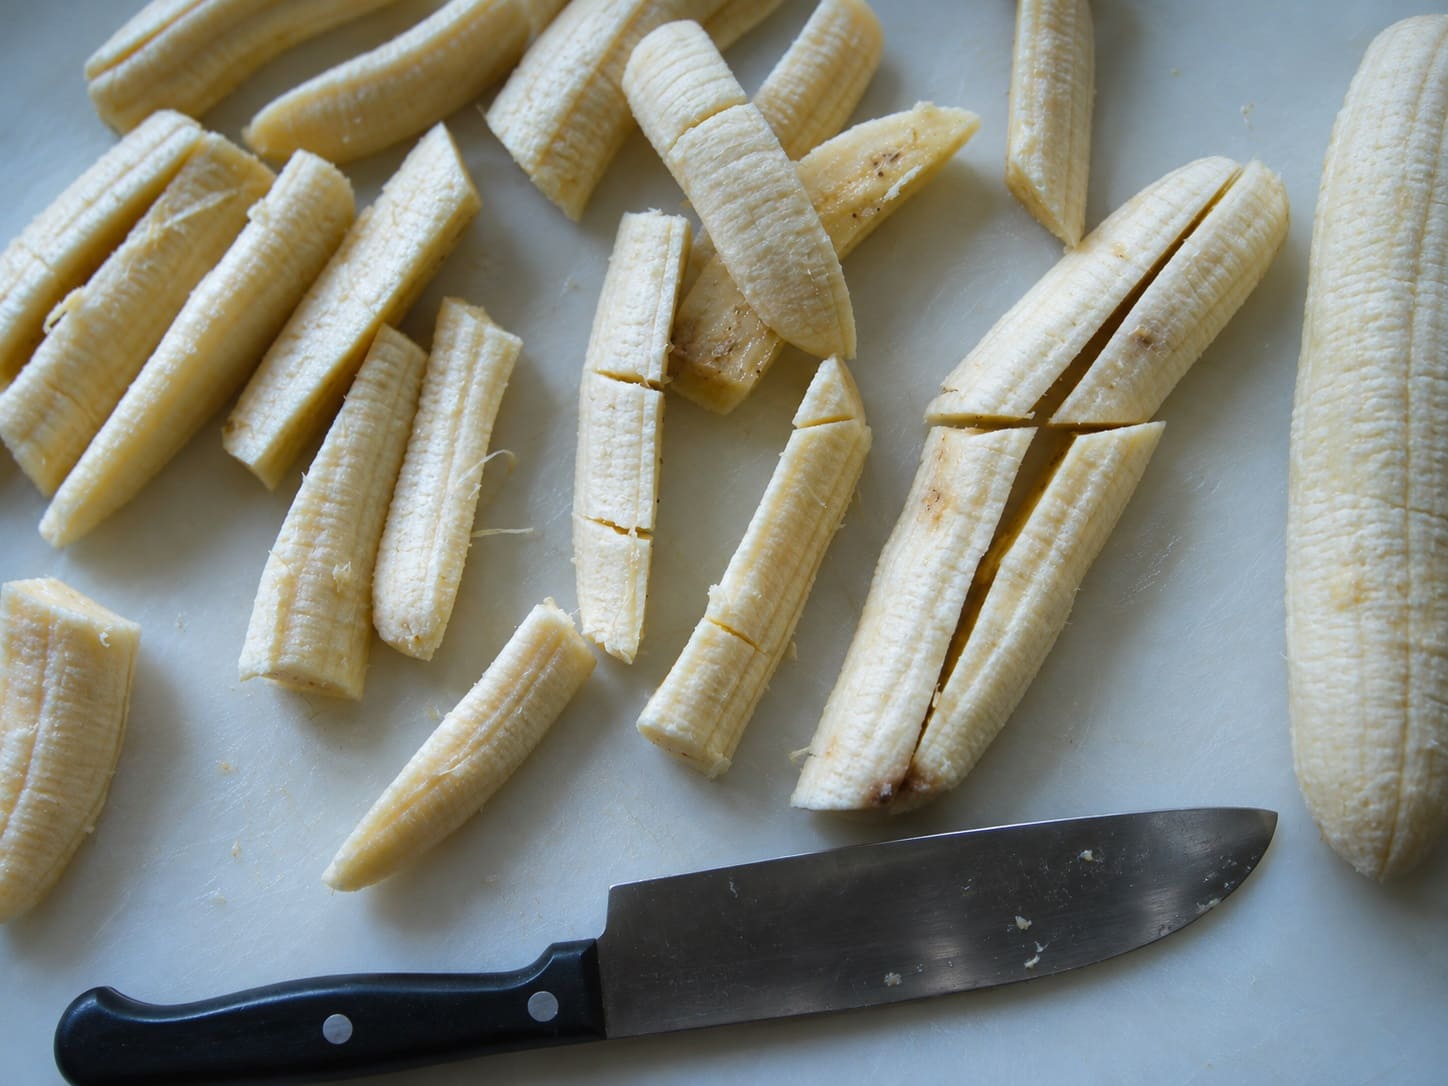
Lengthwise strips, about ¼ inch (6 mm) thick and sometimes called banana jerky, stay softer and chewier than rounds dried the same way. They’re the better choice for anyone who dislikes a hard chip.
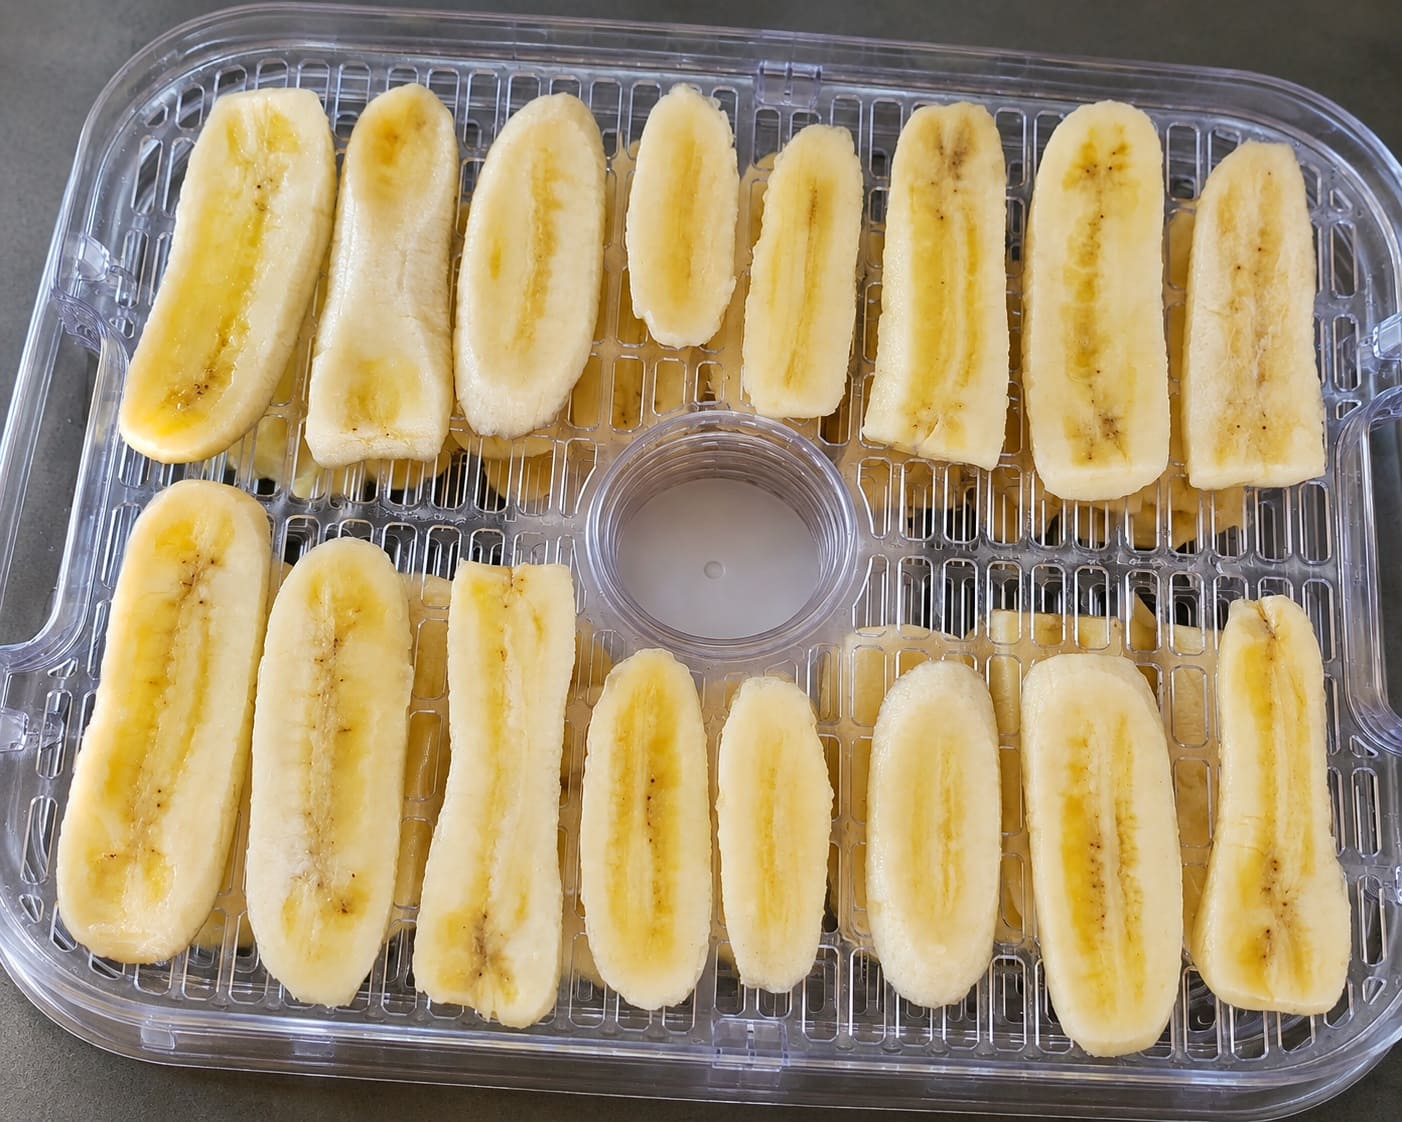
For strips without a knife, push a finger into the cut end of a peeled banana. It splits along its natural seams into three long segments, which you can break into shorter lengths.
👉 Learn How to Use Banana Peels in the Garden (Without the Hype)
Pretreating: Optional, and Only Part of the Answer
A quick acid dip keeps banana slices lighter, but it won’t keep them yellow. Acid slows the gray-brown discoloration that starts minutes after cutting.
It can’t stop the slower darkening that builds over hours in warm air as the fruit’s sugars brown, so dipped bananas still finish amber, and undipped ones go darker, sometimes nearly black. Neither version is less safe, and the dip isn’t needed for storage.
So dip if you care about color or like a slight tang, and skip it if you don’t. Colorado State University Extension lists these pretreatments. Soak the slices for 3 to 5 minutes, then drain them well:
- Bottled lemon juice: 1 cup lemon juice mixed with 1 cup cold water (about 240 ml each). It leaves a noticeable lemon flavor.
- Citric acid: 1 teaspoon (5 g) per quart (about 950 ml) of cold water, with little flavor left behind.
- Ascorbic acid (vitamin C): 1 teaspoon of powder, or six crushed 500 mg tablets, in 2 cups (475 ml) of cold water.
- A commercial ascorbic acid mix such as Fruit-Fresh, used as the label directs.
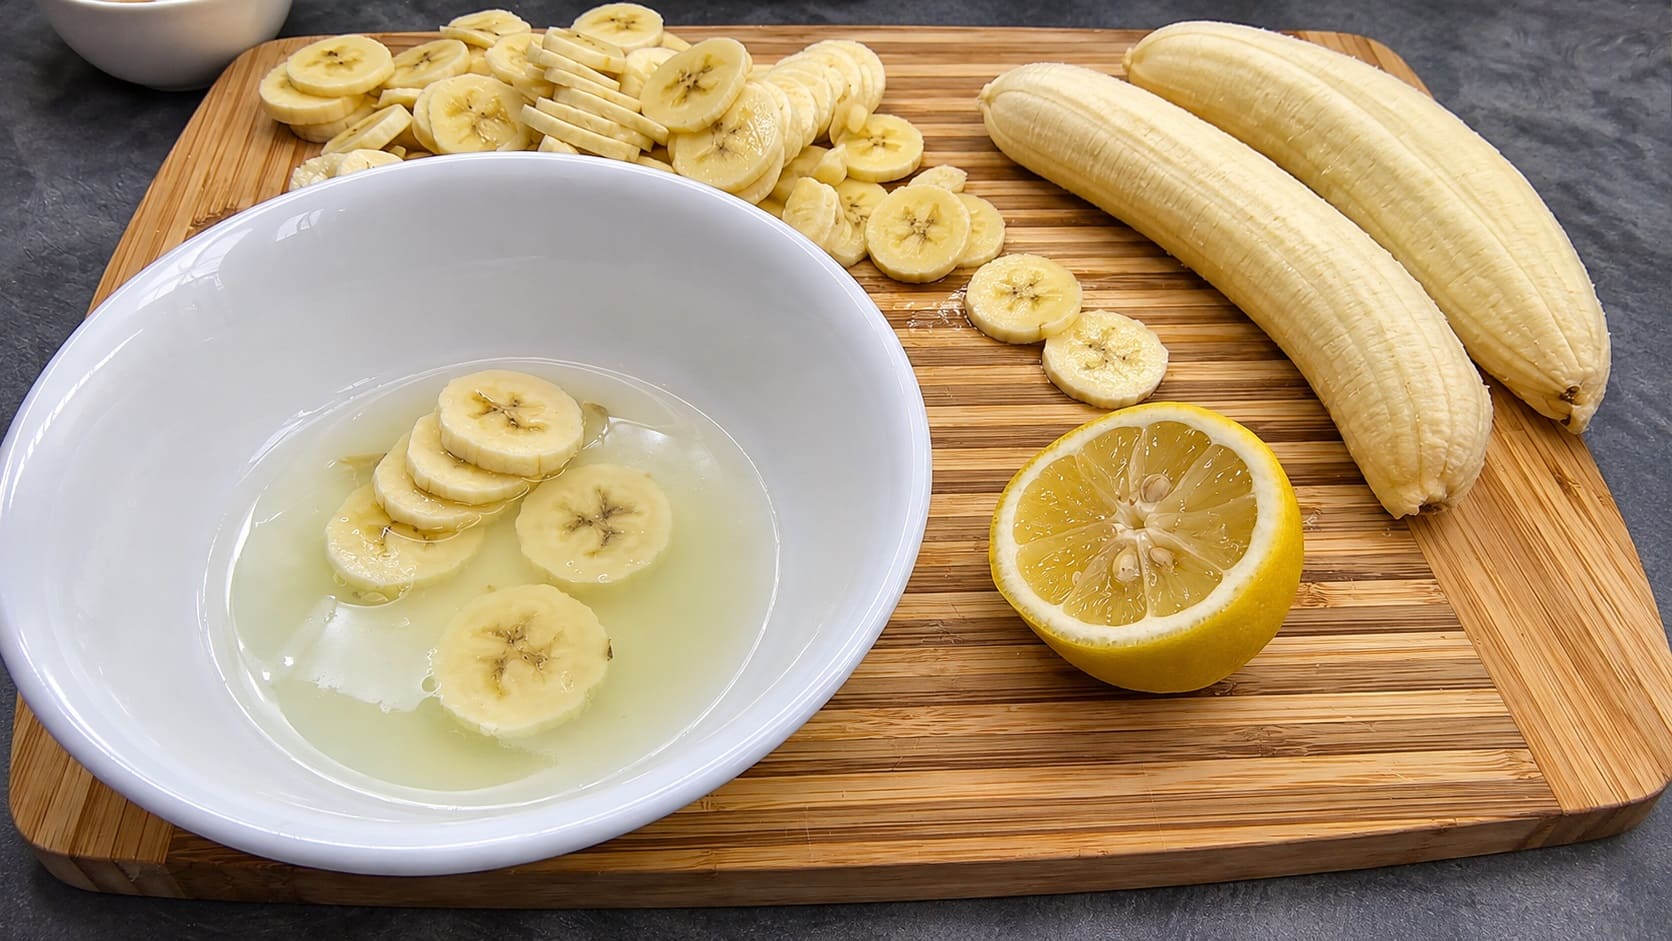
Pineapple or orange juice works as well, and pineapple suits banana better than lemon does. Work in small batches, since a crowded bowl of wet slices breaks apart when you fish them out.
Honey dips turn up in older dehydrator manuals. They add sweetness and a sticky, caramel-like finish, and they glue slices to bare trays, so use one only on a nonstick sheet.
Season before drying, while the surface is still damp enough to hold it. Cinnamon is the usual pick, and a light pinch of salt sharpens the sweetness the way it does on melon.
Sugar, honey and oil coatings slow drying, so give seasoned slices their own trays and expect them to finish later.
How to Dehydrate Bananas in a Dehydrator
A dehydrator gives the steadiest temperature and airflow, and it’s the only method that handles a big batch without babysitting.
You’ll need:
- Bananas: a full square tray holds about four or five medium bananas, a round tray about three
- A sharp knife or a mandoline, and a cutting board
- Flexible mesh or silicone tray liners
- Pretreatment and seasonings, if you’re using them
- Clear glass jars with tight lids for conditioning and storage
Time: about 15 minutes of prep, then 6 to 12 hours for chewy pieces or 12 to 24 hours for crisp ones.
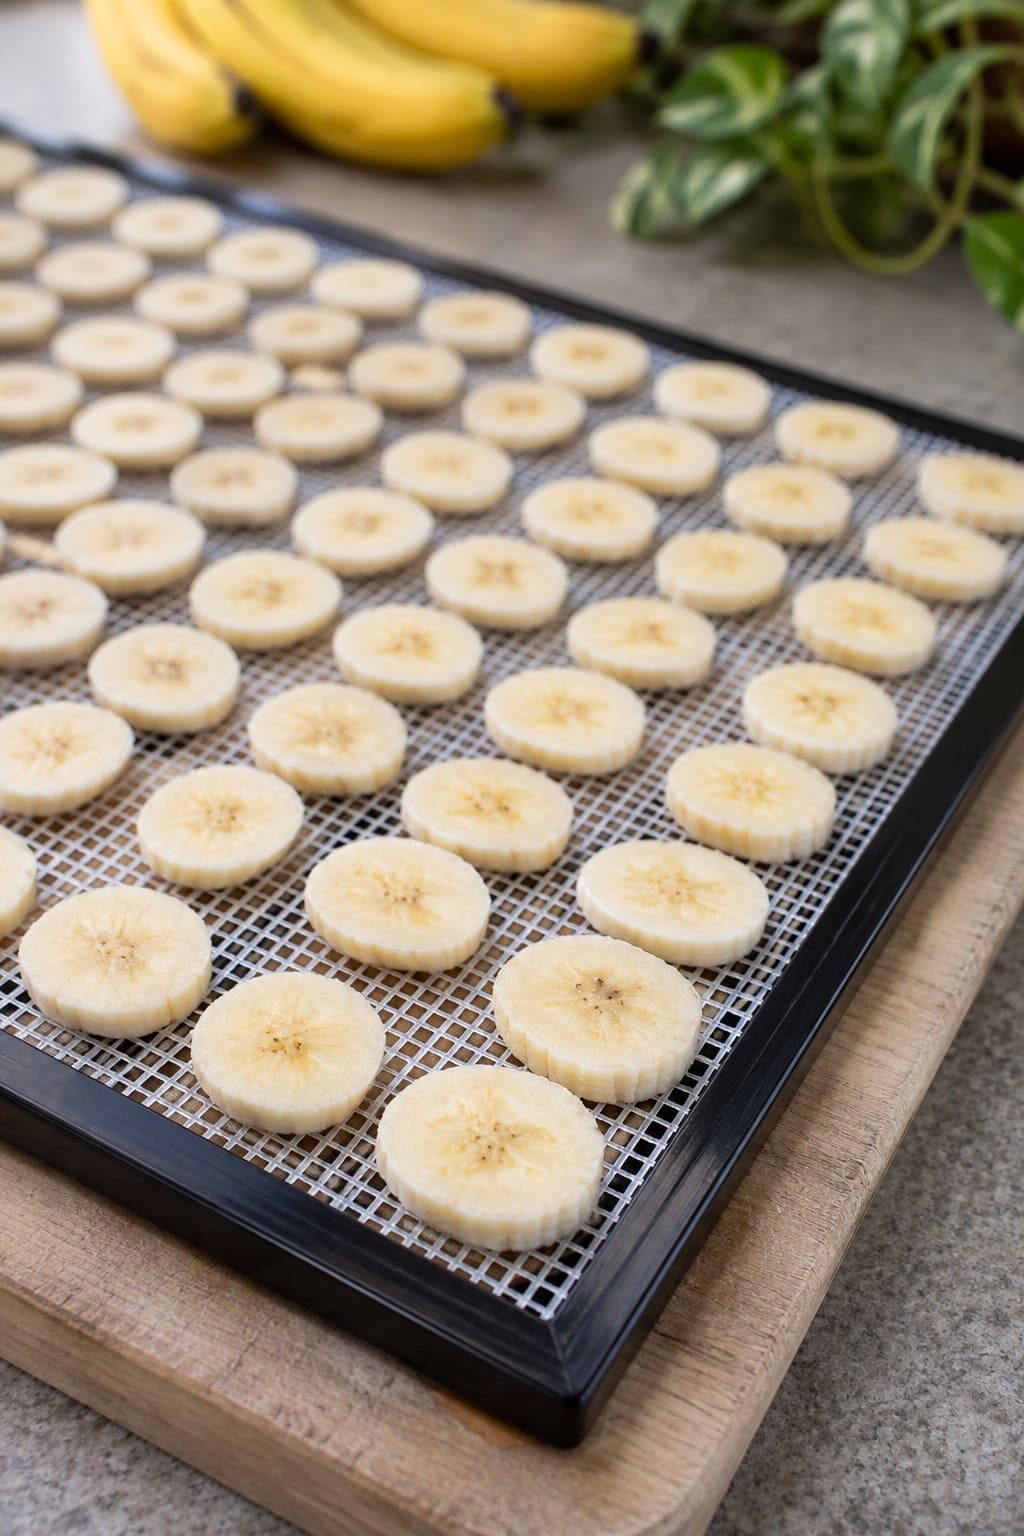
- Line the trays. Banana sugar welds itself to bare plastic. A flexible liner lets you bend the sheet afterward and pop the pieces off whole.
- Prepare the bananas a few at a time, slicing and dipping each batch if you’re pretreating, and drain the slices before they go on the tray.
- Lay out a single layer. Pack the slices close without overlapping. Edges touching is fine, because they shrink as they dry.
- Set the temperature to 135 to 140°F (57 to 60°C). Dehydrators with no dial often run around 165°F (74°C). That works, but the bananas dry faster and can scorch, so start checking several hours early.
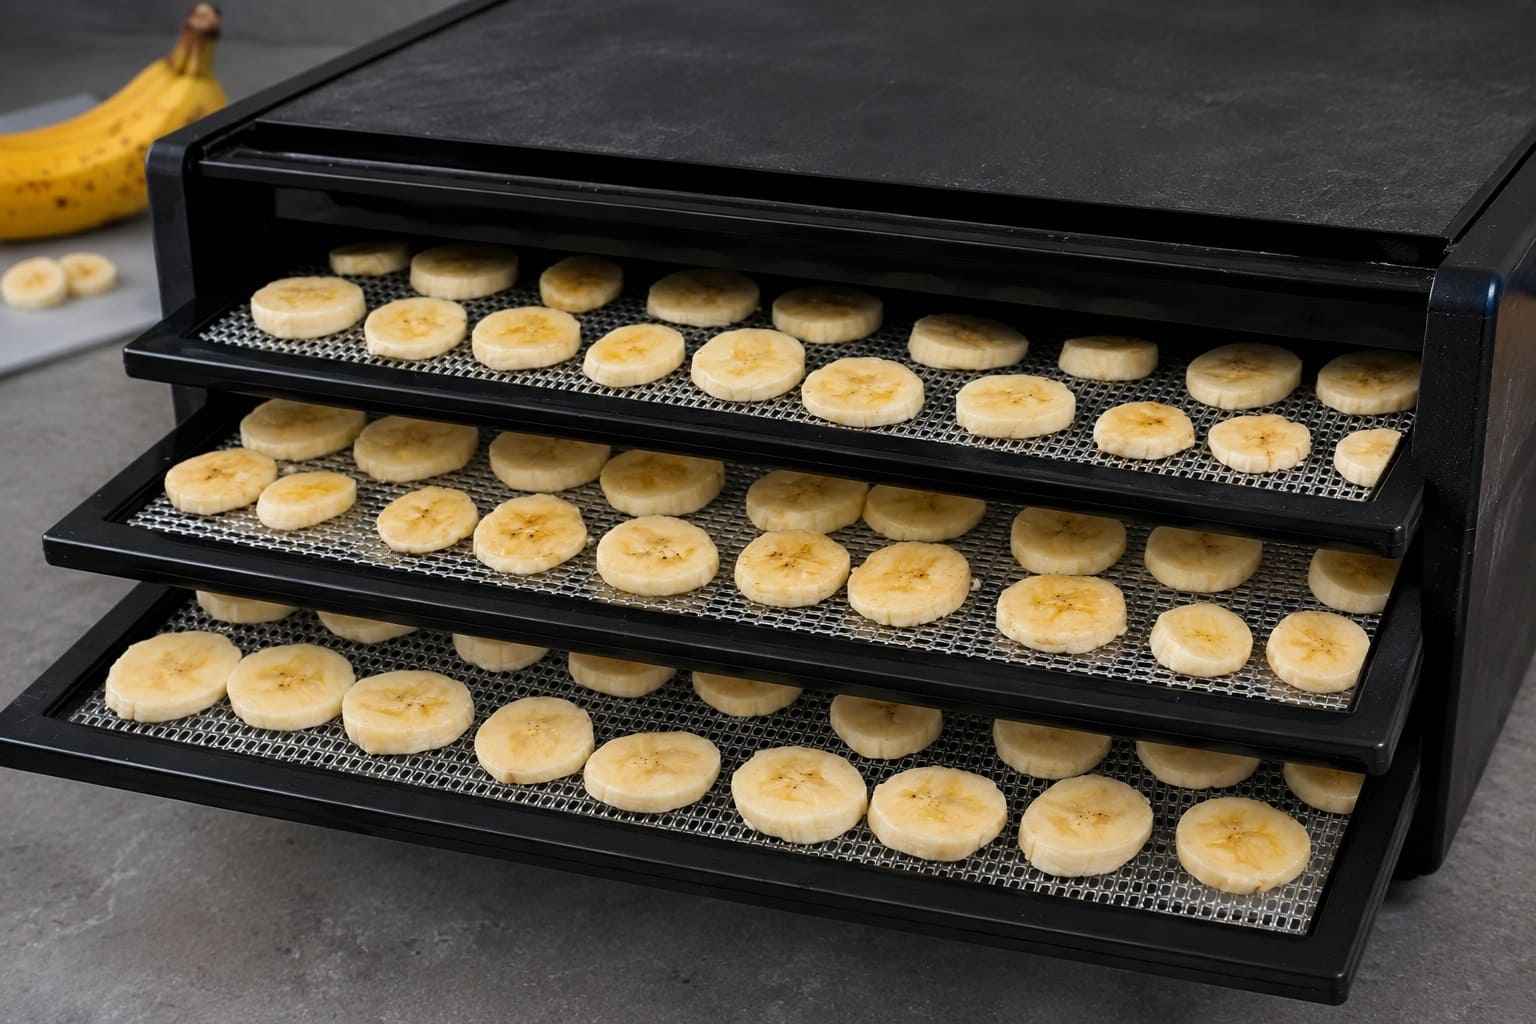
- Rotate if needed. If the fan sits at the top or bottom of your unit, swap the trays around every 3 to 4 hours. Rear-fan models usually dry evenly without it.
- Start checking at about 6 hours for chewy batches and 10 for crisp ones. A humid day, thick slices or a full load can push the time well past the usual range.
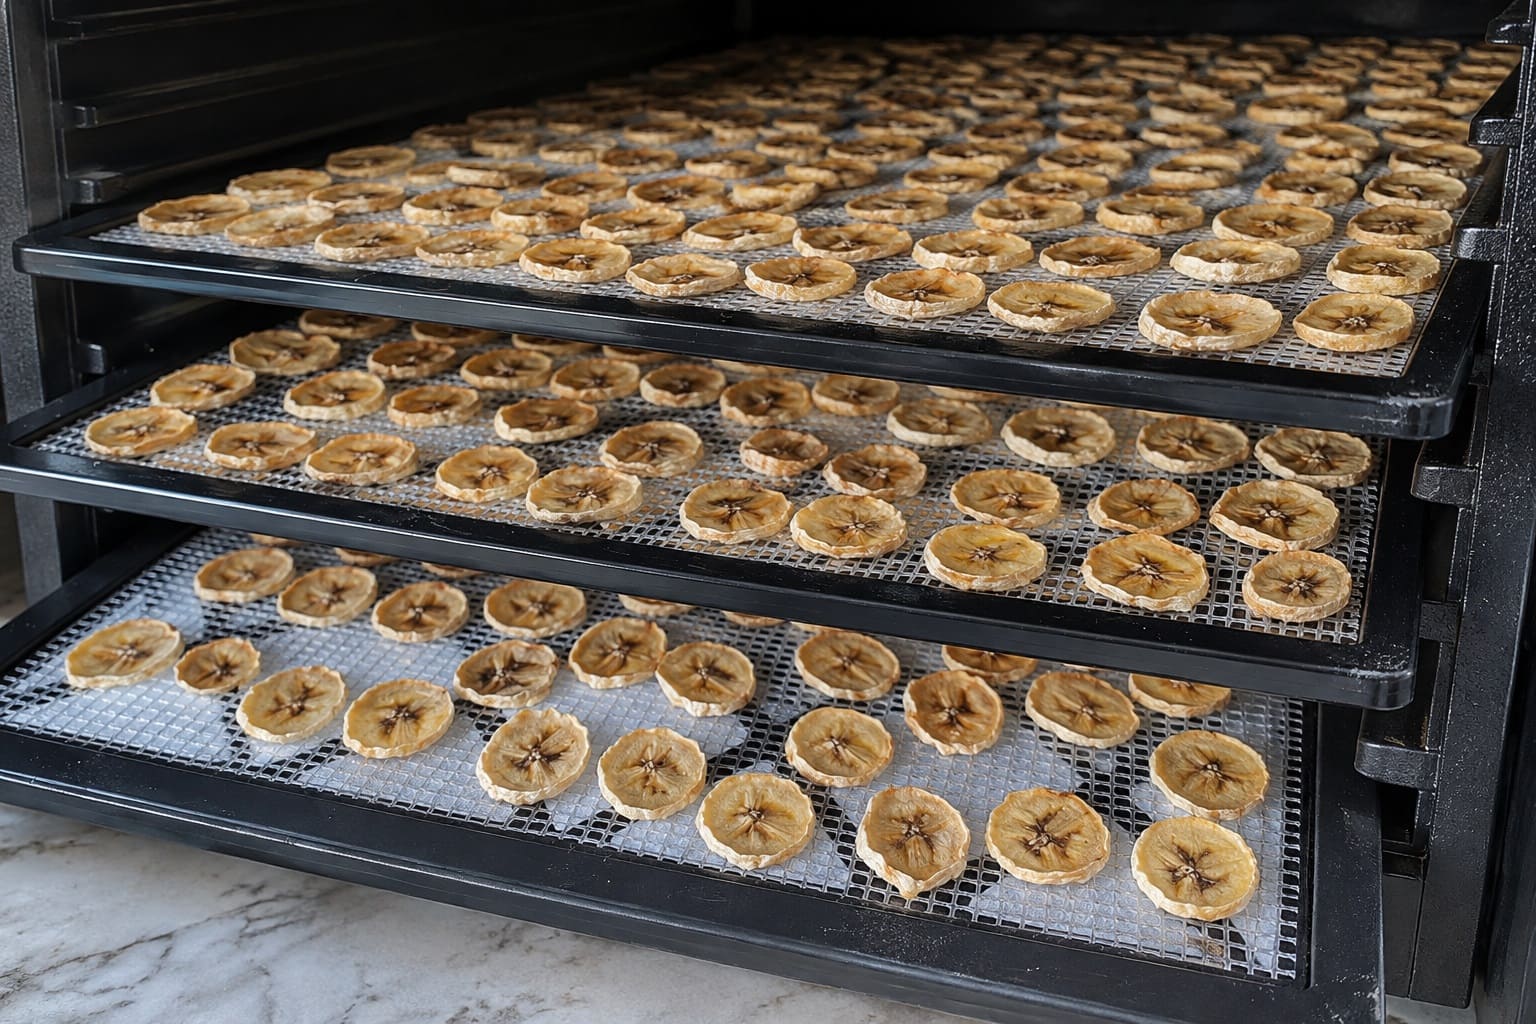
- Test a cooled piece using the doneness checks below, then move the batch on to conditioning.
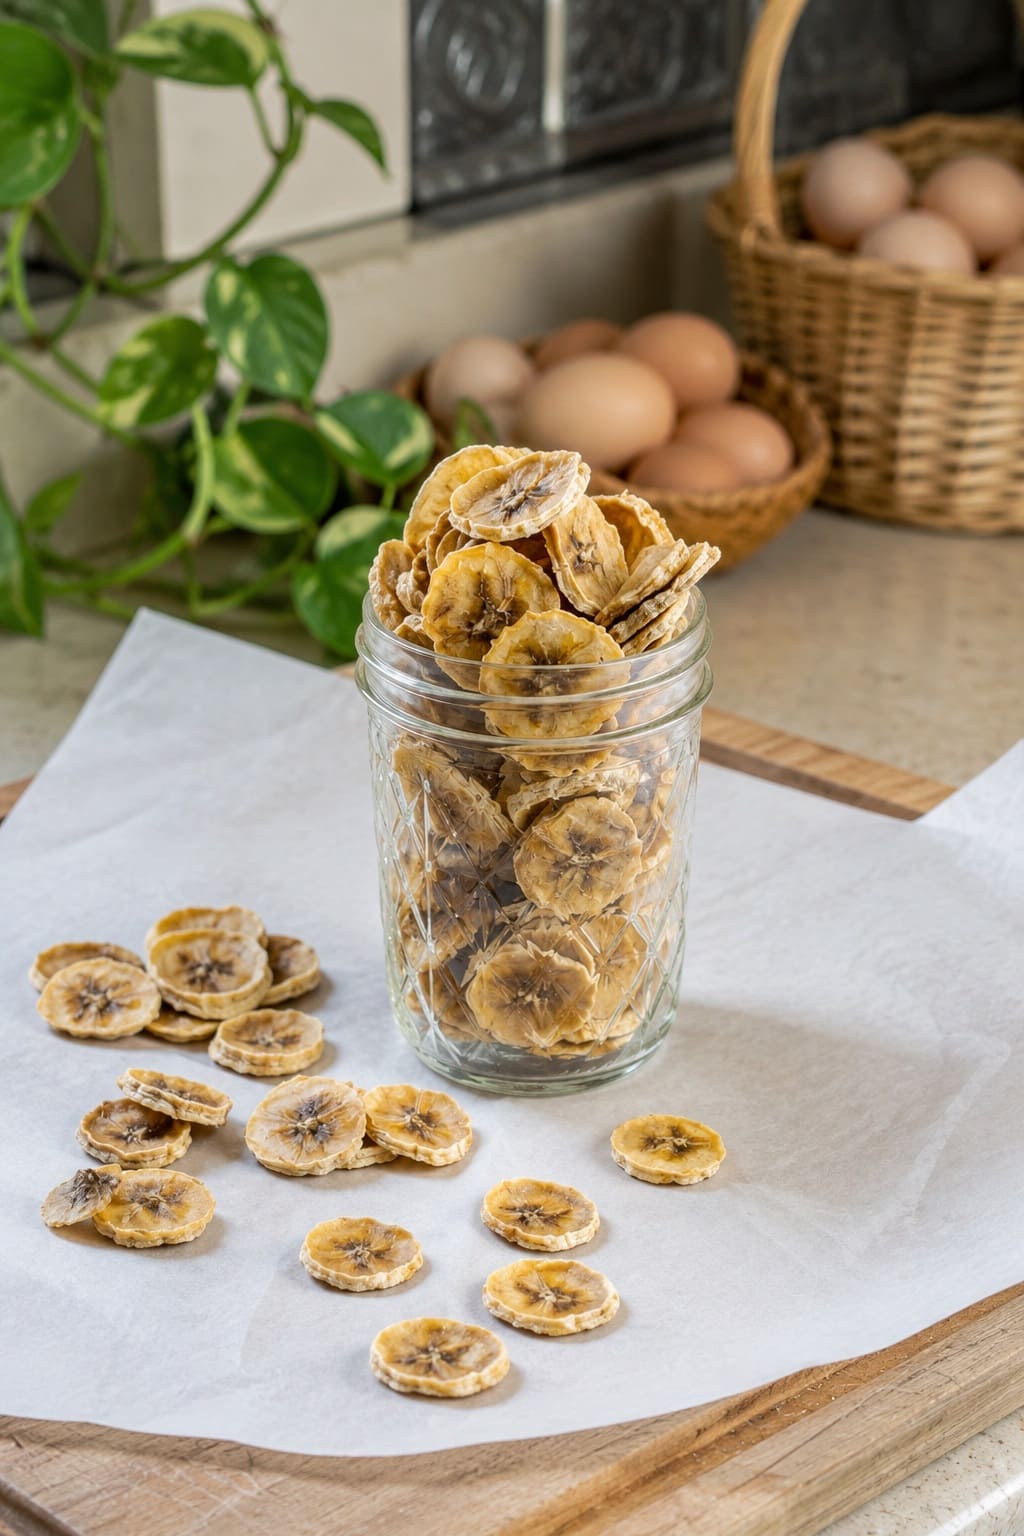
For scale, a 9-tray dehydrator takes about 20 to 25 pounds (9 to 11 kg) of unpeeled bananas, which dries down to roughly a gallon (3.8-liter) jar.
👉 Learn How to Dehydrate Apples at Home: Easy Steps for Perfect Results
How to Make Crispy Banana Chips
You can get a genuinely crisp dried banana, thin and brittle enough to snap, though not the dense crunch of a fried chip. Most batches that come out chewy were sliced too thick or pulled too soon, and four changes fix that:
- Slice thin. Aim for 1/16 to ⅛ inch (1.5 to 3 mm). This is where a mandoline earns its place.
- Dry longer. Crisp often takes 12 to 24 hours at 135 to 140°F (57 to 60°C). Keep going until a cooled slice snaps.
- Use sweet, ripe fruit you can still slice thin. People who chase crunch often report better results with riper bananas, while starchy fruit tends to stay leathery. The knife sets the limit: if slices tear at ⅛ inch, the fruit is too soft.
- Consider more heat. Some people run 155 to 165°F (68 to 74°C) for crisp chips and finish sooner. Higher heat can also scorch the sugar and harden the surface before the center dries, which is called case hardening. Only go hot with very thin slices.
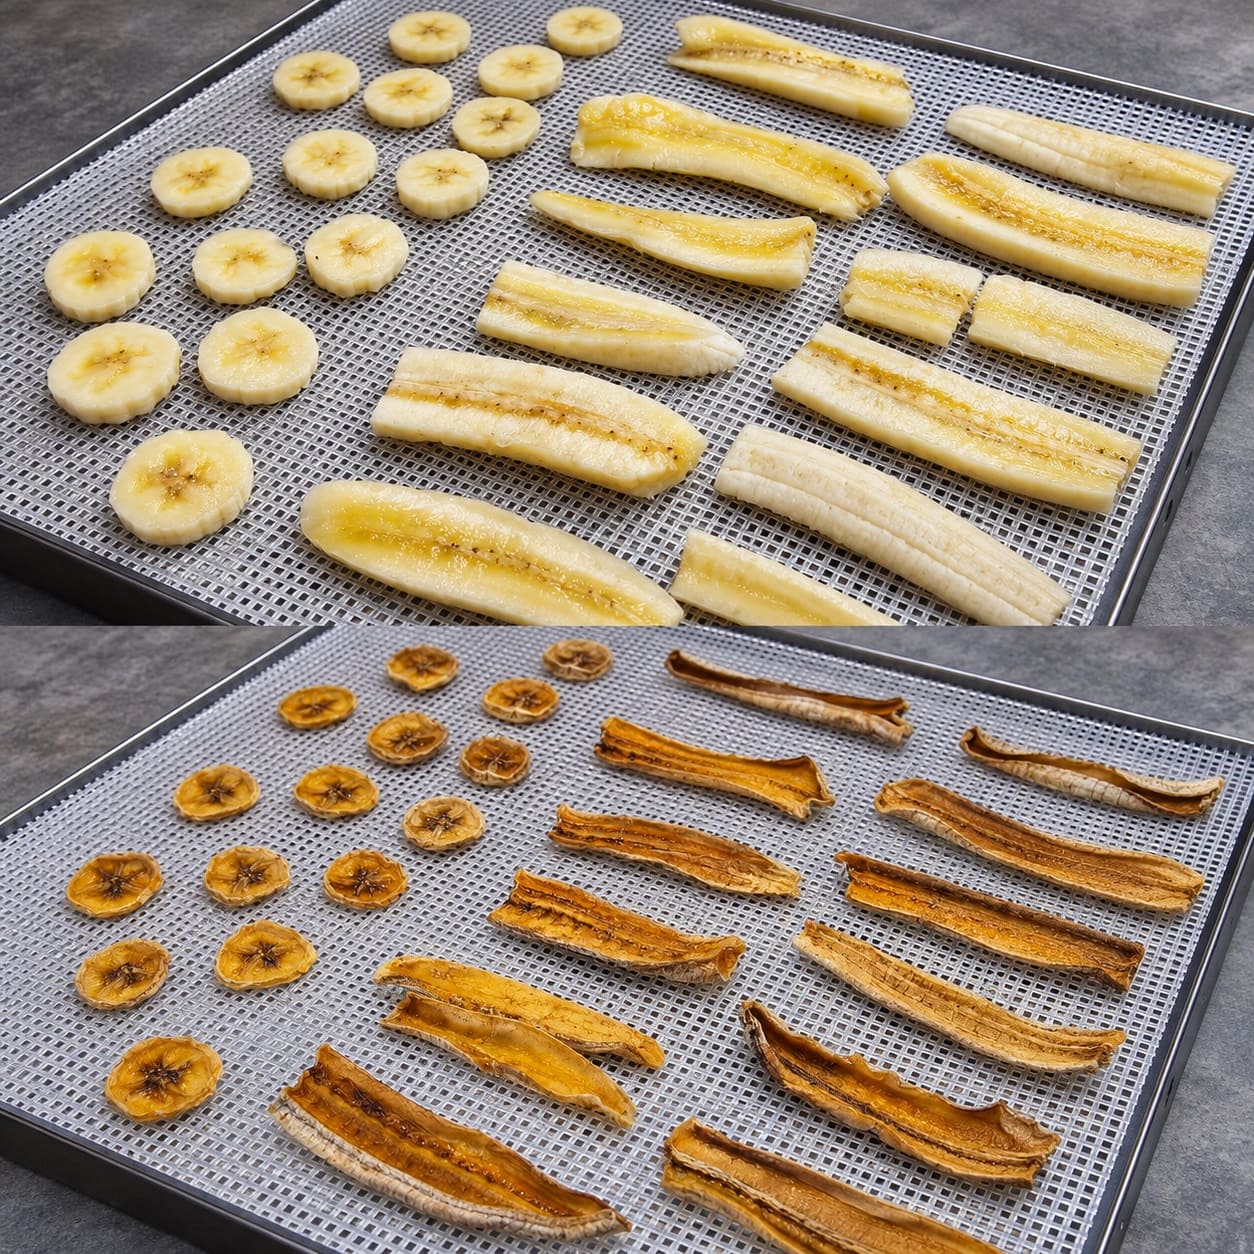
The last step decides whether they stay crisp. Dried banana is mostly sugar, and sugar pulls moisture out of the air, so a batch that snapped on the counter can go bendy within hours in a humid kitchen.
Seal crisp chips in an airtight jar as soon as they’re cool, and add a food-safe desiccant packet if you’ll open it often.
Oven, Air Fryer and Sun-Drying Compared
| Method | Temperature | Typical time | Best for |
| Dehydrator | 135–140°F (57–60°C) | 6–24 hours | Big batches, storage, most control |
| Oven | Lowest setting, often 170–200°F (77–93°C) | 2–4 hours for thin chips; 6–12 for strips | An occasional small batch |
| Air fryer, dehydrate mode | 130–135°F (54–57°C) | 3 hours or more | One or two racks at a time |
| Air fryer, air-fry mode | 350°F (177°C) | 10–15 minutes | A snack to eat the same day |
| Sun | 85°F (29°C) or hotter, low humidity | Several days | Hot, dry climates only |
Oven
Set it as low as it goes and check the real temperature with an oven thermometer, since dials are often off at the low end.
Put the slices on a wire rack over a sheet pan, prop the door open an inch or two (2.5 to 5 cm) with a ball of foil to let moisture out, and flip the slices halfway.
The lowest setting usually runs well above dehydrator temperature, so ovens scorch easily; start checking after the first hour. An oven with a true dehydrate setting at 135 to 140°F follows the dehydrator times.
Air fryer
The name covers two different techniques. A dehydrate setting that holds 130 to 135°F (54 to 57°C) behaves like a small dehydrator: a few hours, one or two racks, and a result you can store.
Air-frying at 350°F (177°C) for 10 to 15 minutes roasts the slices instead. They caramelize at the edges and taste great warm, but they hold too much moisture to keep, so eat them the same day.
Sun
Sun-drying needs several hot, dry days in a row. The National Center for Home Food Preservation sets a minimum of 85°F (29°C), with humidity below 60 percent.
Use a screen of stainless steel, food-grade plastic or Teflon-coated fiberglass, never galvanized hardware cloth, copper or aluminum, and cover the fruit with netting or cheesecloth against insects.
Raise the frame off the ground and bring it indoors at night so dew doesn’t undo the day’s progress.
Sun-dried fruit can carry insect eggs, so pasteurize it afterward: Ohio State University Extension advises freezing it in a sealed bag for 48 hours or heating it at 150°F (66°C) for 30 minutes.
Skip the microwave. Microwaved banana slices aren’t dry enough to store and spoil about as quickly as fresh fruit.
👉 Learn How to Dry Mint at Home (4 Easy Methods for Best Flavor)
How to Tell When Dried Bananas Are Done
Never judge a warm piece. Dried fruit is soft straight out of the heat and firms as it cools, so pull a slice, give it 10 minutes on the counter, then test it.
- Chewy and done: leathery and pliable. It bends without snapping and may feel slightly tacky, but not soft or fleshy.
- Crisp and done: it breaks cleanly with a snap.
- Either way: tear a piece in half and squeeze the torn edge. No moisture should appear.
Pieces that tear as you lift them, or still feel squishy in the middle, need more time. Trays rarely finish evenly, so take off what’s done, gather the stragglers onto one tray and give them another hour or two.
If you’d rather check with a number, weigh the slices before and after. Peeled banana is about 75% water, and home-dried fruit should end up around 20% moisture, according to the National Center for Home Food Preservation.
Working that through, a pound (450 g) of peeled slices holds about 4 ounces (113 g) of solids, so it should finish near 5 ounces (140 g) when chewy and closer to 4½ ounces (125 g) when crisp. A batch that still weighs much more than that isn’t done.
Conditioning and Storing Dried Bananas
Conditioning is what keeps a jar from going moldy months later. Even in a well-run batch, some pieces hold more moisture than others. Sealed together, the moisture evens out, and if there’s too much, the jar shows you.
- Let the bananas cool completely.
- Pack them loosely into a clear glass jar, about two-thirds full, and seal it.
- Leave the jar at room temperature for 7 to 10 days, shaking it once a day to separate the pieces.
- Watch the glass. Condensation means the fruit needs more drying, so return it to the dehydrator and condition it again. Any sign of mold means the whole jar gets thrown out.
Snacks you’ll finish within a week or two can skip conditioning and go straight into a sealed container.
After conditioning, store dried bananas airtight in a cool, dark, dry place, and label the jar with the date. Warmth shortens shelf life: most dried fruit keeps about a year at 60°F (16°C) and about 6 months at 80°F (27°C).
Vacuum-sealed jars or Mylar bags help them keep longer, and a desiccant packet helps in a humid house. For crisp chips, the freezer is the best long-term spot.
Let a frozen jar come to room temperature before you open it, or condensation will form on the cold fruit and soften it.
Troubleshooting Dried Bananas
- Chewy when you wanted crisp. The slices were too thick or came out too soon. Go thinner and add hours, and let a test slice cool fully before deciding.
- Stuck to the trays. Usually very ripe fruit on bare trays, or pieces that aren’t dry yet. Use flexible liners, flip the slices once early on, and give stubborn pieces more time, since dry banana releases far more easily than damp.
- Almost black. No pretreatment plus a long, warm run. It’s harmless, and a dip with a slightly cooler, shorter dry gives a lighter color.
- Tastes green or flat. The bananas went in underripe. Wait for a few brown freckles next time.
- Clumped together in the jar. A little leftover moisture, or thin slices and strips with lots of tacky surface. Shake the jar daily while conditioning, and dry truly stuck pieces longer.
- Moldy weeks later. The fruit wasn’t dry enough, or it was dried so hot that the outside sealed over a damp center. Throw the batch out, and next time dry longer at a moderate temperature and condition before storing.
Ways to Use Dried Bananas
Eat them plain, add them to trail mix, stir them into granola after baking, or scatter them over oatmeal and yogurt. Chips dipped halfway in melted dark chocolate make an easy dessert.
Fully crisp chips grind into banana powder in a spice or coffee grinder; chewy pieces just gum up the blades.
Pulse in short bursts and store the powder airtight with a desiccant packet, because its sugar makes it clump. A spoonful adds banana flavor to smoothies, pancake batter or frosting.
To soften dried banana for baking, cover the pieces with boiling water for about 10 minutes, then drain them and save the banana-flavored water for the batter.
Don’t expect fresh slices back. Rehydrated banana turns soft and mushy, which suits banana bread, muffins and pancakes but not a fruit salad. Refrigerate any you don’t use right away.
👉 Further reading: Can Chickens Eat Bananas? Benefits, Risks & Feeding Tips
Frequently Asked Questions
Can you dehydrate frozen bananas?
You can, but it isn’t worth it for slices. Thawed banana goes watery and soft, so it won’t slice cleanly or hold its shape, and it takes longer to dry. Frozen bananas are better used in smoothies, baking or banana leather, where texture doesn’t matter.
Are dried bananas healthy?
They’re banana with most of the water removed, so the fiber and potassium stay, and so does all the sugar, in a much smaller package.
At roughly 100 calories per ounce (28 g), going by USDA figures, they make good hiking and lunchbox food rather than a light snack.
They’re still far leaner than fried banana chips, which run closer to 150 calories per ounce and get about a third of their weight from fat, mostly saturated.
Can you dry bananas with other fruit in the same dehydrator?
Yes. Group trays by drying time rather than by fruit; apple and pineapple slices finish on a schedule similar to banana’s, while juicier fruit takes longer.
Keep onions, garlic and peppers out of the same load, since the circulating air carries their flavor into sweet fruit.
Start With Two Trays
The quickest way to find your version is a side-by-side test. Load one tray with ¼-inch (6 mm) rounds of freckled bananas and another with ⅛-inch (3 mm) slices of the ripest fruit you can still cut cleanly, and dry both at 135°F (57°C).
Pull the thick tray when it turns leathery, and keep the thin one going until it snaps. Taste them side by side once cool, and note the thickness, temperature and hours of the one you like so you can repeat it.
After that, watch the markdown rack at the grocery store. Bananas discounted for a few brown freckles are exactly the ones that dry best.

