
Canning peaches is one of the friendliest ways to start water bath canning. Yellow peaches are acidic enough to process in a pot of boiling water, they need no added lemon juice, and the only ingredients are fruit and a syrup as sweet or as plain as you like.
The catch is that a lot of peach recipes in circulation get the processing time wrong, usually by mixing up raw and hot packs.
This guide gives you the tested method, the right time for your jar size and altitude, and the fixes for floating, browning and leaking jars.
At a glance
- Peaches: yellow-fleshed only, ripe but still firm. Never white or donut peaches.
- How many: about 17½ pounds (7.9 kg) for 7 quarts, or 11 pounds (5 kg) for 9 pints.
- Method: boiling water canner; a pressure canner is optional, not required.
- Headspace: ½ inch (1.25 cm).
- Time at 0 to 1,000 feet (0 to 305 m): hot pack 20 minutes for pints, 25 for quarts. Raw pack 25 for pints, 30 for quarts. Add time at higher altitudes.
Start With the Right Peaches
Yellow Flesh Only
Every tested canning process for peaches was developed with yellow-fleshed fruit, which typically runs from about pH 3.3 to 4.0. Boiling water canning is only safe for foods below pH 4.6.
Some white-fleshed varieties come in above that line, and the National Center for Home Food Preservation (NCHFP) says there is currently no tested pressure process and no researched way to acidify white peaches for the water bath.
You’ll find blogs that list a white variety such as Southern Pearl among “canning peaches,” or suggest a spoonful of lemon juice will fix the acidity.
Neither is backed by testing. Flat donut (Saturn) peaches are usually white-fleshed, so treat them the same way. Freeze or dry white peaches instead.
Freestone or Clingstone
Freestone peaches let go of the pit when you twist the halves apart, which makes them the easy choice for halves and big batches.
Clingstone flesh grips the pit, so you end up cutting slices off the stone. Many canners swear clings stay firmer and taste better, and they can just as safely; plan on slices rather than neat halves.
In many growing regions the earliest peaches of the season are clings and the freestones follow a few weeks later, so ask the grower which you’re buying.
Varieties extension services recommend for canning include Elberta, Redhaven, Cresthaven, Sunhigh, Loring and Glenglo, but any good yellow eating peach from your area will work.
Ripe but Still Firm
Look at the background color, not the red blush. It should be yellow or cream with no green around the stem. Pick fruit that gives slightly when you press near the stem but doesn’t dent.
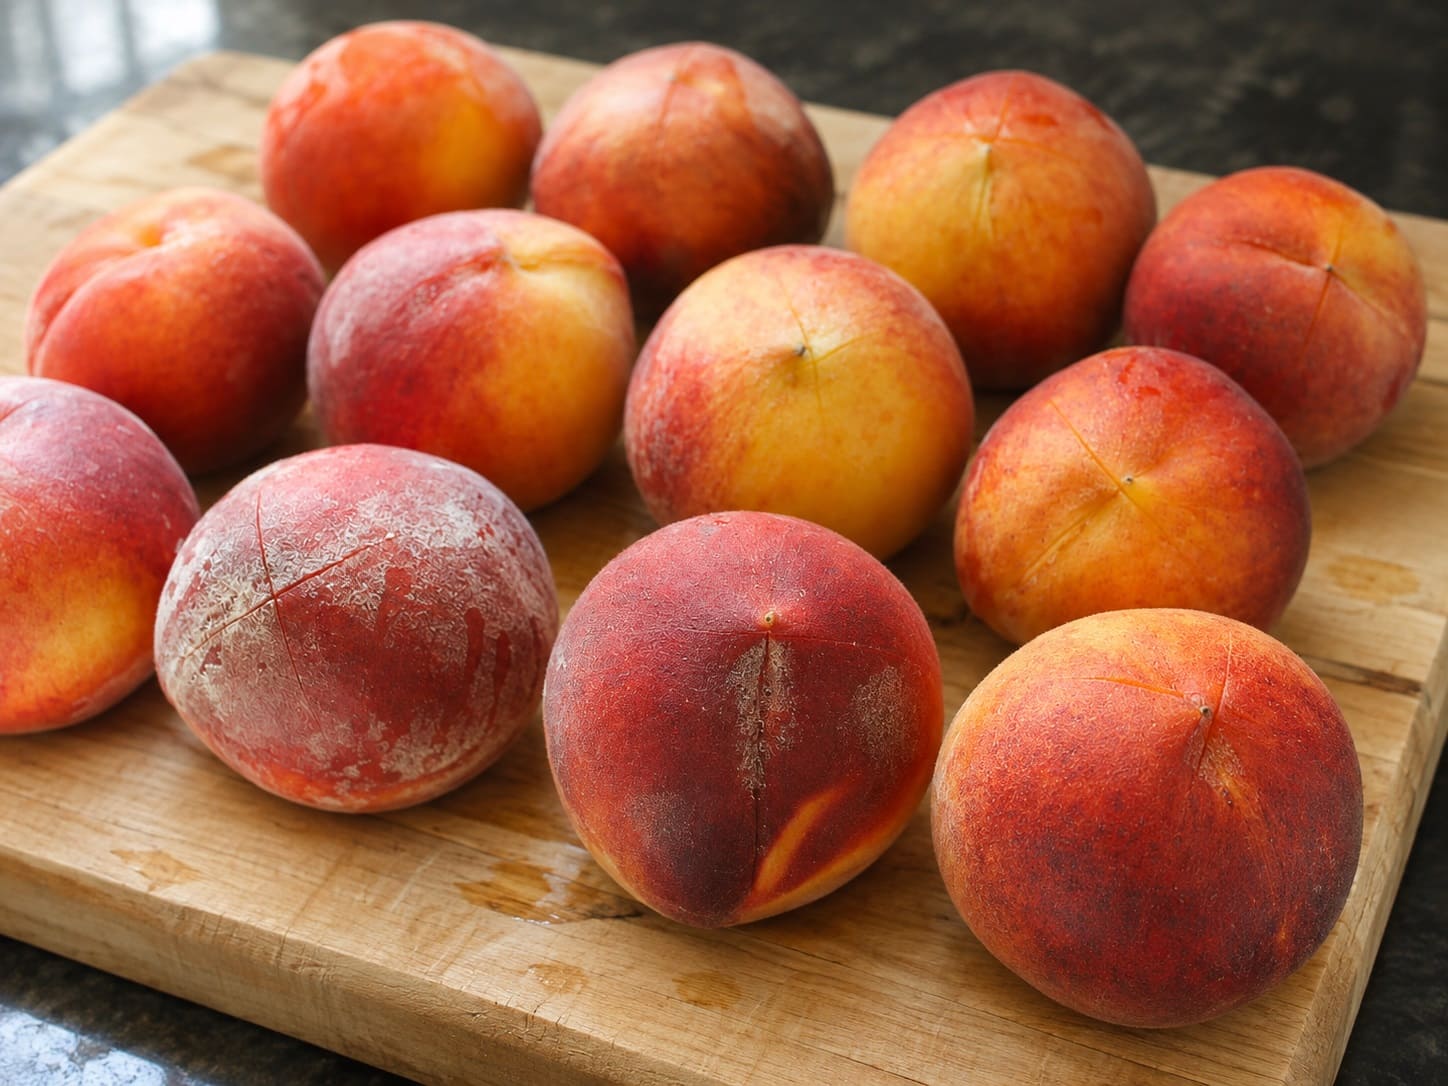
Overripe peaches turn to mush and float in the jar; hard green ones are miserable to peel and won’t ripen properly.
Peaches sold for canning are often picked firm. Spread them out in a single layer at room temperature, or close a few in a loose paper bag, and check them every day. They usually come ready in 2 to 3 days, and not all at once, so can the ripest ones first.
Soft or bruised fruit is better turned into jam or peach butter than squeezed into jars.
How Many to Buy
Plan on an average of 2½ pounds (1.1 kg) of whole peaches per quart jar and about 1¼ pounds (570 g) per pint, a little less for halves, which leave gaps, and a little more for slices, which pack tighter.
A full bushel weighs 48 pounds (22 kg) and gives 16 to 24 quarts. A 25-pound (11 kg) box, the size many peach trucks and orchards sell, fills roughly 10 quarts. Buy a few extra to cover bruises and the fruit you’ll eat while you work.
What You Need
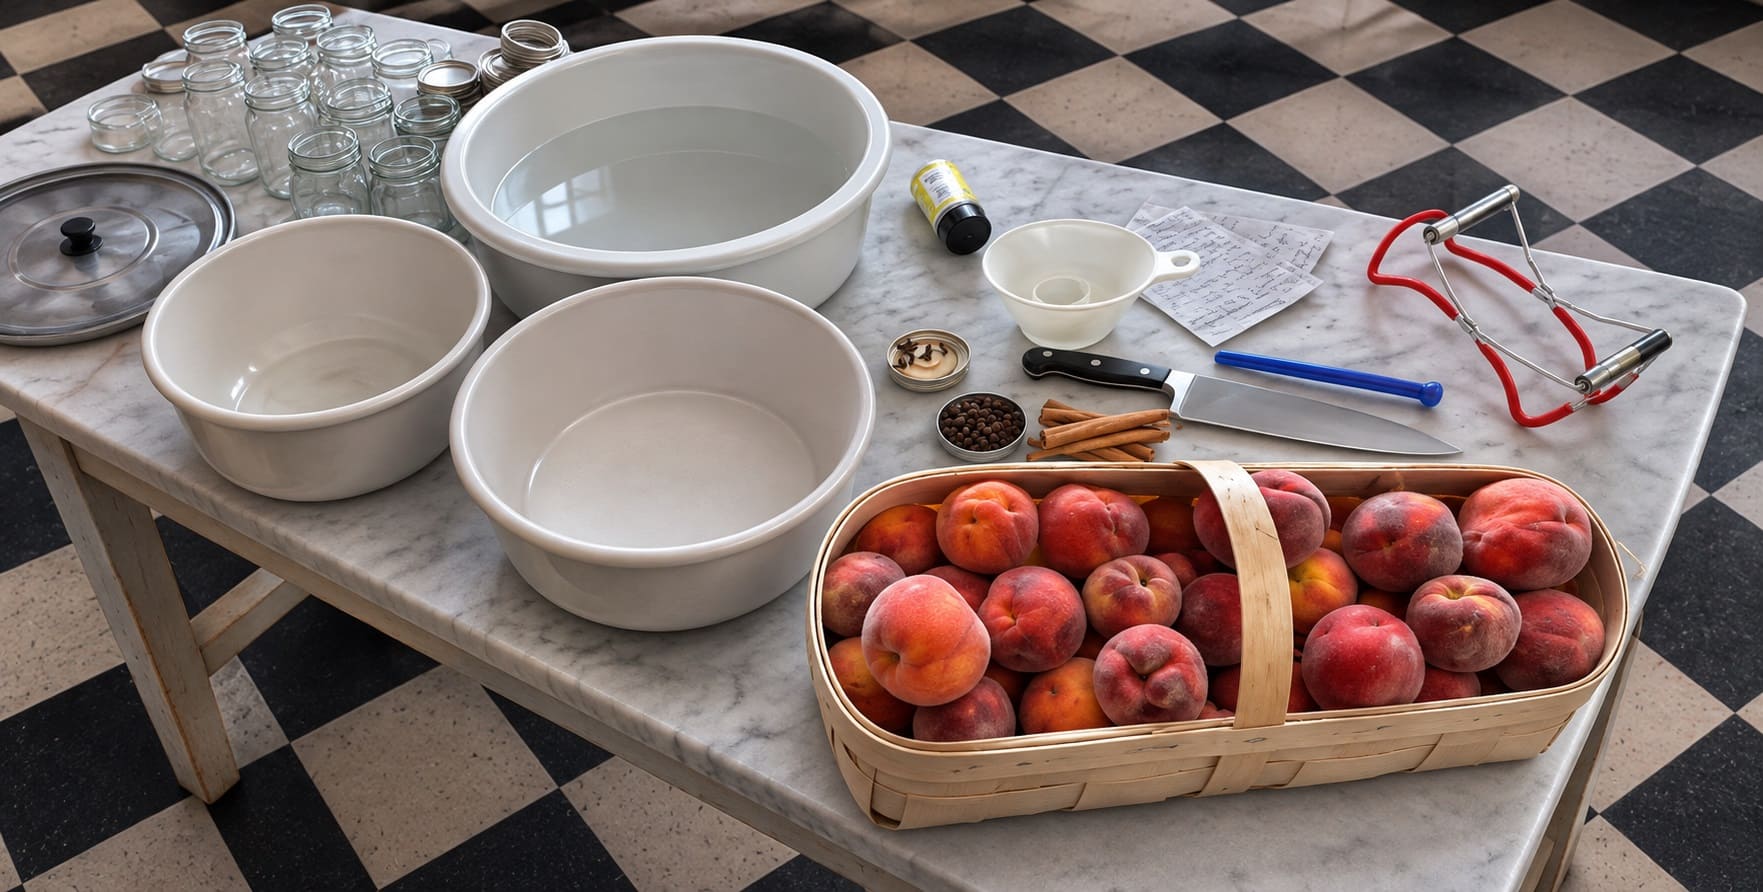
- A boiling water canner, or any deep pot with a rack.
It has to hold enough water to cover the jars by 1 to 2 inches (2.5 to 5 cm) while boiling. A rack, or a layer of canning rings tied together, keeps jars off the hot bottom.
On an electric range, use a flat-bottomed canner no more than 4 inches (10 cm) wider than the burner, and check your range maker’s advice for a glass top.
- Pint or quart canning jars.
Peach times were tested in pints and quarts only, so skip half-gallon jars and odd sizes. Check the rims for nicks.
Wash the jars, and keep them hot until you fill them. Anything processed 10 minutes or more needs no presterilizing, so a clean jar is enough.
- New flat lids and clean bands.
Prepare the lids the way the manufacturer says; most current lids no longer need simmering.
- Small tools
A jar lifter, a wide-mouth funnel, a plastic bubble remover or thin spatula, a ladle and slotted spoon, and towels for the counter.
- For prep:
A big pot for blanching, a bowl of ice water and a large bowl for the anti-browning soak.
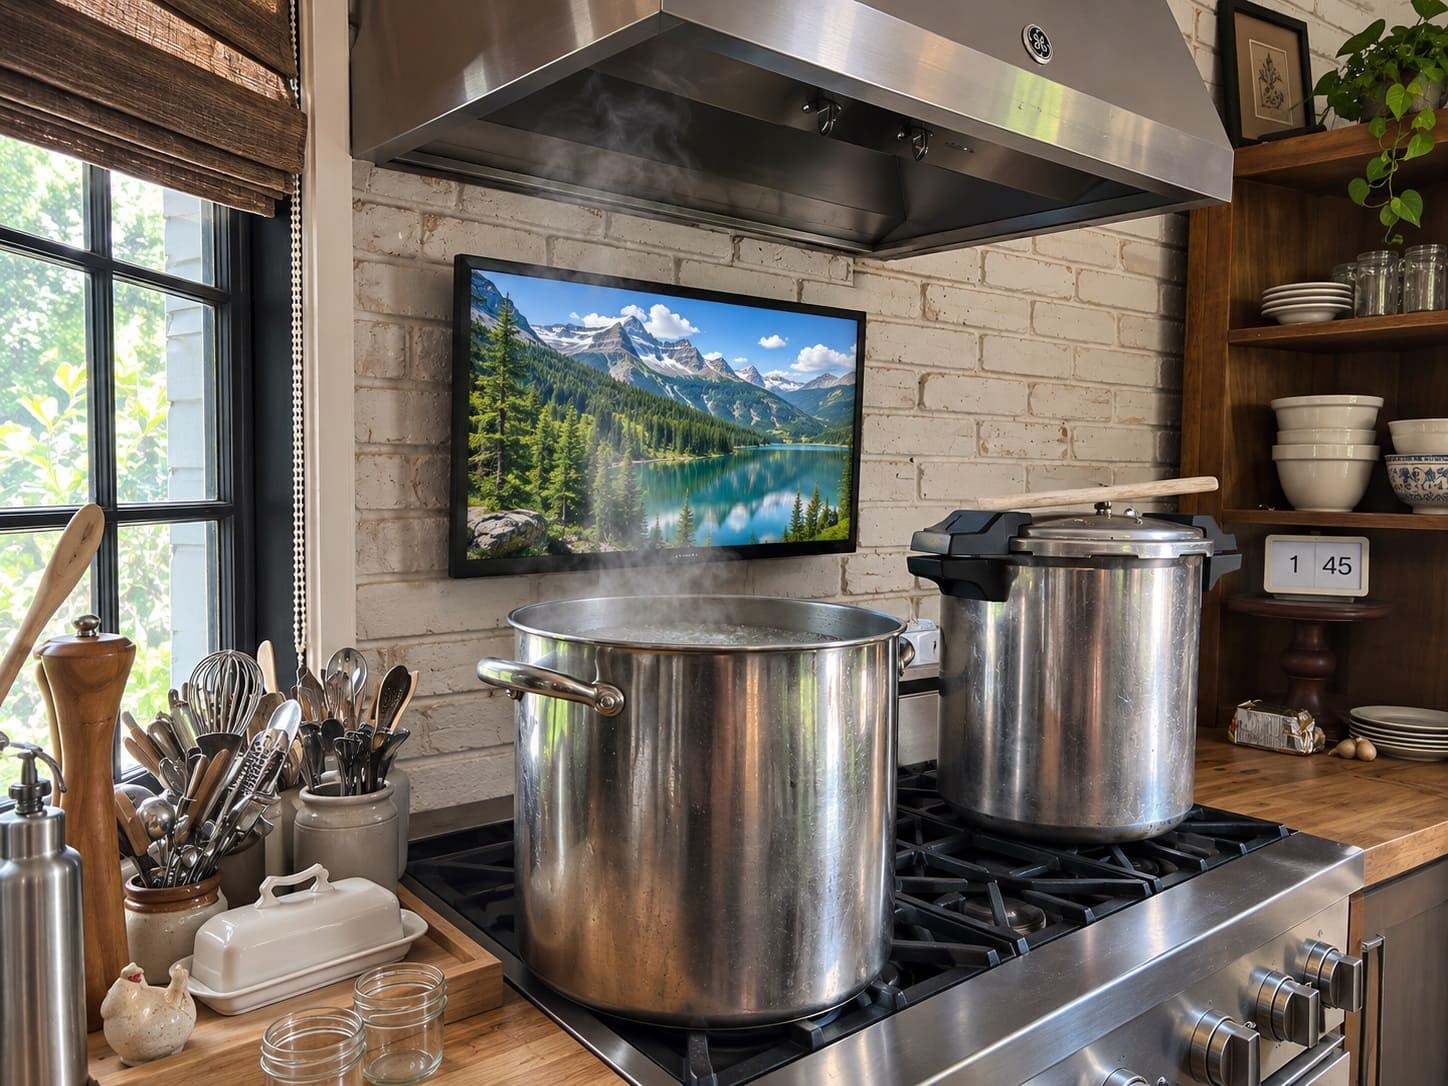
An atmospheric steam canner also works for peaches, with the same times as a water bath, as long as you follow its directions: vent all the air out before you start timing, keep it at full steam the whole time, fill preheated jars and load them promptly, and keep the total time at 45 minutes or less.
Every peach time, even with the altitude adjustment, fits under that limit.
Choose Your Canning Liquid
Sugar in canned fruit is there for quality, not safety. It helps peaches hold their color, shape and flavor, but the heat of processing is what preserves them, so you can can peaches in plain water if you want.
The trade-off is real: water-packed peaches come out softer and paler and taste washed-out after a few months.
“Light syrup” means wildly different things from one recipe to the next, anywhere from about 10 to 33 percent sugar. These are the NCHFP measurements, with the sugar percentage so you can compare:
| Syrup | Sugar | For 9 pints | For 7 quarts |
| Very light | about 10% | 6½ cups water + ¾ cup sugar | 10½ cups water + 1¼ cups sugar |
| Light | about 20% | 5¾ cups water + 1½ cups sugar | 9 cups water + 2¼ cups sugar |
| Medium | about 30% | 5¼ cups water + 2¼ cups sugar | 8¼ cups water + 3¾ cups sugar |
A US cup is 240 ml and a cup of sugar weighs about 200 g. Very light syrup comes close to the natural sugar level of the fruit itself.
Light is the usual choice, and medium tastes like dessert. Heavier syrups aren’t unsafe, but they make fruit float more.
The 9-pint batch also covers a 4-quart load, and hot packs use less syrup than raw packs because the fruit releases juice as it heats.
Other liquids work too:
- Unsweetened apple or white grape juice, straight or cut with water, adds sweetness without refined sugar.
- NCHFP’s guidance is to replace up to half the sugar with a mild-flavored honey. Honey is sweeter than sugar, so you need a little less of it. It doesn’t make the jars any safer than sugar does.
- Sugar substitutes. Research at the University of Georgia found Splenda in a full- or half-strength medium syrup worked for peaches. Aspartame breaks down when heated and saccharin can turn bitter. Stevia hasn’t been tested, so it’s simpler to sweeten at the table.
For spiced peaches, add whole spices to each jar: a cinnamon stick and a few cloves or allspice berries. Ground spices turn the syrup cloudy. Leave untested additions such as coconut milk, other fruits, fresh herbs or a peach pit out of the jar.
Hot Pack or Raw Pack?
This is the choice most peach recipes get wrong. The pack style describes the fruit, not the liquid:
- Hot pack: you heat the peaches in boiling syrup, juice or water, then fill the jars with hot fruit and liquid.
- Raw pack: you put uncooked peaches in the jars and pour boiling liquid over them.
Pouring boiling syrup over raw slices is still a raw pack, and it needs 5 more minutes in the canner than a hot pack.
You’ll often see recipes that raw-pack the fruit but list the hot-pack times of 20 and 25 minutes, or one time for both jar sizes.
Those jars are underprocessed. If a recipe doesn’t say which pack it uses, or its times don’t match the chart below, use the chart.
Both packs are safe when you use the right time, but hot packing gives a noticeably better jar.
Heating drives air out of the fruit, so the peaches shrink before they go in rather than in the canner. You fit more fruit per jar, it floats less, it loses less liquid and it keeps its color longer.
NCHFP flatly says raw-packed peaches are poor quality. Ball goes further and says to hot pack whenever you use water or juice.
Raw packing does save a little handling, and it’s fine for a small batch you’ll eat within a few months. For anything headed to the back of the pantry, hot pack.
How to Can Peaches Step by Step
This recipe makes a full canner load of 7 quarts in light syrup, hot packed. For 9 pints, use 11 pounds of peaches and the 9-pint syrup amounts.
Ingredients
- 17½ pounds (7.9 kg) ripe, firm yellow peaches
- 9 cups (2.1 L) water and 2¼ cups (450 g) sugar for light syrup, or another liquid from the table above
- Anti-browning treatment: 1 teaspoon (3,000 mg) ascorbic acid powder, or six crushed 500-mg vitamin C tablets, dissolved in 1 gallon (3.8 L) cold water
Plain lemon water helps too, but ascorbic acid works better, and citric acid powder on its own does little to stop browning.
Steps
- Wash the jars and keep them hot in the canner or a sink of hot water. Put the rack in the canner, fill it about halfway and heat the water to 180°F (82°C). Prepare the lids.
- Mix the anti-browning solution in a large bowl. Make the syrup in a wide pot by bringing the water and sugar to a boil.
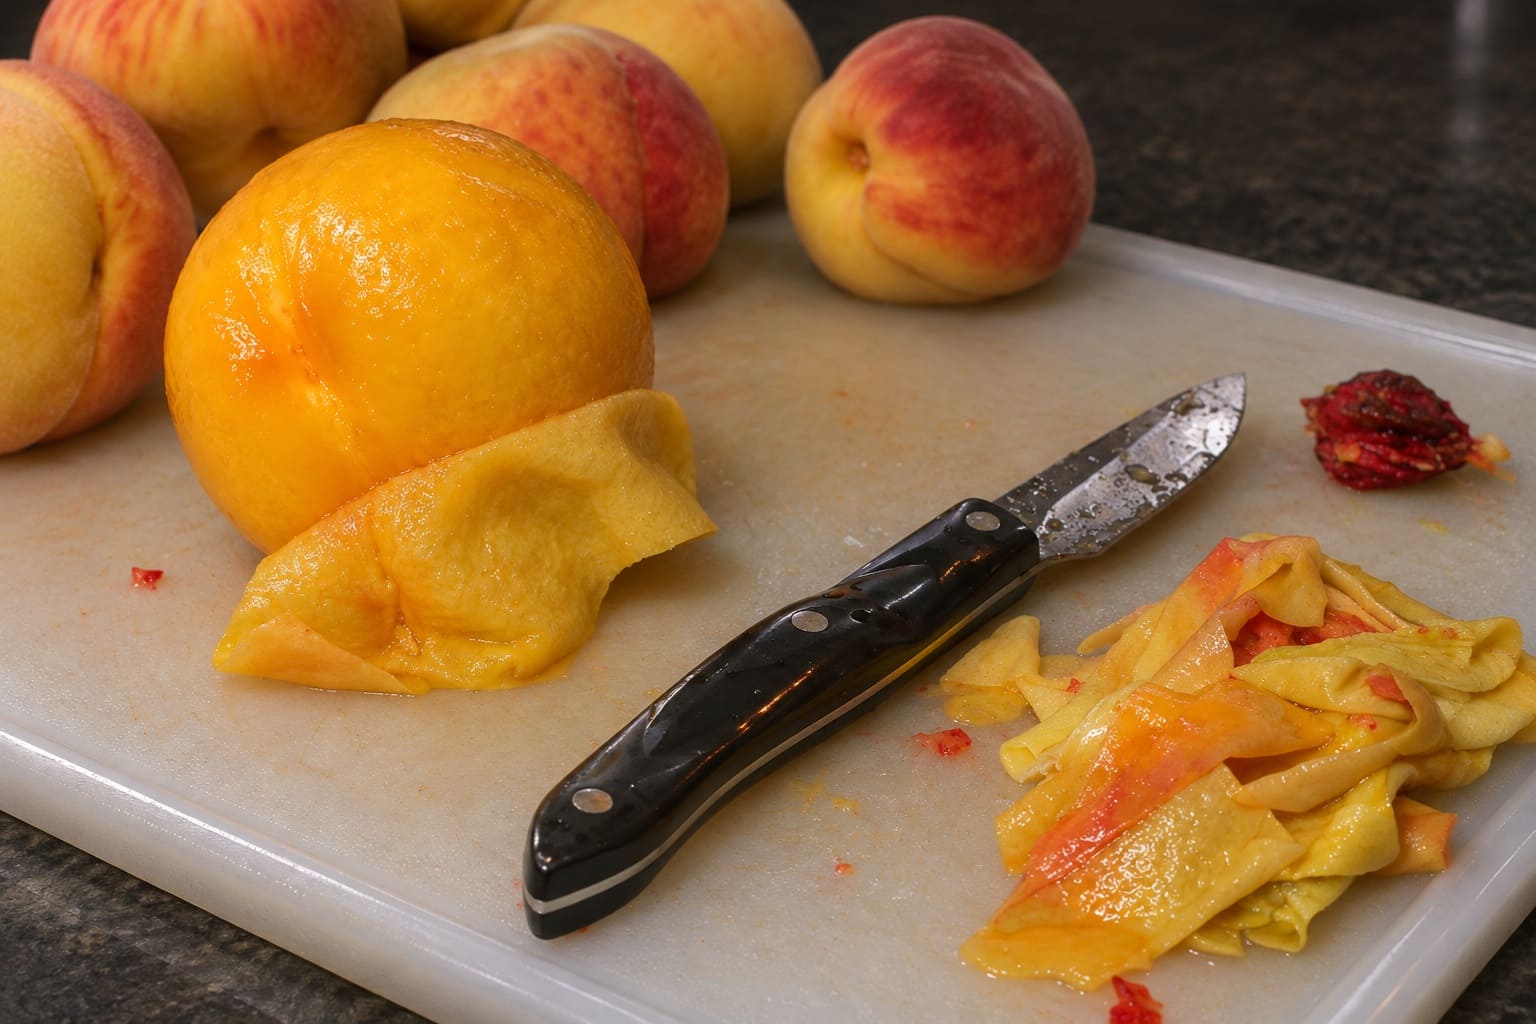
- Heat a second large pot of water until it boils. Lower in a few peaches at a time for 30 to 60 seconds, until the skins loosen, then move them straight into ice water. If the skins still cling after a minute, the fruit isn’t ripe enough; leaving it in longer just cooks the outside.
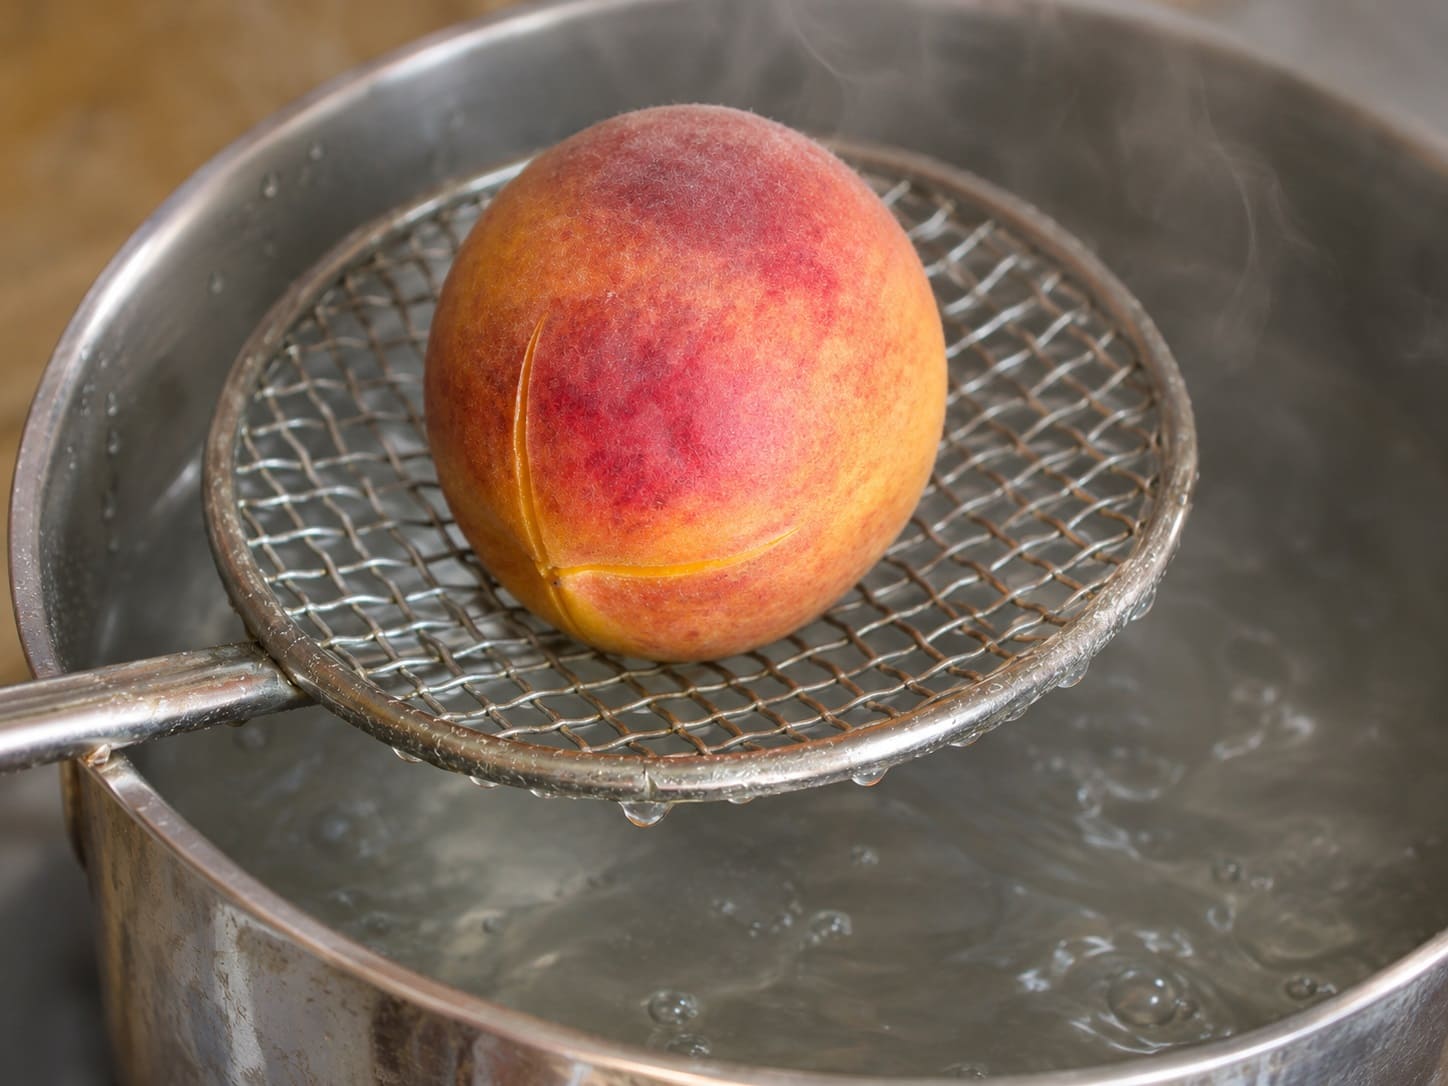
- Slip off the skins. Cut each peach in half along the seam, twist out the pit and scrape away any loose red fibers in the cavity, which darken in storage. Leave them as halves or cut thick slices, and drop the pieces into the anti-browning solution as you go.
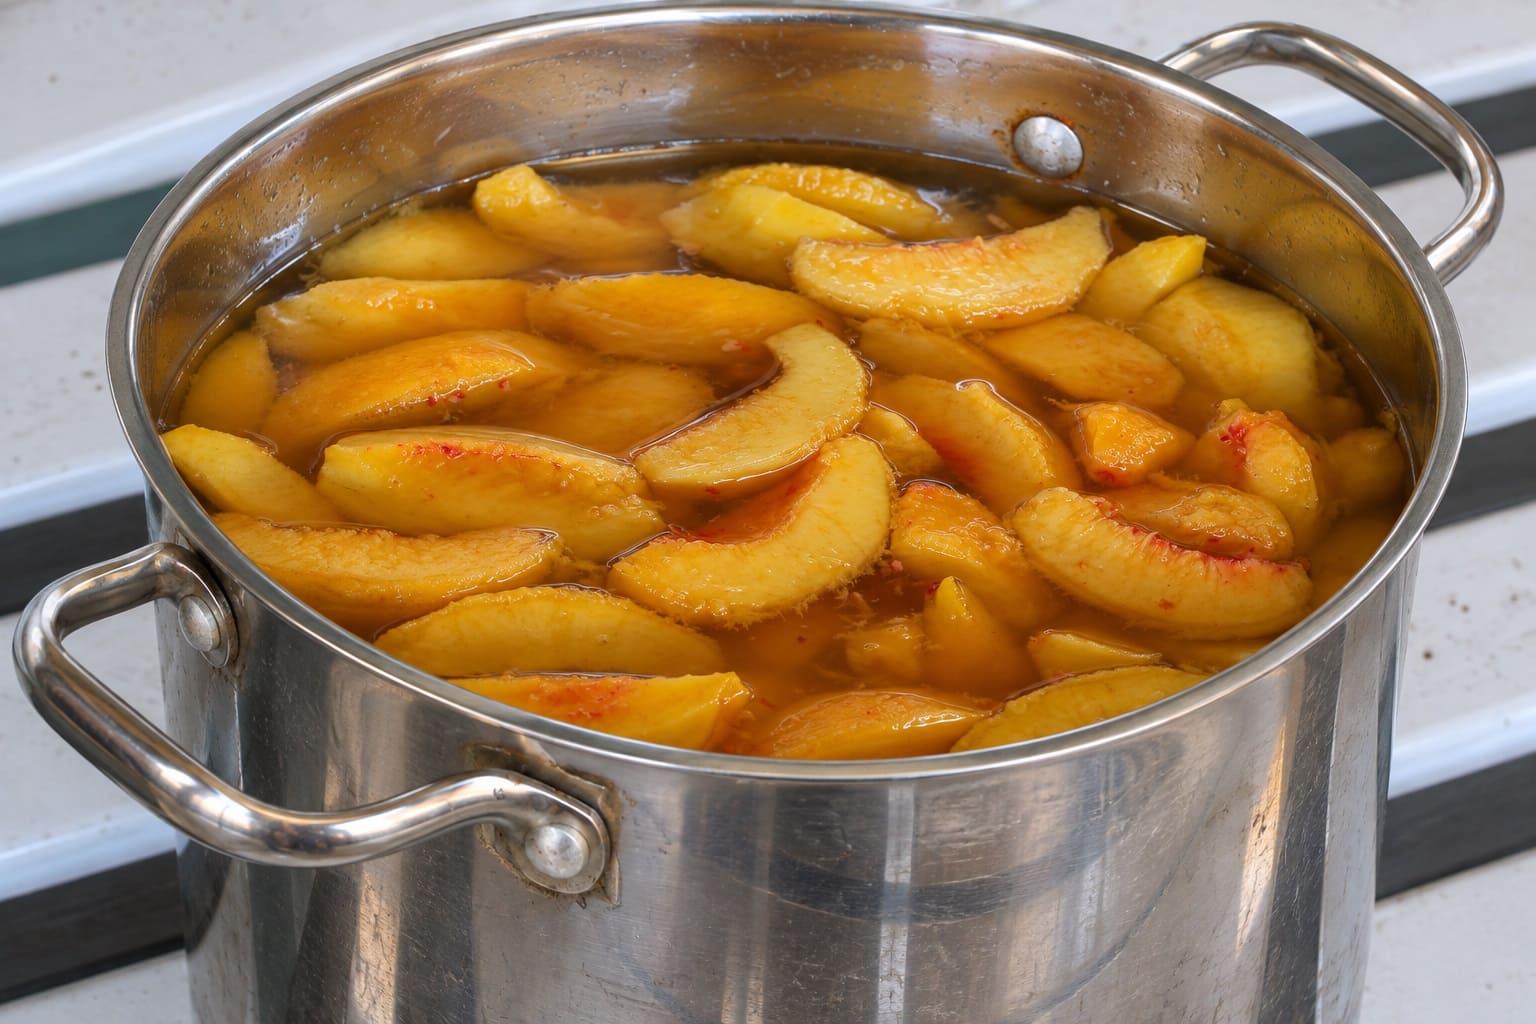
- Drain the peaches and add them to the boiling syrup, one layer deep so the syrup covers them. Bring the syrup back to a boil.
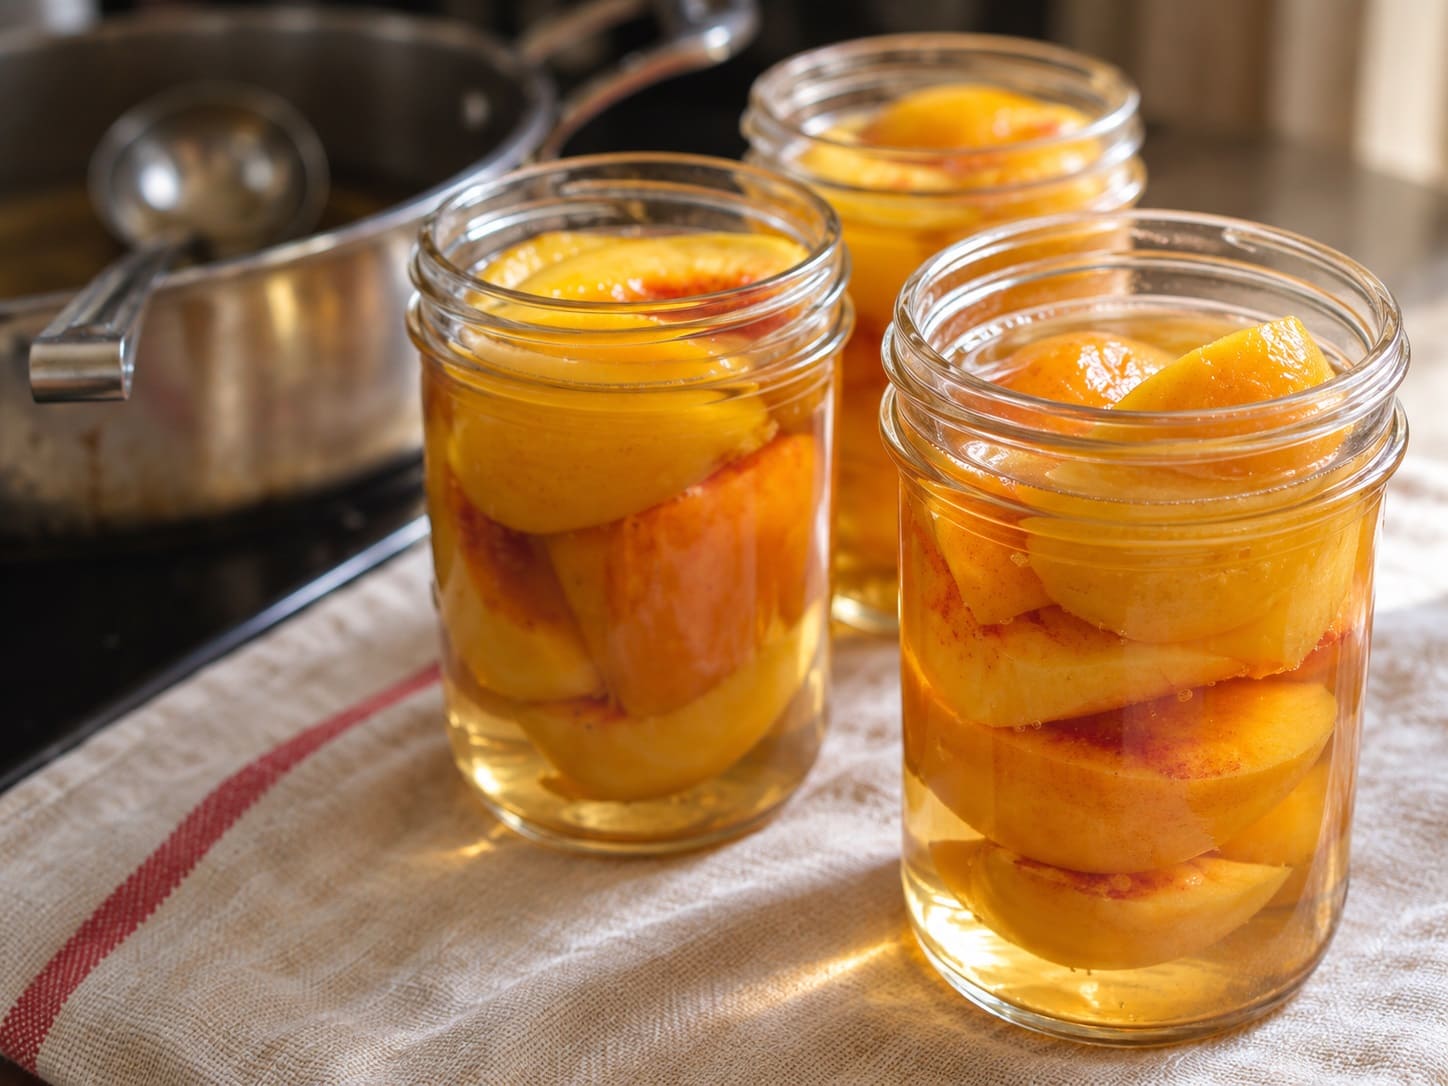
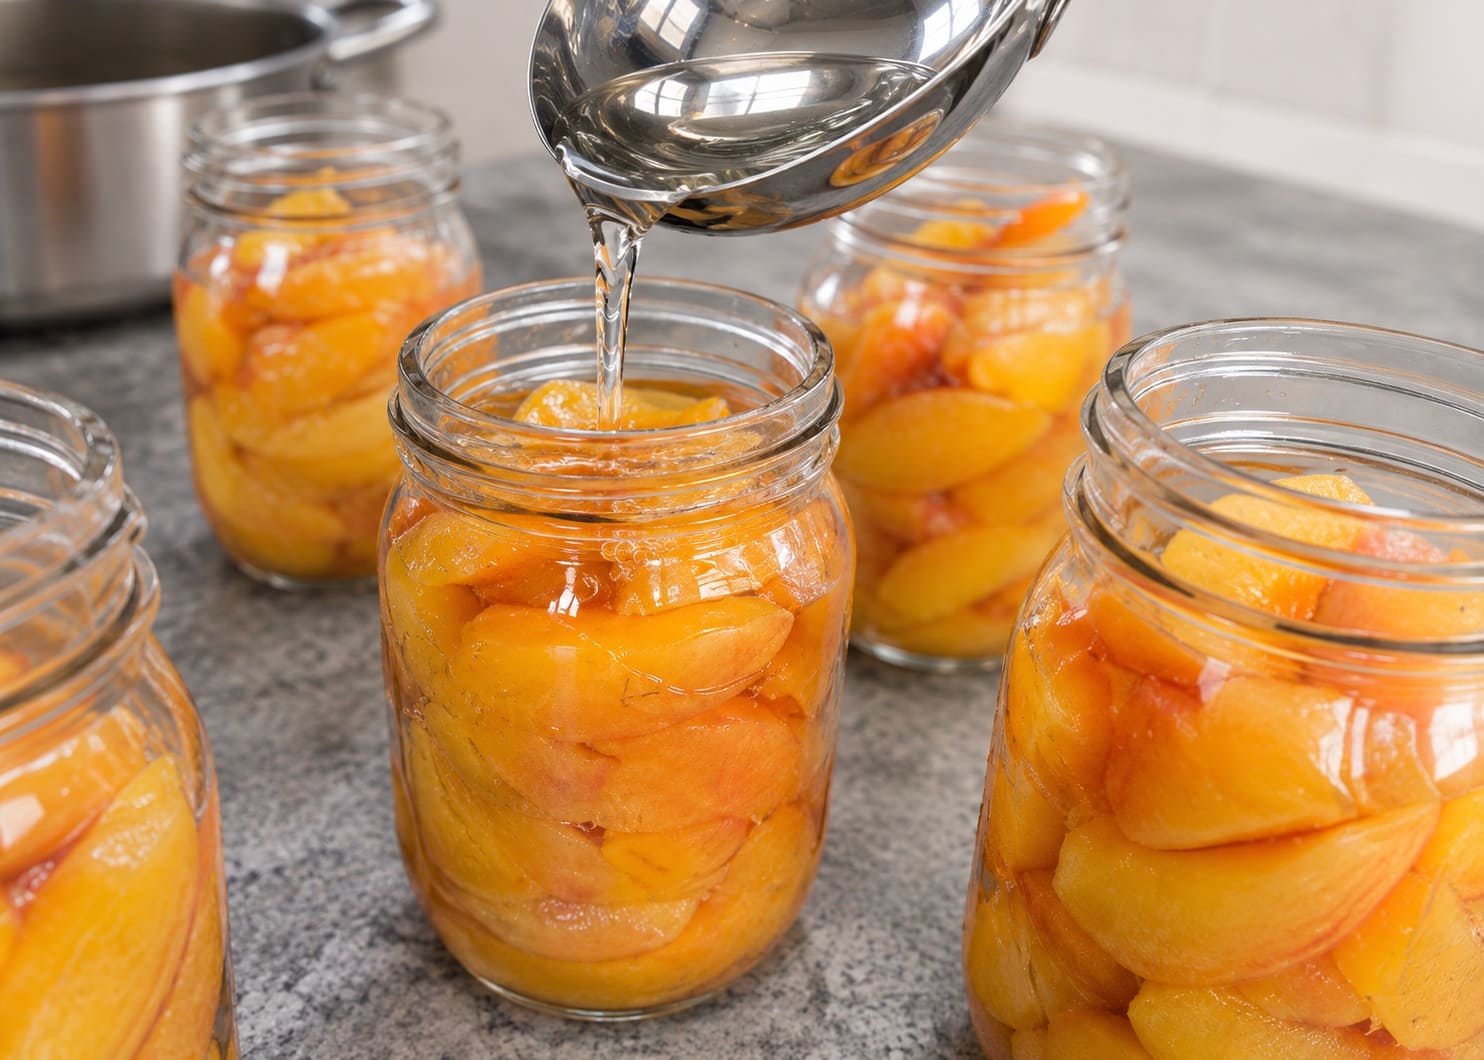
- Pack the hot fruit into a hot jar with a slotted spoon, halves cut side down in overlapping layers. Ladle in hot syrup to leave ½ inch (1.25 cm) of headspace.
- Slide a plastic bubble remover around the inside of the jar, pressing gently against the fruit, then top up the syrup to ½ inch again.
- Wipe the rim with a clean, damp cloth, center a lid on top and screw the band on fingertip tight, just until you feel resistance. Set the jar in the canner and fill the rest the same way.
- Add hot water as needed so it covers the jars by at least 1 inch (2.5 cm), or 2 inches (5 cm) for any process longer than 30 minutes. Put the lid on and set the burner to high.
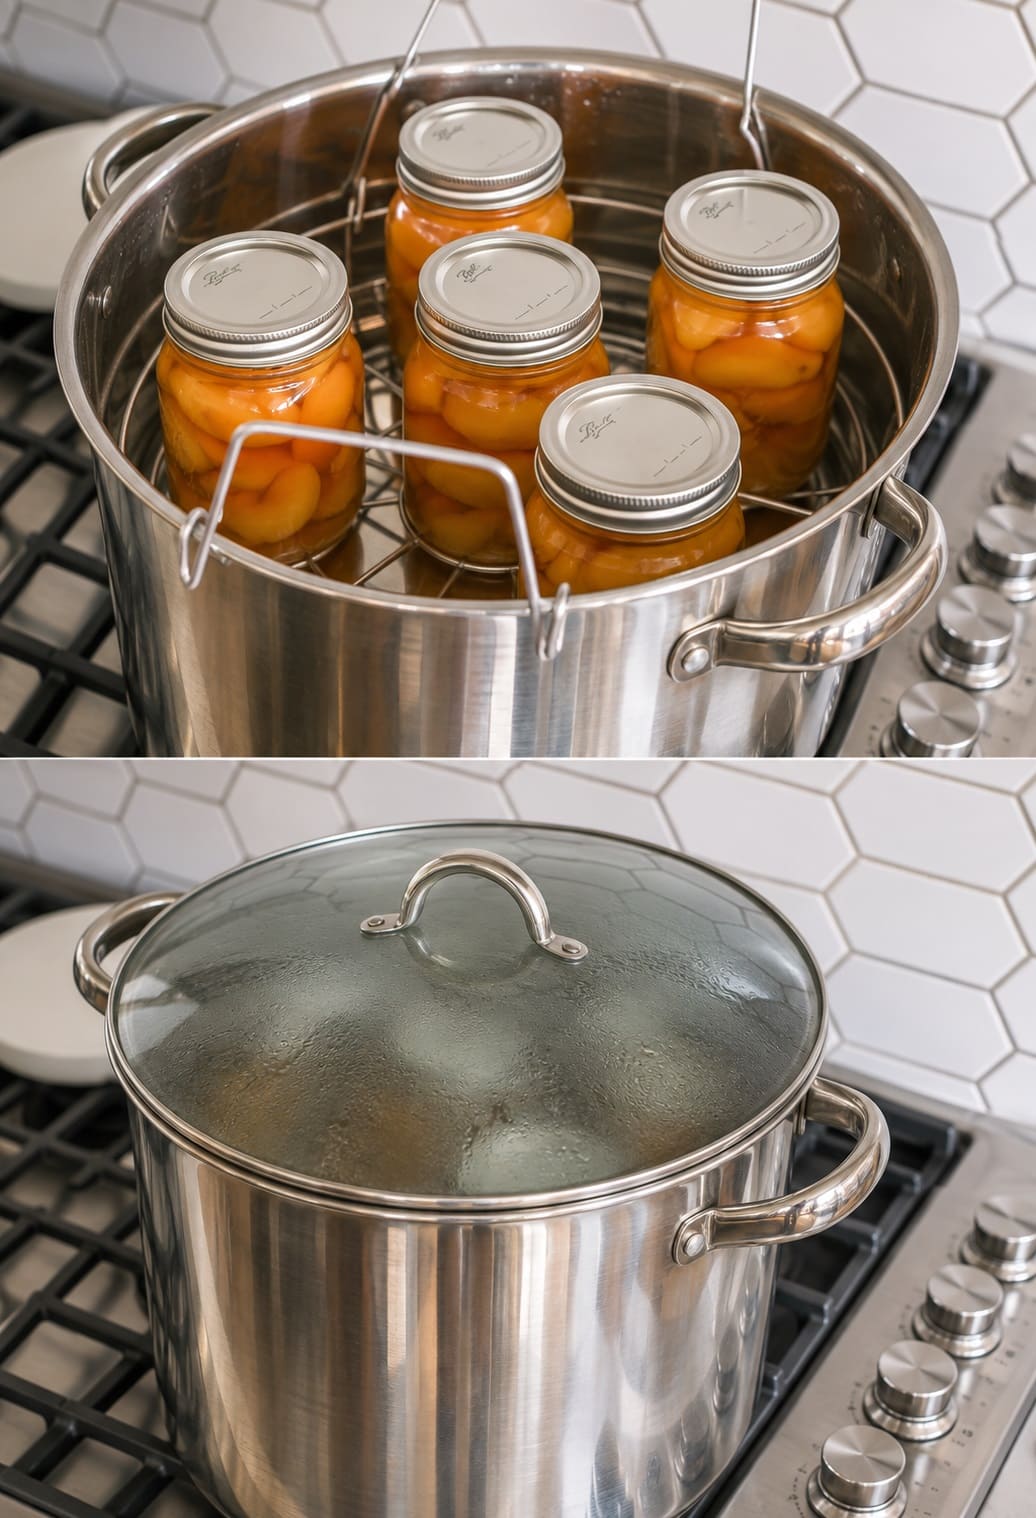
- Begin timing when the water reaches a hard, rolling boil: 20 minutes for pints and 25 for quarts at 0 to 1,000 feet. If the boil stops at any point, bring it back and start the full time again.
- When the time is up, turn off the heat, take off the lid and leave the jars in the water for 5 minutes. This short rest cuts down on syrup leaking out.
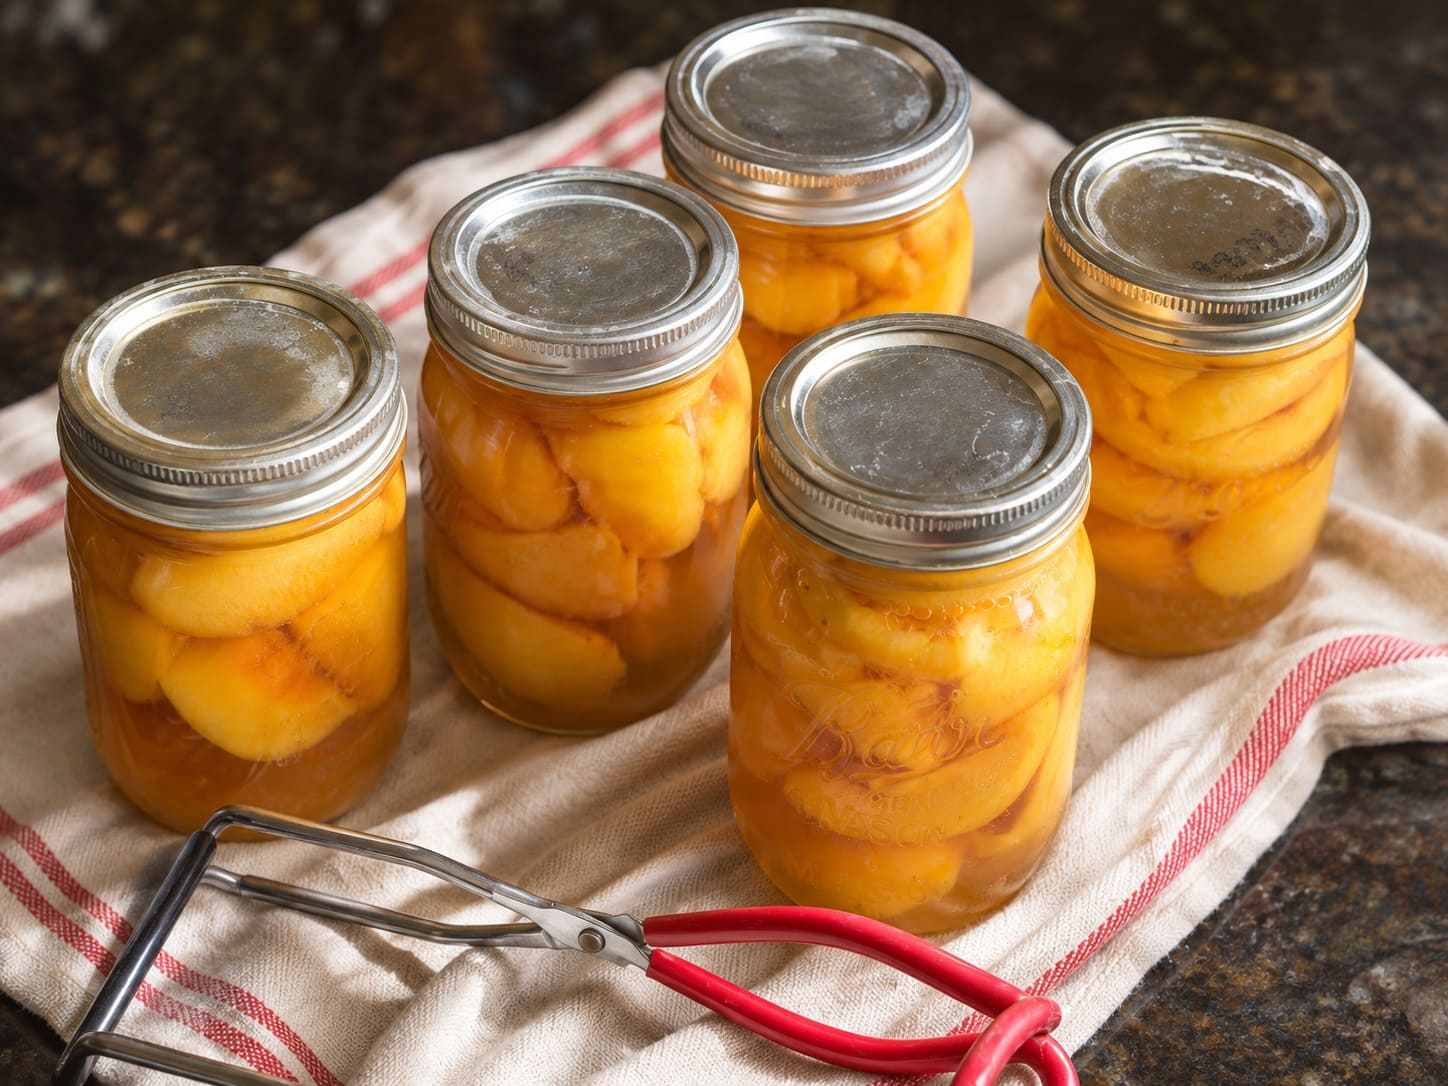
- Lift the jars straight up without tilting them and set them on a towel, an inch or so apart, away from drafts.
For a raw pack, skip step 5. Pack the drained raw peaches into hot jars, pour in boiling syrup to ½ inch, and heat the canner water to only 140°F (60°C) before loading the jars. Then process 25 minutes for pints and 30 for quarts.
Processing Times by Altitude
Water boils at a lower temperature the higher you live, so jars need longer in the canner. These are the NCHFP times for peach halves or slices in a boiling water or steam canner:
| Altitude | Hot pack (pints / quarts) | Raw pack (pints / quarts) |
| 0–1,000 ft (0–305 m) | 20 / 25 min | 25 / 30 min |
| 1,001–3,000 ft (306–914 m) | 25 / 30 min | 30 / 35 min |
| 3,001–6,000 ft (915–1,829 m) | 30 / 35 min | 35 / 40 min |
| Above 6,000 ft (1,829 m) | 35 / 40 min | 40 / 45 min |
If you’re not sure of your elevation, look it up. The adjustment is 5 minutes per band, not the 1 minute per 1,000 feet you’ll see in some recipes; that rule belongs to sterilizing empty jars for jam.
Pressure canning is allowed but gains you nothing for peaches except softer fruit. If you prefer it, process hot- or raw-packed pints or quarts for 10 minutes after venting the canner for 10 minutes.
In a weighted-gauge canner use 5 psi (34 kPa) up to 1,000 feet and 10 psi (69 kPa) above that.
In a dial-gauge canner use 6 psi (41 kPa) up to 2,000 feet (610 m), 7 psi (48 kPa) to 4,000 feet (1,219 m), 8 psi (55 kPa) to 6,000 feet and 9 psi (62 kPa) to 8,000 feet (2,438 m).
Times were developed in US pints (473 ml) and quarts (946 ml). Metric 500 ml and 1-liter jars are commonly processed on the pint and quart times, but a liter is a little larger than a US quart, so use true quart jars where you can.
In New Zealand and Australia, where canning is often called bottling, the older overflow method is no substitute for processing.
Cooling, Checking Seals and Storing
Leave the jars alone to cool for 12 to 24 hours. Don’t retighten the bands, even if they feel loose; that can break the seal as it forms. You’ll often hear lids ping as they seal, but a quiet jar isn’t necessarily a failure.
Once the jars are cool, take off the bands and press the center of each lid. A sealed lid is slightly concave and doesn’t move. If it flexes or pops back, the jar didn’t seal, and you have three choices:
- Refrigerate it and eat the peaches within about a week.
- Freeze the contents in a freezer container, leaving 1 inch of headspace.
- Reprocess within 24 hours. Check the rim for nicks, put on a new lid and run the full time again. It’s safe but leaves the peaches noticeably softer, which is why the first two options are usually better.
Wash any sticky syrup off the sealed jars, since residue can grow mold outside the jar, then label and date them.
Store them without bands in a cool, dark, dry place, ideally between 50 and 70°F (10 and 21°C). Never keep them above 95°F (35°C), near a furnace or stove, or in direct sun.
For best quality, eat home-canned peaches within a year. Sealed jars stay safe longer, but color, flavor and texture slowly fade, and faster in a warm room.
Before opening any jar, check it. Throw it out without tasting if the lid bulges or has come loose, liquid has leaked, there’s mold, the contents spurt or fizz when opened, or anything smells off.
Once opened, keep the jar in the refrigerator and finish it within about a week.
Troubleshooting Common Problems
- Peaches floating at the top.
Air in the fruit, loose packing, overripe peaches or a heavy syrup. It’s cosmetic. Next time hot pack, pack the jars snugly without crushing, and use a light or medium syrup.
- Syrup leaked out or the level dropped.
This is called siphoning. Common causes are trapped air, overfilled jars, bands that are too loose or too tight, too little water over the jars, and lifting jars out without the 5-minute rest.
A sealed jar is still safe; don’t open it to add liquid. Raw-packed jars look noticeably lower after cooling because the fruit shrinks.
- Fruit dark at the top.
Peaches above the liquid oxidize. It’s harmless, so eat those jars first. Removing bubbles and keeping the fruit covered prevents it.
- Pink, blue or red tints.
A natural, harmless reaction in some peaches during heating. Minerals in hard water or in iron, copper or zinc pans can also discolor fruit, so use soft water if yours is hard.
- Cloudy syrup.
Usually hard-water minerals, undissolved sugar, ground spices or bits of overripe fruit. If the cloudiness comes with a broken seal, bubbling or an off smell, it’s spoilage, so discard the jar.
- Mushy peaches.
Overripe fruit, blanching too long or slices cut too thin. Pressure canning softens them further.
- A jar cracked in the canner.
Usually a cold jar meeting hot water, a jar sitting on the bottom of the pot without a rack, a nicked jar, or a band screwed on too hard.
Shortcuts to Avoid
Old family methods and viral recipes keep these alive, but none of them reliably makes peaches shelf-stable:
- Oven canning, open-kettle canning and turning hot jars upside down. A jar that seals is not the same as a jar that’s been heated through. NCHFP specifically warns against processing jars in ovens, microwaves or dishwashers.
- Bringing a pressure canner to 5 pounds and switching it off. No tested process works that way; either pressure-can for the full 10 minutes or use a water bath.
Frequently Asked Questions
Do I need to add lemon juice when canning peaches?
No. Yellow peaches carry enough natural acid, so lemon juice in the jar is only for flavor or color. Use it, or ascorbic acid, in the soaking water to stop browning while you prepare the fruit.
Peach pie filling is different: its tested recipe calls for bottled lemon juice, and the amount must not be cut.
Can I can peaches with the skins on?
It isn’t recommended. The tested process starts with peeled fruit, so skin-on jars fall outside it. Peach skins also turn tough or slimy in the jar. A 30- to 60-second blanch makes peeling quick.
Can I can just a few jars?
Yes. Use the same processing time for two jars as for seven, as long as the water still covers them by 1 to 2 inches. The 9-pint syrup batch is enough for up to 4 quarts, and you can halve it for fewer.
Before You Start
If this is your first batch, keep it simple: yellow freestone peaches, light syrup, hot pack, and the time from the chart for your altitude and jar size. Start with half a canner load so the peeling doesn’t wear you out.
Once those jars have sealed and you’ve opened one in January, you’ll know exactly how sweet you like them, and the next batch can be bigger.
Related posts:

