
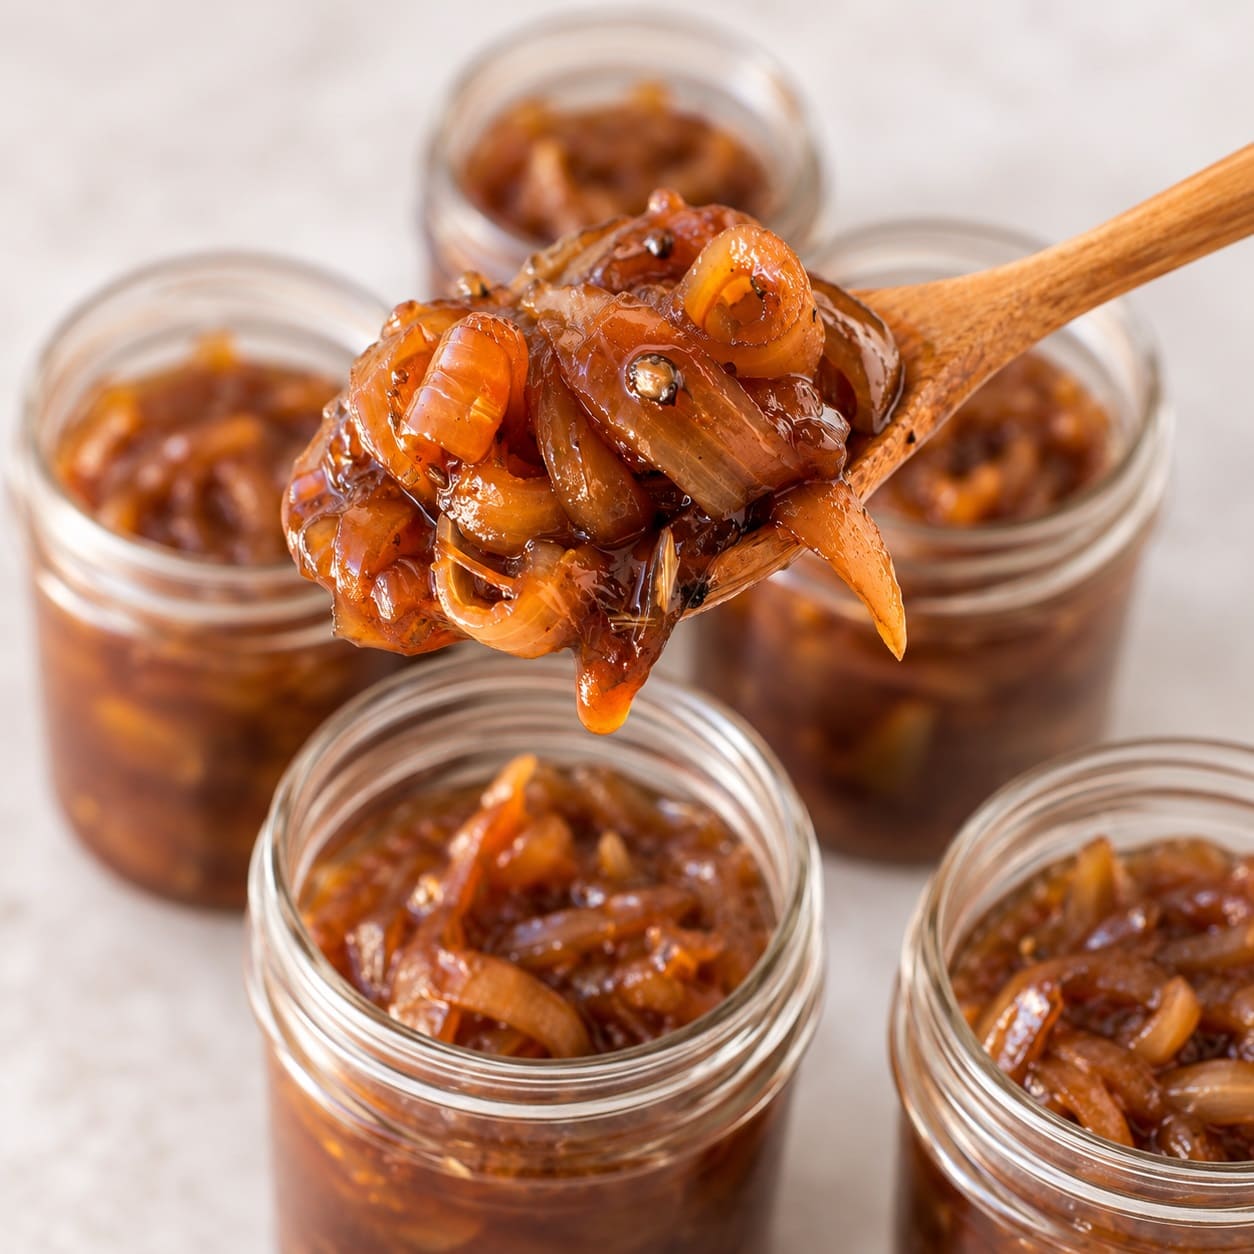
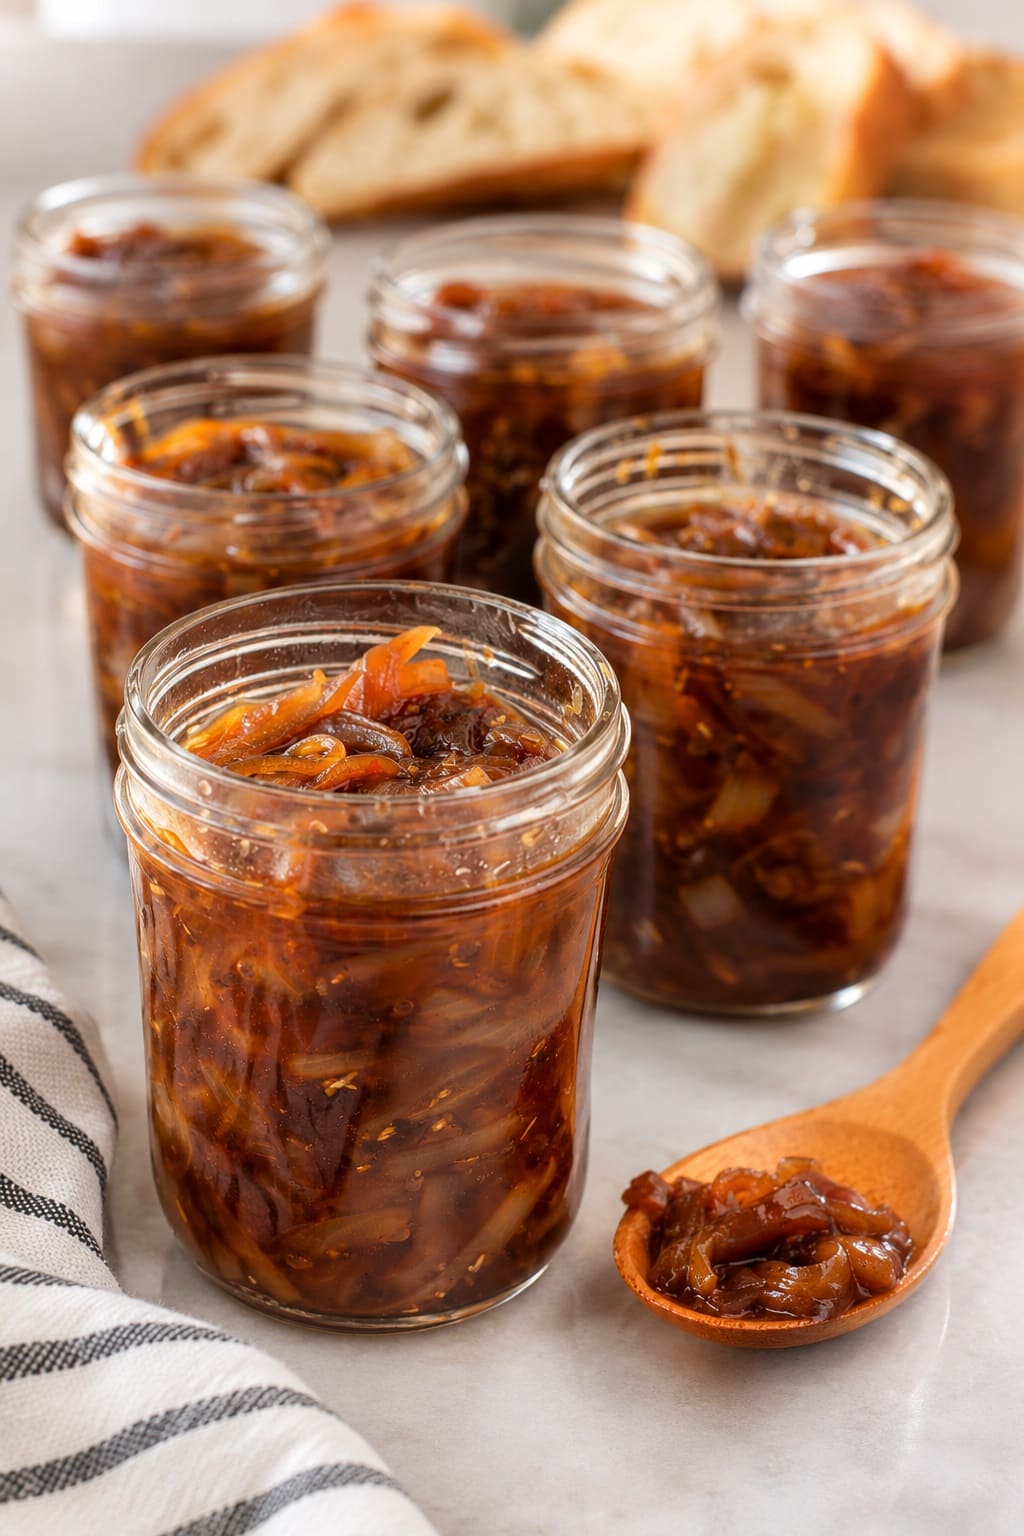
Caramelized onion jam is onions cooked slowly until they turn deep brown, then simmered with sugar and vinegar until a glossy syrup clings to every strand.
It tastes like the best part of French onion soup with a sweet-sour edge, and it makes sharp cheese, burgers and roast pork taste finished.
The ingredient list is short. What decides whether a batch tastes rich or merely sweet and wet is time, a wide pan and knowing when to stop.
Below you’ll find a refrigerator recipe with a clear cue for every stage, fixes for the usual problems, and a straight answer on when a jar can safely live in your pantry.
At a glance
- Makes: about 2 cups (480 ml) from 3 pounds of onions.
- Time: about 1¾ hours, mostly stirring now and then.
- Keeps: up to two weeks in the fridge, or three to four months frozen for best flavor.
- Canning: only with a recipe tested for it. This one is a fridge and freezer jam.
Why Onion Jam Takes Longer Than Most Recipes Say
Onions are about 90% water, and nothing turns brown until most of that water has cooked off. A heap of sliced onions that fills a big skillet to the rim shrinks to about a cereal bowl’s worth by the time it’s deep amber.
Onions contain very little pectin, so the jam won’t set into a gel like strawberry jam. It thickens only as water evaporates and the sugars become concentrated.
That’s why so many recipe timings fall short. “Golden in 10 minutes” describes onions that have softened and colored at the edges.
Properly browning 3 pounds takes 45 minutes to an hour over medium-low heat, and that’s where the flavor comes from.
Onions cooked only until soft make a jam that tastes sugary. Onions taken to a deep chestnut brown make one that tastes roasted and savory, with the sweetness in the background.
👉 Related post: Easy Apricot Jam Recipe (3 Ingredients, No Added Pectin)
Choosing Your Onions, Sweetener and Vinegar
Onions
Yellow storage onions are the best all-round choice. They’re cheap, they brown evenly, and their harsh raw bite turns into exactly the deep, savory sweetness you want.
Sweet onions such as Vidalia, Walla Walla and Maui make a milder jam, but not because they hold more sugar.
They taste sweet because they’re low in the sulfur compounds that make onions sting, which lets their sugar come through; some pungent onions actually contain more.
Sweet onions are juicier too, so plan on a longer cook and a little less added sugar.
Red onions work, though they brown unevenly into a purplish shade and their strands stay firmer. Shallots make a refined small batch if you don’t mind the peeling, and half yellow, half sweet gives a nicely balanced jam.
Sweetener
Onions are naturally sugary, so added sugar is mostly there for body, gloss and balance against the vinegar.
Many published recipes use a cup or more for a couple of pounds of onions, which is usually why people find them cloying.
The recipe below uses ⅓ cup of brown sugar for 3 pounds, which lands on the savory side of sweet. Go up to ½ cup for a jam meant mostly for cheese boards and toast.
Brown sugar adds a gentle molasses note, maple sugar adds warmth, and white sugar tastes cleanest. Maple syrup and honey add liquid, so allow a few extra minutes of reducing.
Vinegar and Fat
Everyday supermarket balsamic gives the darkest, richest jam; keep the pricey aged bottle for the table.
White balsamic keeps the jam golden, while red wine and cider vinegar taste sharper and lighter. Balsamic glaze isn’t a swap, since it’s already reduced and usually sweetened.
For the fat, olive oil is the practical pick. Butter tastes richer but sets firm in the fridge, so a butter-heavy jam has to sit on the counter before it will spread. Swapping a tablespoon of the oil for butter gives you most of the flavor without the stiffness.
Caramelized Onion Jam Recipe
This is a refrigerator and freezer jam. It makes about 2 cups (480 ml) and takes about 1¾ hours, most of it hands-off between stirs.
What You’ll Need
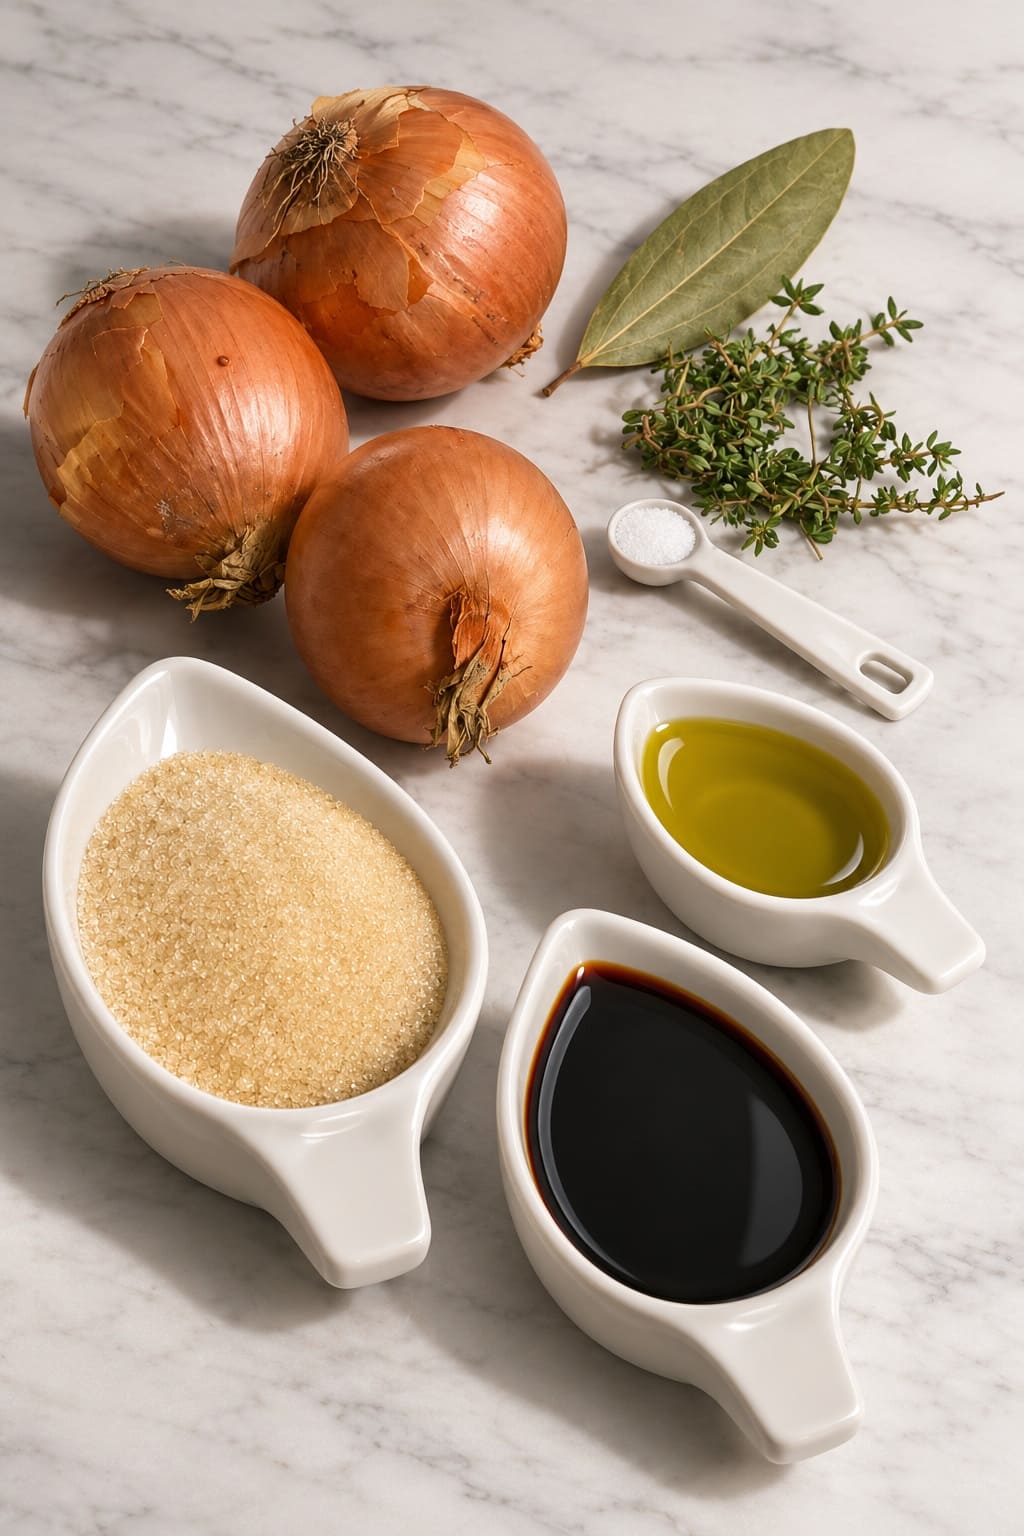
- 3 pounds (1.4 kg) yellow onions, about 6 medium, halved and sliced ¼ inch (6 mm) thick (about 10 cups)
- 3 tablespoons olive oil, or 2 tablespoons oil plus 1 tablespoon butter
- 1 teaspoon kosher salt, plus more to taste
- ⅓ cup (70 g) packed light brown sugar, or up to ½ cup (100 g) for a sweeter jam
- ½ cup (120 ml) balsamic vinegar
- 1 tablespoon red wine or cider vinegar (optional, for extra tang)
- 2 teaspoons fresh thyme leaves, ½ teaspoon dried thyme, or 1 bay leaf
- ½ teaspoon freshly ground black pepper
- Water as needed, about ½ cup (120 ml) in total
You’ll also want the widest heavy pan you own, such as a 12-inch (30 cm) skillet, a sauté pan or a wide Dutch oven. Width matters more than depth, because the onions brown only after their steam escapes.
Stainless steel, enameled cast iron and nonstick all work, but skip uncoated aluminum or copper, which the vinegar can react with and leave a metallic taste.
Step by Step
- Slice evenly.
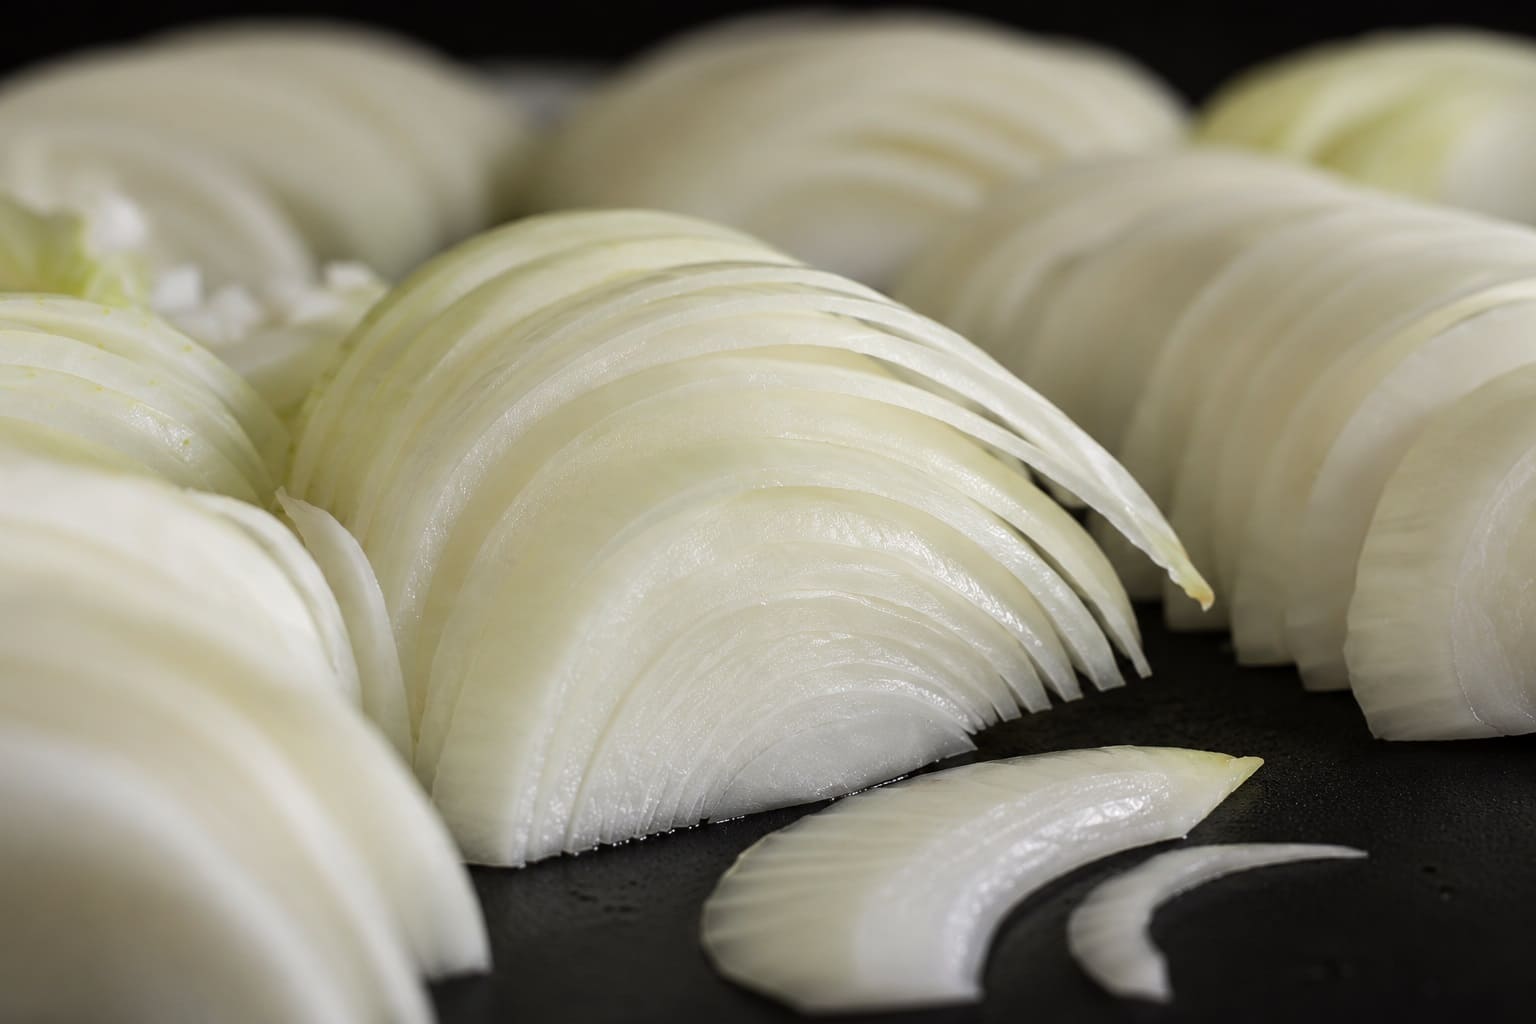
Halve each onion through the root, peel it, and cut it root to tip into ¼-inch strips. Even thickness matters more than thinness, because a mix of thin and thick slices scorches and stays raw in the same pan. A food processor’s slicing disc does the job in a minute or two.
- Soften with salt.
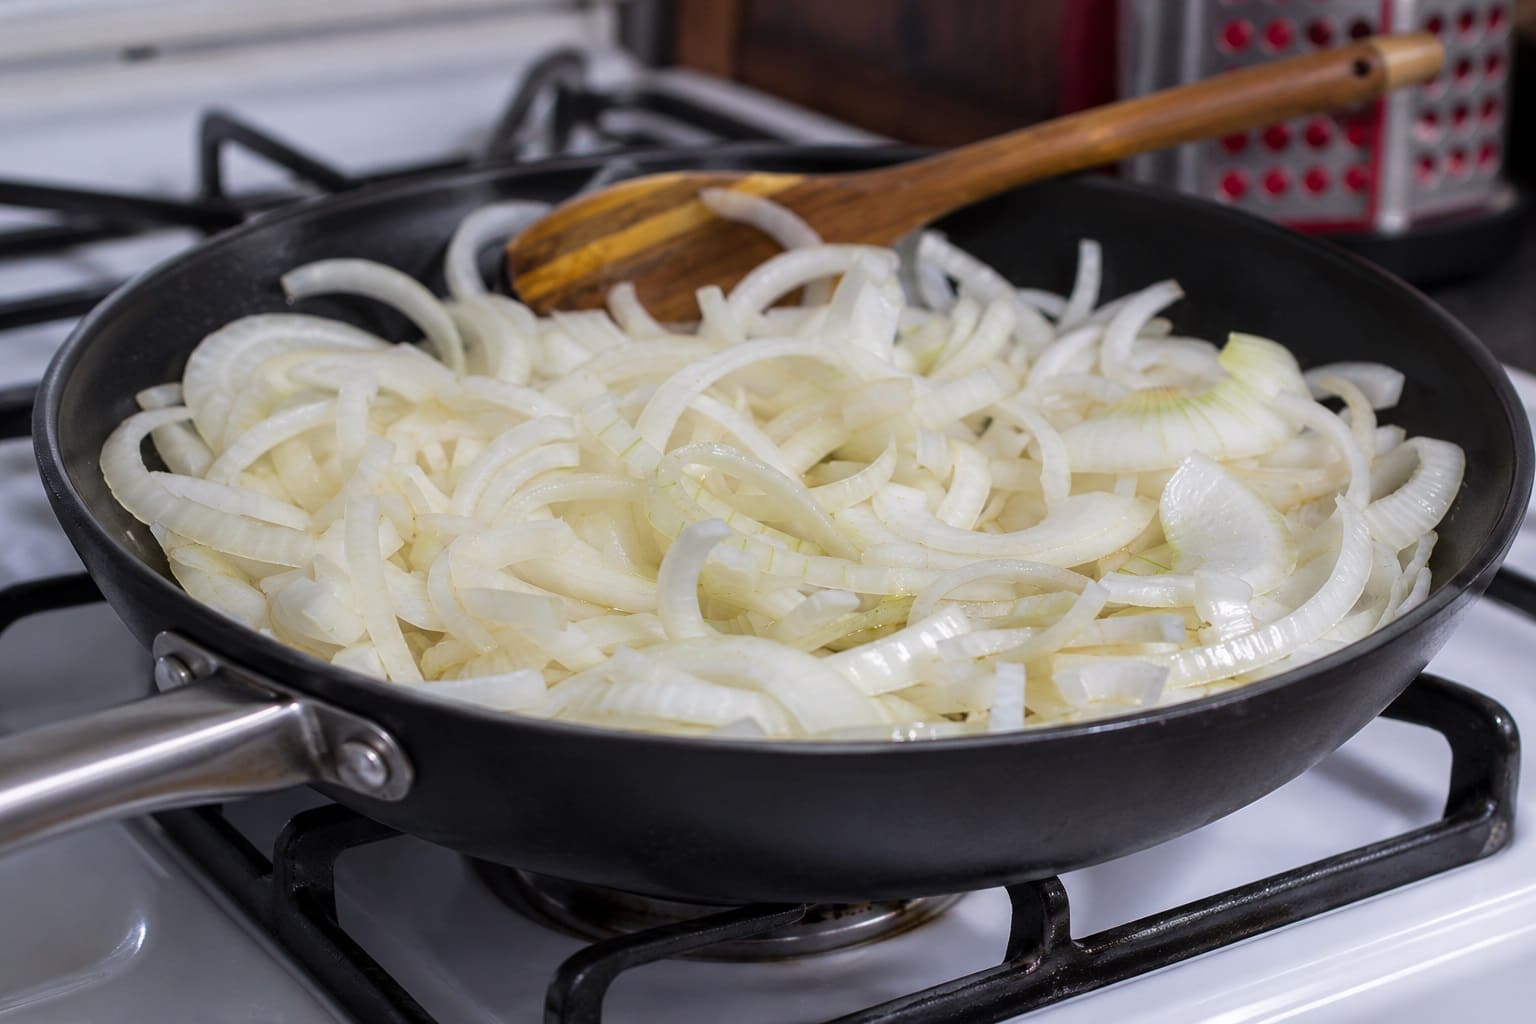
Warm the oil over medium heat, add the onions and salt, and toss to coat. The pan will look overloaded. Cook uncovered, stirring every few minutes, for 10 to 15 minutes, until the onions have released their liquid and collapsed to about half their volume.
- Brown them slowly.
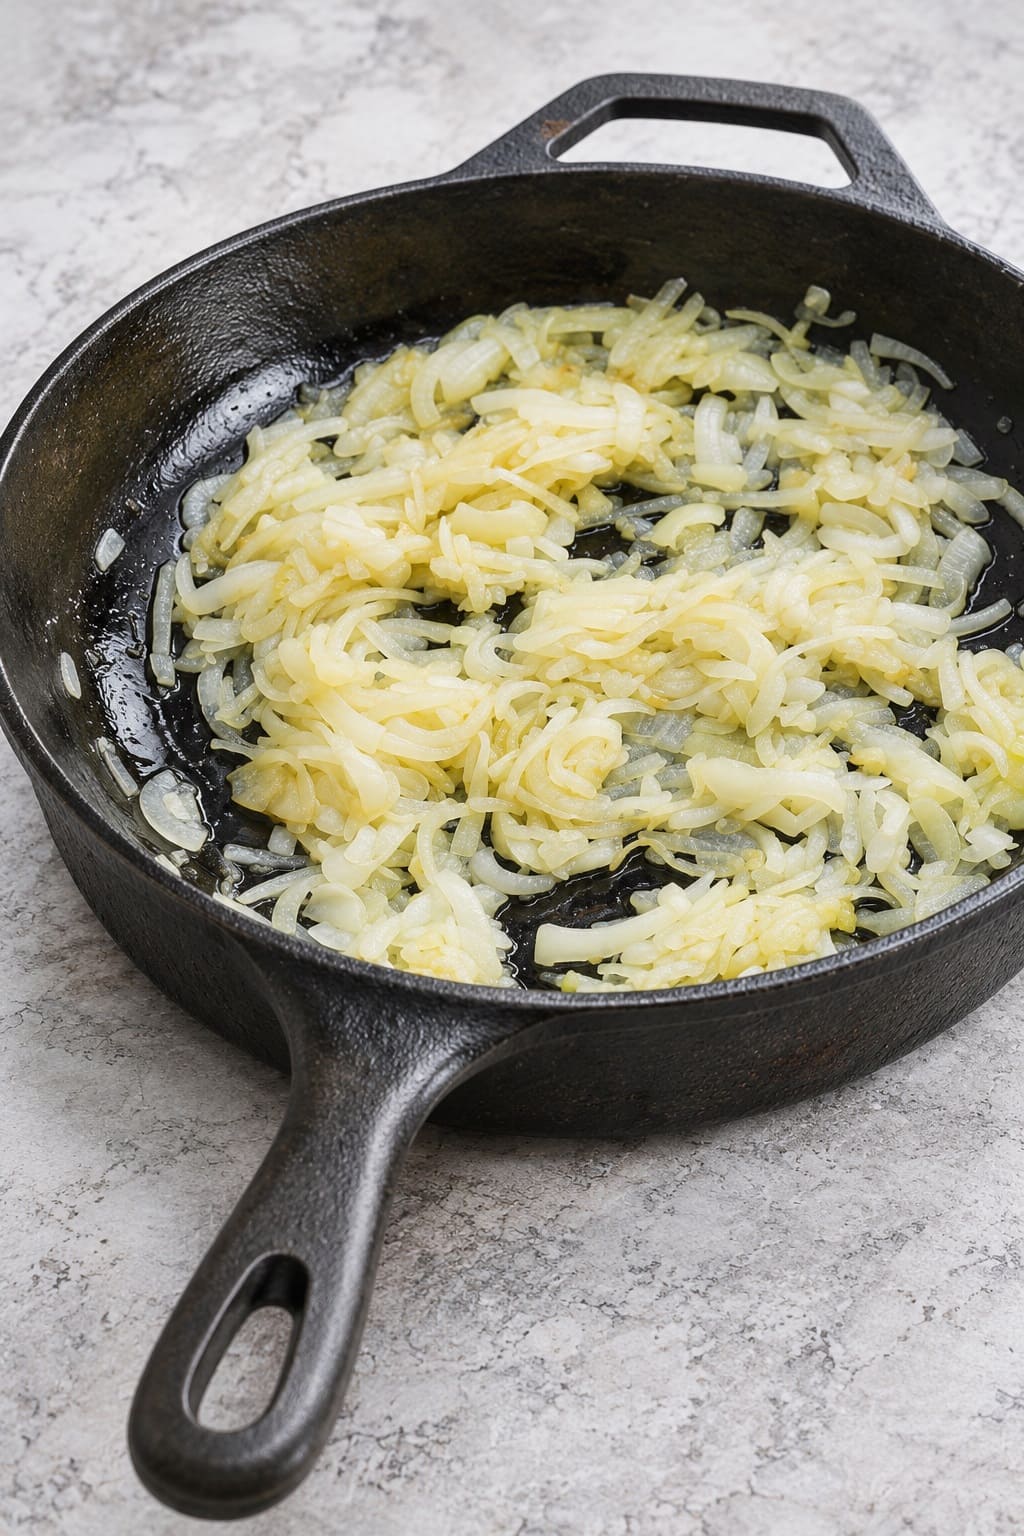
Lower the heat to medium-low and keep cooking, uncovered, for 40 to 60 minutes. Stir every five minutes or so, and more often as they darken.
When the pan bottom develops a brown crust, splash in a tablespoon or two of water and loosen it with the spoon. Those browned bits are pure flavor, and stirring them back in speeds things up. If the crust turns black or smells acrid, turn the heat down.
The onions are ready when they’re deep amber to chestnut brown, soft enough to crush against the pan, and taste sweet with no raw bite.
- Add the sugar and vinegar.
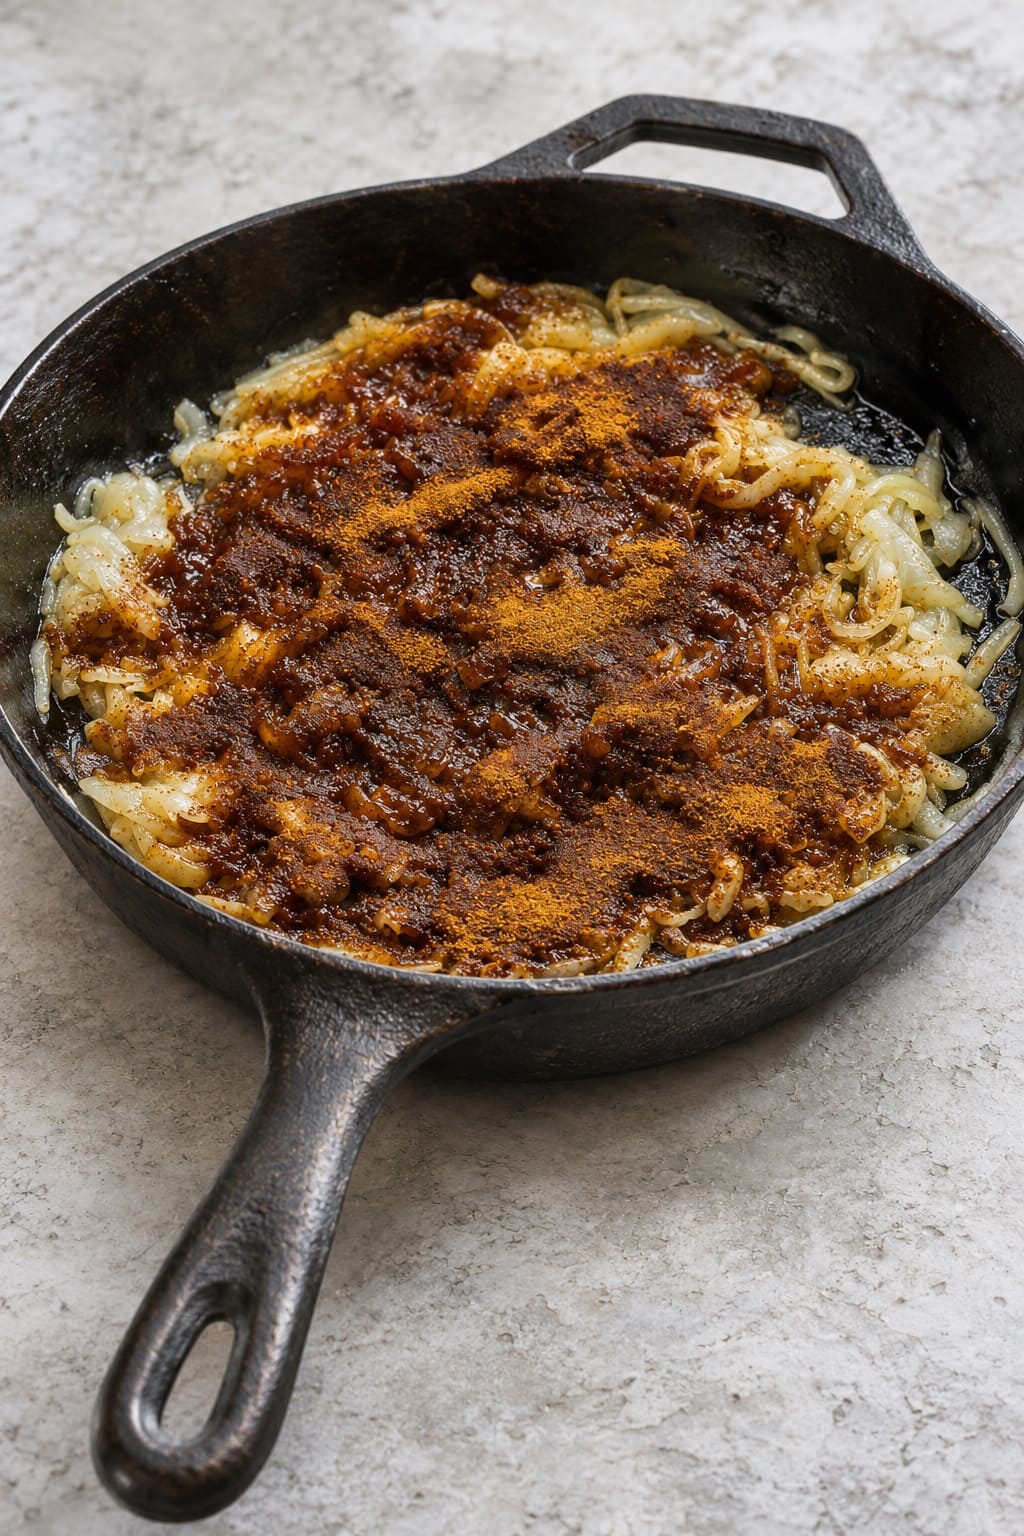
Stir in the brown sugar until it melts, then add the balsamic, the extra vinegar if you’re using it, the thyme or bay leaf and the pepper. Keep your face back for a moment, as hot vinegar gives off a sharp steam.
Simmer over medium-low, stirring often, for 15 to 25 minutes. Balsamic turns the mixture very dark, so judge it by texture rather than color.
- Check the set.
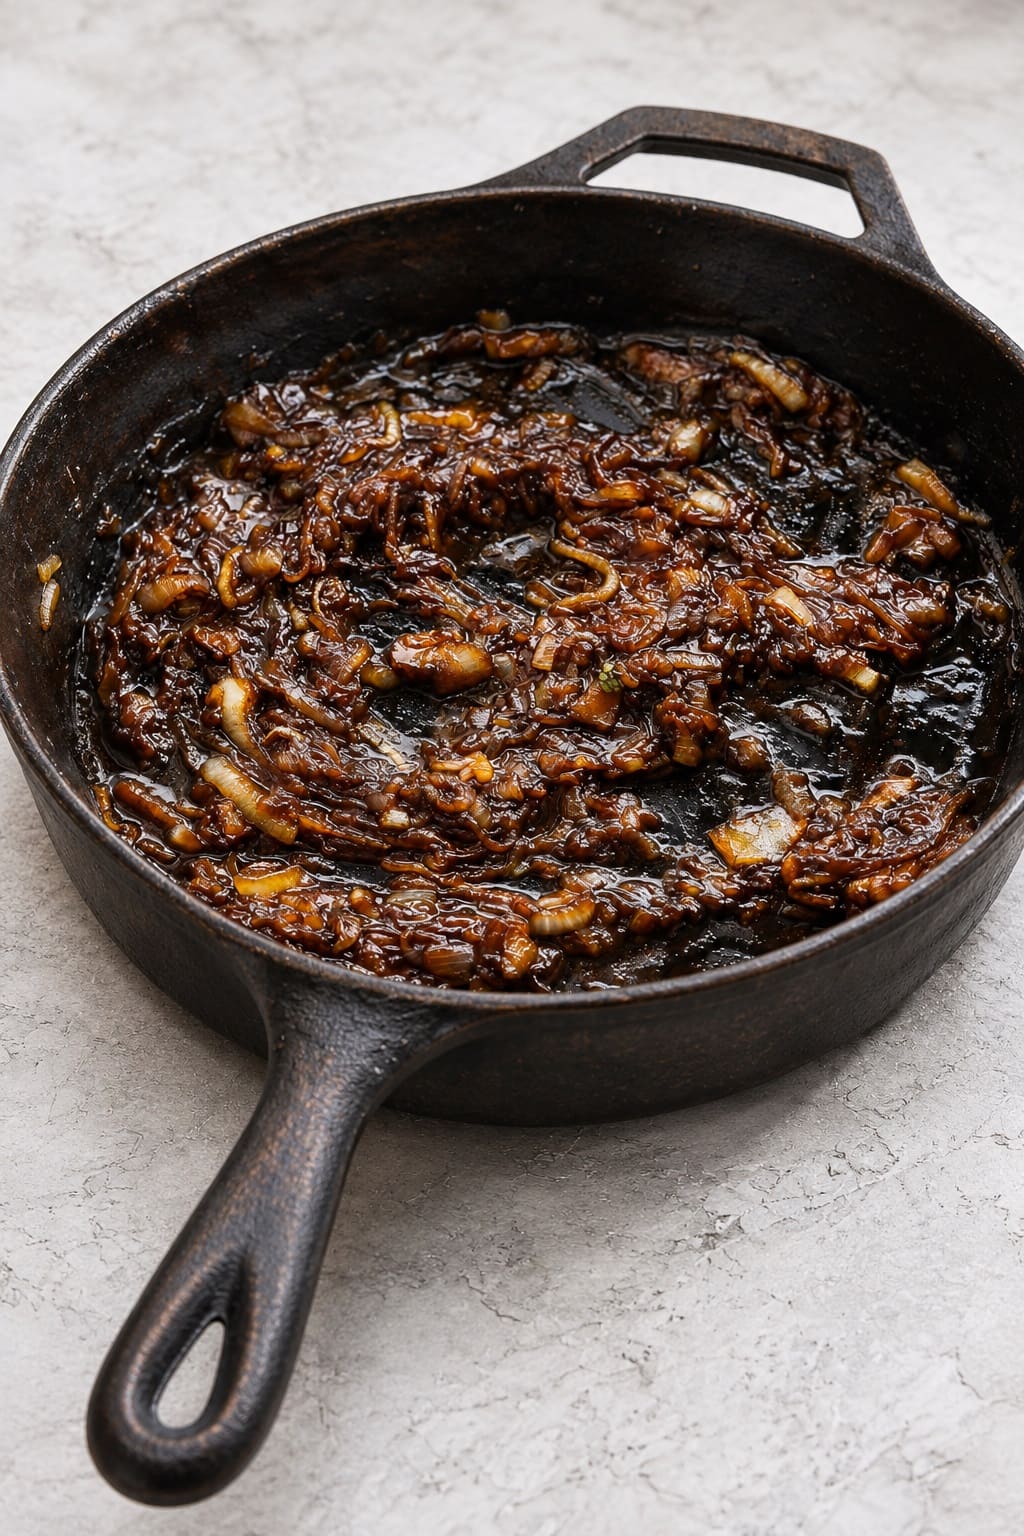
Drag a spoon across the bottom of the pan. When the path it leaves stays open for a couple of seconds before the syrup runs back together, it’s done.
It should still look slightly loose, because it thickens a lot as it cools. If you’re unsure, chill a spoonful on a cold plate for a minute and check it.
- Season and store.
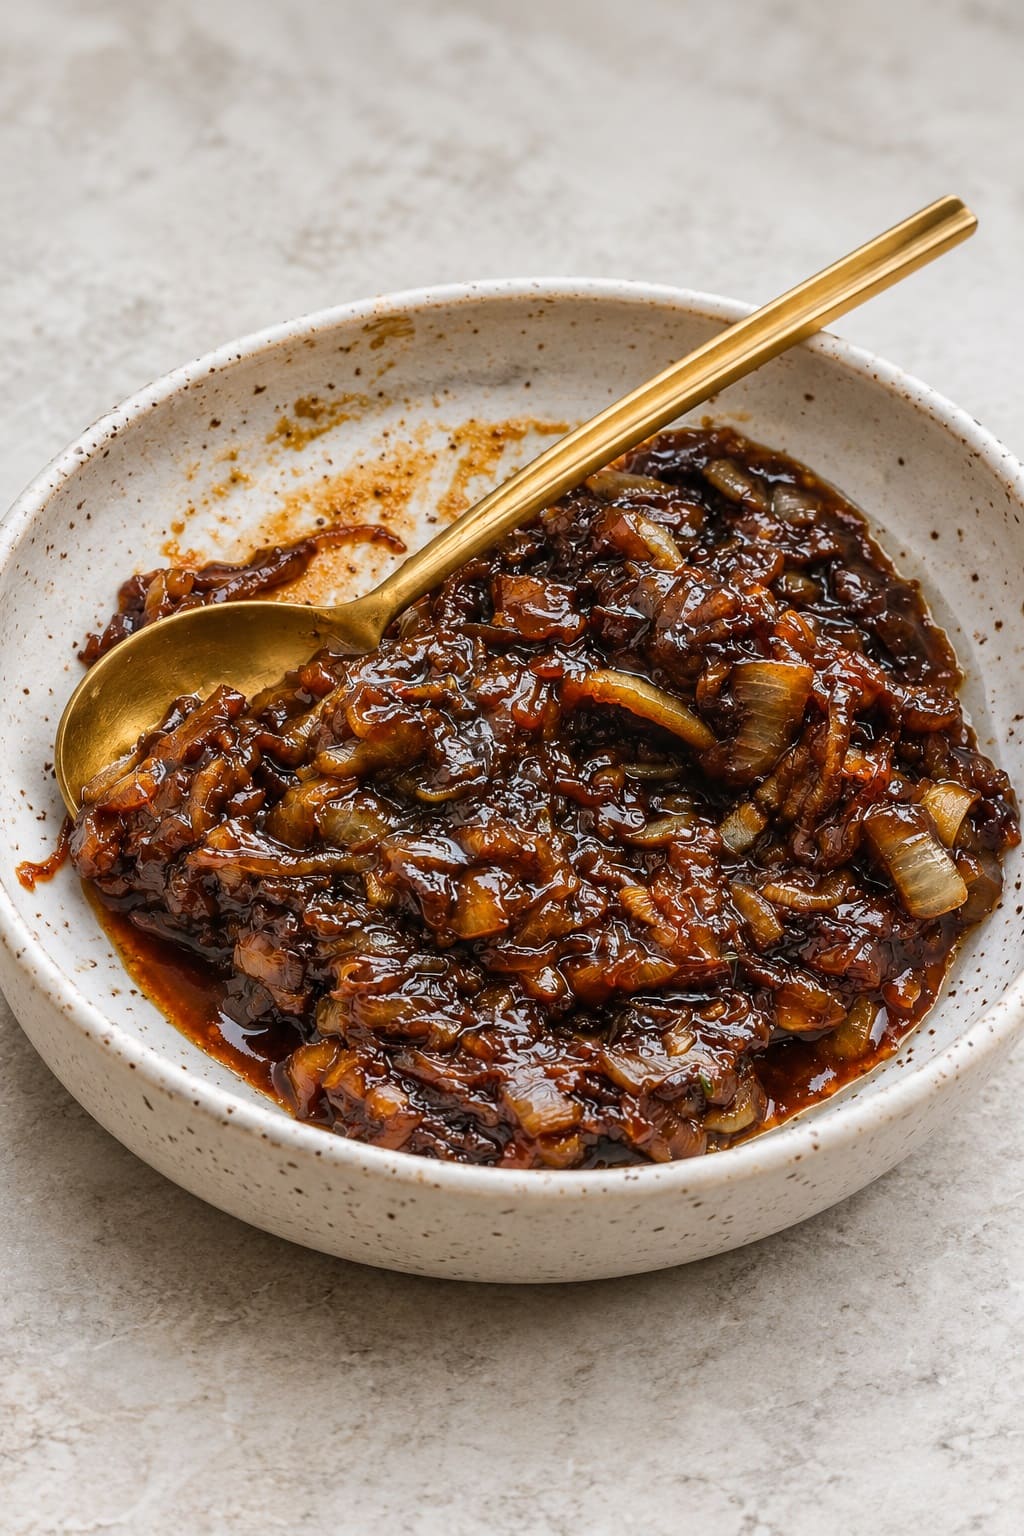
Remove the bay leaf, taste, and add salt or a few drops of vinegar if the jam tastes flat. Cool it, spoon it into clean jars or containers, cover and refrigerate.
A juicier batch of onions or a shorter reduction gives a little more jam, with a looser texture.
Faster, Bigger and Hands-Off Batches
- In the oven.
After step 2, slide the uncovered pot into the oven at 300°F (150°C) and stir about every half hour. Browning takes roughly 30 minutes longer than on the stove but needs far less watching. Finish the last steps on the stovetop.
- In a slow cooker.
On low, with the lid slightly ajar, a slow cooker browns onions gradually over most of a day. It can’t reduce the syrup well, so finish in a wide pan.
- Doubling up.
Don’t simply pile twice the onions into the same pot. Only the surface lets steam escape, so a deep pan can nearly double the browning time and leave the bottom layer stewing. Brown the onions in two pans, then combine them for the sugar and vinegar stage.
- The 25-minute shortcut.
Some recipes cook the onions only until golden, then melt sugar over them without stirring and caramelize it on high heat. You get a quick, sweet burger topping with less roasted depth.
Fixing Common Problems
| Problem | Likely cause | Fix |
| Onions still pale and wet after an hour | Lid on, heat too low, or pan too full | Uncover, raise the heat to medium, and spread them into a wider pan or two pans |
| Bitter, scorched bits | Heat too high or too little stirring | Lower the heat, deglaze with water, and pick out anything black |
| Runny once cool | Not reduced far enough | Simmer a few minutes more, uncovered, and recheck the spoon test |
| Stiff or gluey in the jar | Reduced too far | Stir in 1 to 2 tablespoons of warm water or vinegar |
| Too sweet | Too much sugar, or very sweet onions | Add vinegar a teaspoon at a time, plus pepper and a pinch of salt |
| Too sharp or sour | Strong vinegar or a short reduction | Simmer a little longer or add a spoonful of sugar; it also mellows overnight |
| Hard to spread from the fridge | Butter firming up as it chills | Let it stand 15 to 20 minutes, or use all oil next time |
Flavor Variations
Add these with the sugar and vinegar unless noted.
- Herby or warm-spiced: a sprig of rosemary or sage (removed before jarring), or a pinch of cinnamon or allspice for pork and turkey.
- Smoky: ½ teaspoon smoked paprika or smoked salt, or grill halved onions before slicing them.
- Spicy: a pinch of red pepper flakes or a finely chopped fresh chile.
- Boozy: 2 to 3 tablespoons of bourbon, port or red wine, simmered with the vinegar.
- Soy and spice: rice vinegar in place of balsamic, a tablespoon of soy sauce, and cumin and coriander seeds toasted in the oil first. Excellent on rice bowls and fried eggs.
- Garlic or bacon: roasted garlic or crumbled cooked bacon stirred in at the end. Both shorten the fridge life, as explained below.
How Long Onion Jam Keeps in the Fridge and Freezer
Nobody has lab-tested how long homemade fridge onion jam lasts, and published advice ranges from four days to several months.
The sugar and vinegar slow spoilage but don’t make the jam shelf-stable, so treat these as sensible limits rather than guarantees:
- This recipe, or any onion jam with a generous amount of sugar and vinegar: up to two weeks in a clean, covered jar.
- A barely sweetened batch with only a splash of vinegar, or any version with bacon or garlic stirred in: that’s closer to cooked leftovers, so follow the USDA rule for leftovers and finish it within three to four days.
Keep it at 40°F (4°C) or below, use a clean spoon every time, and discard any jar that shows mold, fizzing or an off smell.
For a big batch, the freezer is the easiest answer. Spoon the cooled jam into small containers, leaving ½ inch (1 cm) of headspace in glass, or freeze it in an ice cube tray and bag the cubes.
Frozen food stays safe indefinitely, but the jam tastes best within three to four months. Thaw it in the fridge, or drop a cube straight into a pan sauce or soup.
Can You Can Caramelized Onion Jam?
Only with a recipe that has been tested for canning, and the usual buttery, balsamic caramelized onion jam isn’t one. Onions are a low-acid vegetable, with a pH of roughly 5.3 to 5.8.
Boiling-water canning is safe only for foods at pH 4.6 or below, where botulism bacteria can’t grow, which is why plain onions have to be pressure canned.
An onion preserve can go in a boiling-water canner only when the recipe adds enough acid to bring the whole jar below that line, and the only way to know a recipe does that is testing at those exact proportions.
Plenty of onion jam recipes print water-bath times anyway, sometimes citing a single pH reading as proof.
One home reading doesn’t replace a tested recipe, and many of these recipes cook the onions in butter or oil, which Penn State Extension warns can shield bacteria from the heat of processing.
If a recipe doesn’t name the tested source behind its canning time, keep it in the fridge.
For jars you can keep in the pantry, choose an onion preserve developed for home canning and follow it exactly:
- Ball’s Red Onion and Port Jam: red onions simmered with port and red wine vinegar, then set with low-sugar pectin.
- Pomona’s Pectin’s Caramelized Onion-Maple Jam: onions caramelized without any fat precisely so the jam can be canned, then cooked with apple cider, cider vinegar and maple syrup and set with Pomona’s pectin.
- Onion Relish from the University of Georgia’s So Easy to Preserve: a simple sweet-sour relish of onions, vinegar, sugar and mustard seed.
Once you’re working from a tested recipe, these rules keep it safe:
- Use the type and acidity of vinegar the recipe specifies (usually 5%), measure it exactly, and use bottled lemon juice where it’s called for.
- Don’t add butter, oil, bacon, garlic, fresh chiles or extra onions. Each one changes the acidity or the heat penetration the recipe was tested at.
- Process for the full time, with the altitude adjustment the recipe gives, and refrigerate any jar that doesn’t seal.
- Don’t reach for a pressure canner as a workaround. There’s no tested pressure-canning process for onion jam.
- Skip shortcuts such as sealing hot jam in hot jars without processing, or heating filled jars in the oven. The National Center for Home Food Preservation advises against both.
- Don’t boil the lids. Current Ball directions simply have you wash them in warm, soapy water, and Bernardin specifically advises against preheating them.
Related posts:
- How to Can Peaches: Safe Step-by-Step Guide (Hot or Raw)
- How to Make Crispy Dill Pickles (Refrigerator & Canning Methods)
Ways to Use Onion Jam
Serve it at room temperature, since cold mutes the flavor, but set out only what you’ll use and get leftovers back in the fridge within two hours.
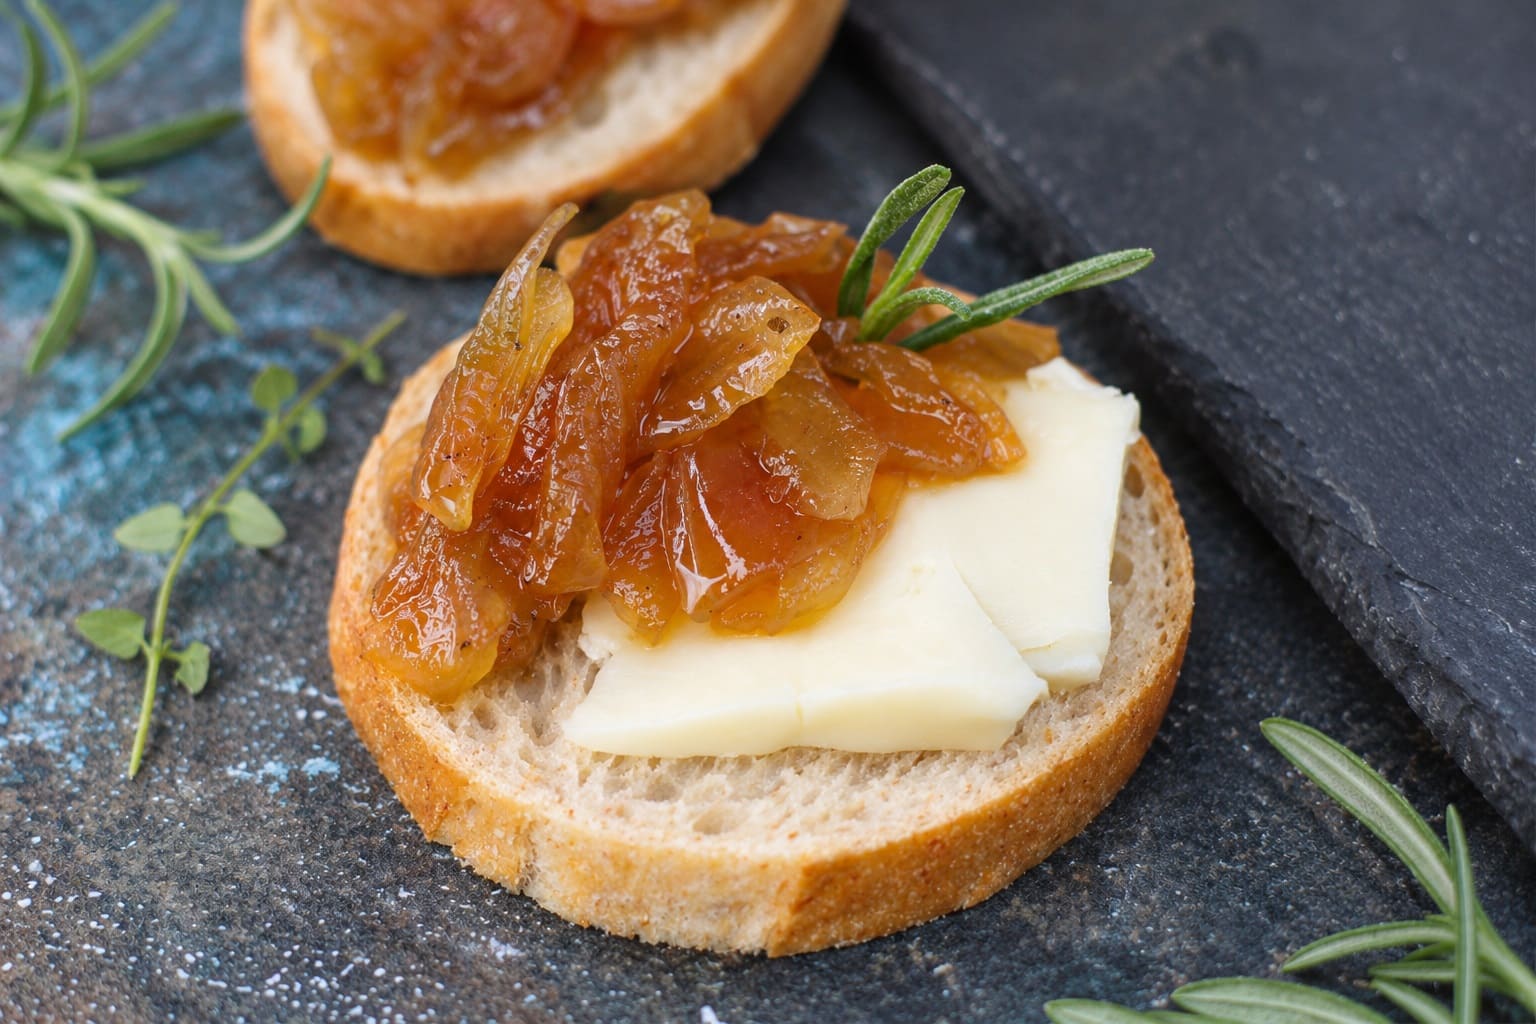
Its natural partner is cheese: sharp cheddar, aged Gouda, blue cheese and goat cheese all welcome a spoonful.
For an easy appetizer, spread it over a wheel of brie, wrap it in puff pastry and bake, or pour it over a block of cream cheese and set out crackers.
It’s just as useful in everyday cooking:
- On burgers, brats and hot dogs, in place of raw onion
- Layered into a grilled cheese made with Gruyère or a sharp cheddar
- As a pizza or flatbread base instead of tomato sauce, topped with goat cheese and arugula
- As a glaze for salmon, pork tenderloin or chicken thighs, brushed on in the last 10 minutes so the sugar doesn’t burn
- In a quick pan sauce: after searing pork chops or steak, add a splash of stock and a spoonful of jam, then scrape and simmer
- Stirred into mashed potatoes, mac and cheese or a quiche filling
Onion Jam FAQ
Do you need pectin to make onion jam?
No. Onion jam thickens by reduction alone. Pectin shows up only in some tested canning recipes, such as Ball’s and Pomona’s, where it’s part of the tested formula and gives a set with less cooking down.
Can I make onion jam with less sugar or a sugar substitute?
Yes, for a fridge or freezer batch. Cut the sugar to a tablespoon or two and you’ll get something closer to deeply caramelized onions, looser and more savory, with the shorter fridge life of leftovers.
Erythritol or monk fruit sweeteners work for flavor but add less body. In a canning recipe, change the sweetener only if the recipe itself says you can.
How much jam does a pound of onions make?
About ⅔ cup with this recipe, and a pound of onions is 3 to 4 cups sliced. For three 8-ounce (240 ml) gift jars, start with about 4½ pounds (2 kg) and brown them in two pans.
Label fridge jam clearly with “keep refrigerated” and the date. If you want gifts that can sit on a shelf, make a tested canning recipe instead.
Is onion jam the same as onion relish or onion marmalade?
Mostly, yes. What Americans call onion jam is often sold as onion relish in Australia or onion marmalade in the UK, while chutneys tend to be chunkier, with fruit and more spice. A recipe’s name never tells you whether it’s safe to can.
Your First Batch
Give the browning its full hour and pull the jam off the heat while it still looks a little loose, and your first batch will show you how sweet and how sharp you like it.
Next time, adjust the sugar and vinegar to match, try the smoky or warm-spiced variation, or brown a double batch in two pans and freeze half in cubes.

