
Cherry syrup is one of the easiest preserves you can make: cherries, sugar and water, a gentle simmer, and a strainer.
What decides if yours tastes like fresh fruit or like cough medicine is a handful of small choices along the way, such as how hard it cooks, how much fruit you use and when the lemon goes in.
Below you’ll find a dependable recipe that works with fresh or frozen cherries, plus what to change for a pancake-thick sauce, a sour cherry version or a jar that keeps on the pantry shelf. You’ll also know how long it really lasts and how much to pour.
Cherry syrup at a glance
- Basic ratio: 2 cups cherries to 1 cup each of sugar and water, plus a little lemon juice
- Time: about 30 minutes of cooking and resting, then cooling
- Yield: about 1¼ to 1½ cups (300 to 350 ml)
- Keeps: plan on about 2 weeks in the fridge, or about 3 months in the freezer
- Cherries: fresh or frozen; sweet or sour; pitted or not, as long as you strain it
Pick a Method Before You Start
Most recipes are a version of one of four approaches. They differ in how long the fruit spends over heat, and that is what moves the flavor from bright and fresh toward jammy and cooked.
| Method | What you do | What you get |
| Simmer (the recipe below) | Cook everything in one pot for 10 to 15 minutes, then strain | Good color and full flavor with little fuss; the all-purpose choice |
| Steep | Dissolve the sugar in hot water, take it off the heat, add cut fruit and leave it for about an hour | The freshest, most floral taste, but paler and a little thinner |
| Juice first | Simmer fruit in water, strain, then stir the sugar into the hot juice | Deep color and concentrated flavor; easy to control sweetness |
| No water | Mash fruit with sugar alone and cook until it releases its juice | The most intense syrup, with a smaller yield per pound of fruit |
Fruit-to-liquid ratio matters as much as method. Recipes range from 1 cup of cherries per cup of water to 4 cups of fruit with only ½ cup of sugar.
More fruit means more color and flavor in every spoonful. More sugar, compared with water, means a thicker syrup that keeps longer. The recipe below sits between the two.
Choosing Your Cherries
Any cherry will make syrup, but the variety sets the color and how much sugar tastes right.
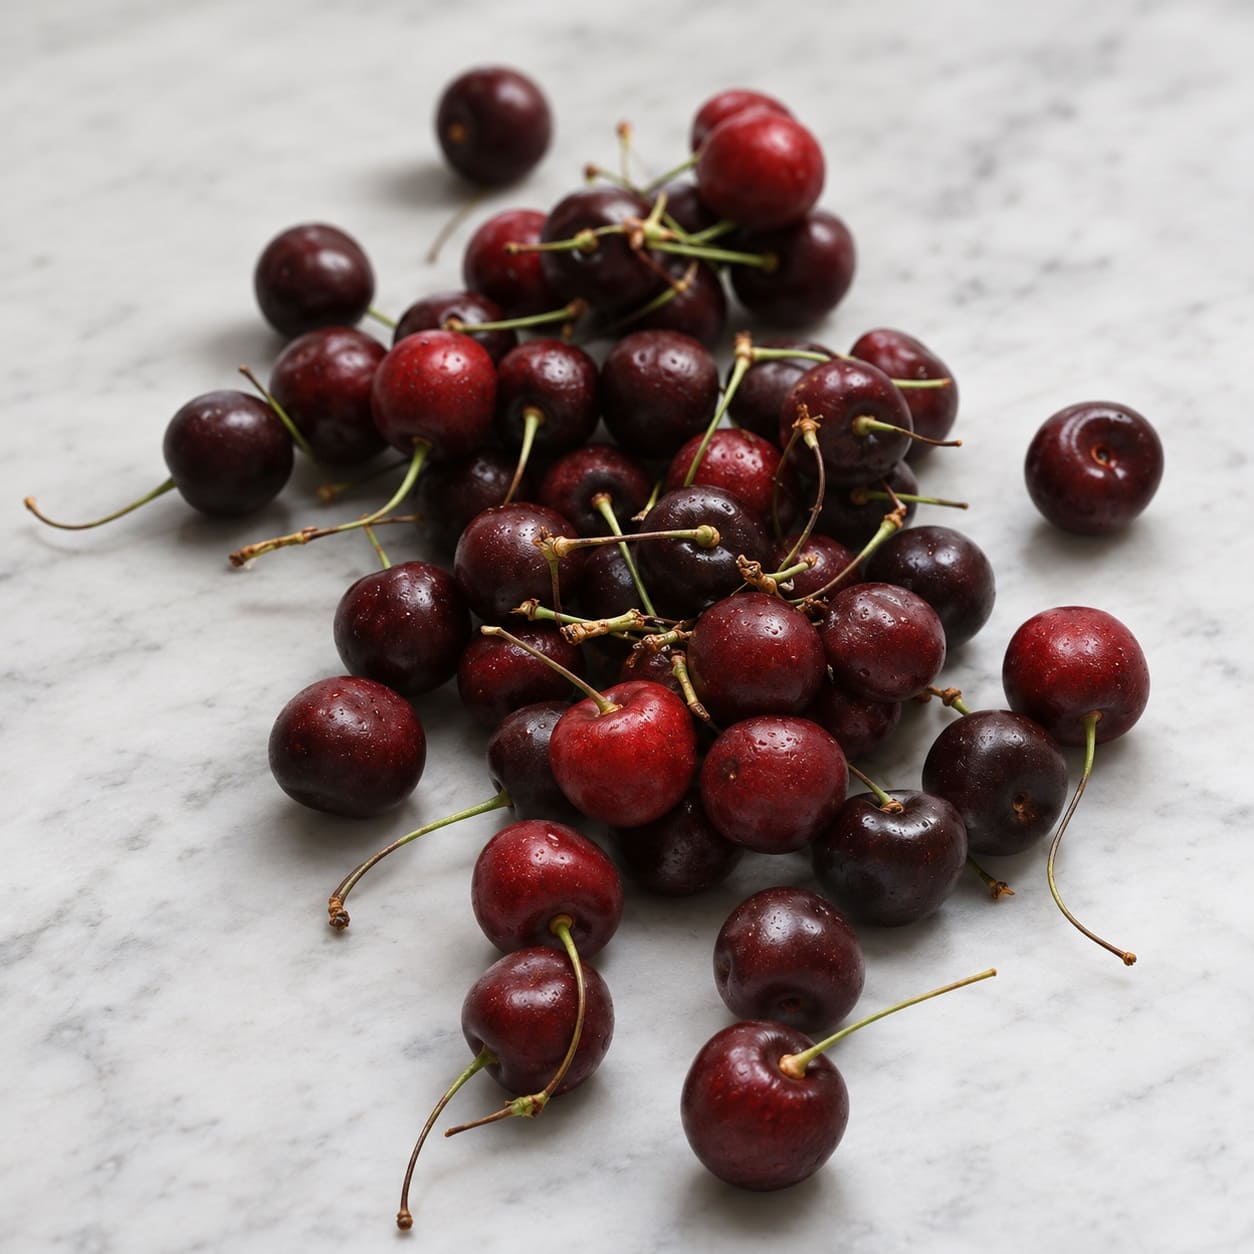
- Dark sweet cherries (Bing, Lapins, Chelan, Sweetheart) give the deep garnet syrup most people have in mind, with a round, mellow sweetness. Add the lemon juice; it keeps the flavor from going flat.
- Blush cherries (Rainier, Queen Anne) are very sweet but make a pale pink-amber syrup. Lovely in a clear drink, disappointing if you wanted red.
- Sour cherries (Montmorency, Morello) give the most distinctly cherry flavor and a vivid red. Their acidity carries more sugar, so they suit richer ratios like the one in the variations section.
Season depends on where you live.
In North America, fresh sweet cherries are usually around from late spring to late summer, while in Australia, New Zealand and South America they arrive around the end of the year. Fresh sour cherries are harder to find almost everywhere.
In the US most of the tart crop comes from Michigan and nearly all of it is sold frozen, canned, dried or juiced, so check the freezer aisle, farmers markets in July, or Middle Eastern and Eastern European grocers, which often stock frozen or jarred sour cherries.
Frozen cherries are a strong choice, not a fallback. They come pitted, they were frozen ripe, and freezing breaks down the fruit’s cell walls, so they give up juice and color quickly.
Read the bag: you want unsweetened cherries, not cherries packed in syrup, and it’s still worth feeling for the odd stray pit. F
resh fruit has the edge on aroma. Slightly bruised or soft cherries are perfect here, since they get strained out anyway.
Basic Cherry Syrup
A pourable syrup for drinks that also works on pancakes. Makes about 1¼ to 1½ cups (300 to 350 ml).
You’ll need:
- 2 cups (300 g, about 11 oz) cherries, stemmed, halved and pitted if you like (fresh or frozen)
- 1 cup (200 g) granulated sugar
- 1 cup (240 ml) water
- 1 tablespoon (15 ml) lemon juice
- A pinch of salt (optional)
- A stainless steel or enameled saucepan, a fine-mesh strainer and a clean glass jar
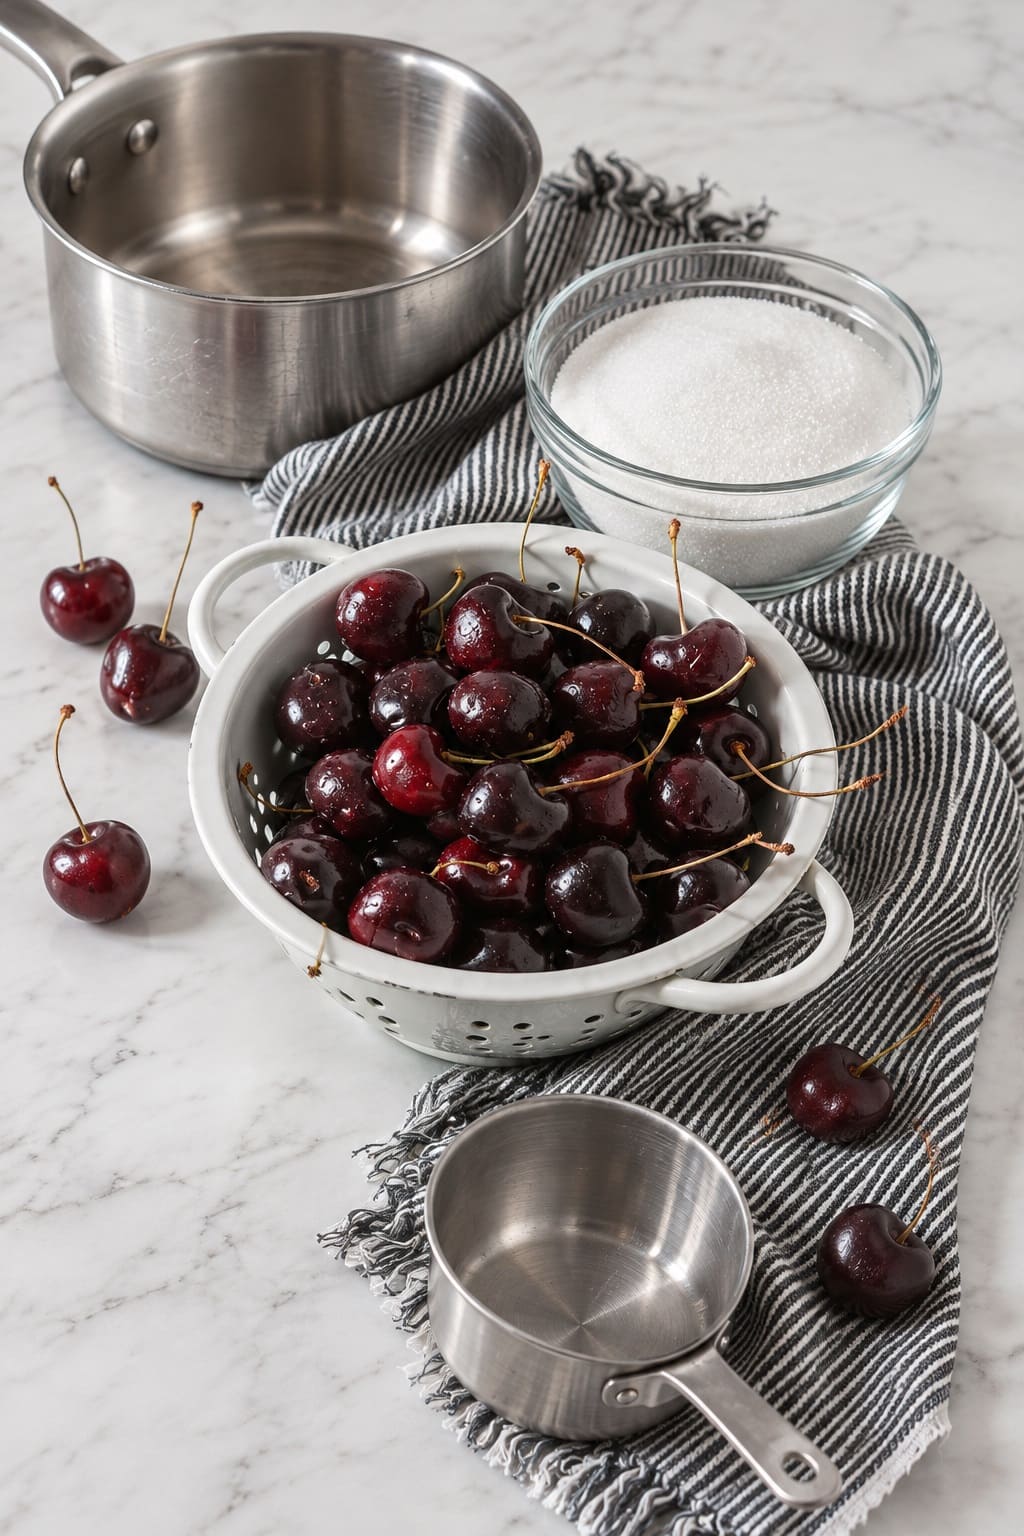
White sugar is the right default: it keeps the color bright and lets the cherry lead. You can use brown sugar, honey or maple instead; expect a darker syrup with their flavor layered over the fruit.
- Put the cherries, sugar and water in the saucepan. Frozen cherries can go in straight from the freezer; don’t thaw and drain them, because that liquid is juice you want. Avoid bare aluminum, which reacts with fruit acid and can dull the color.
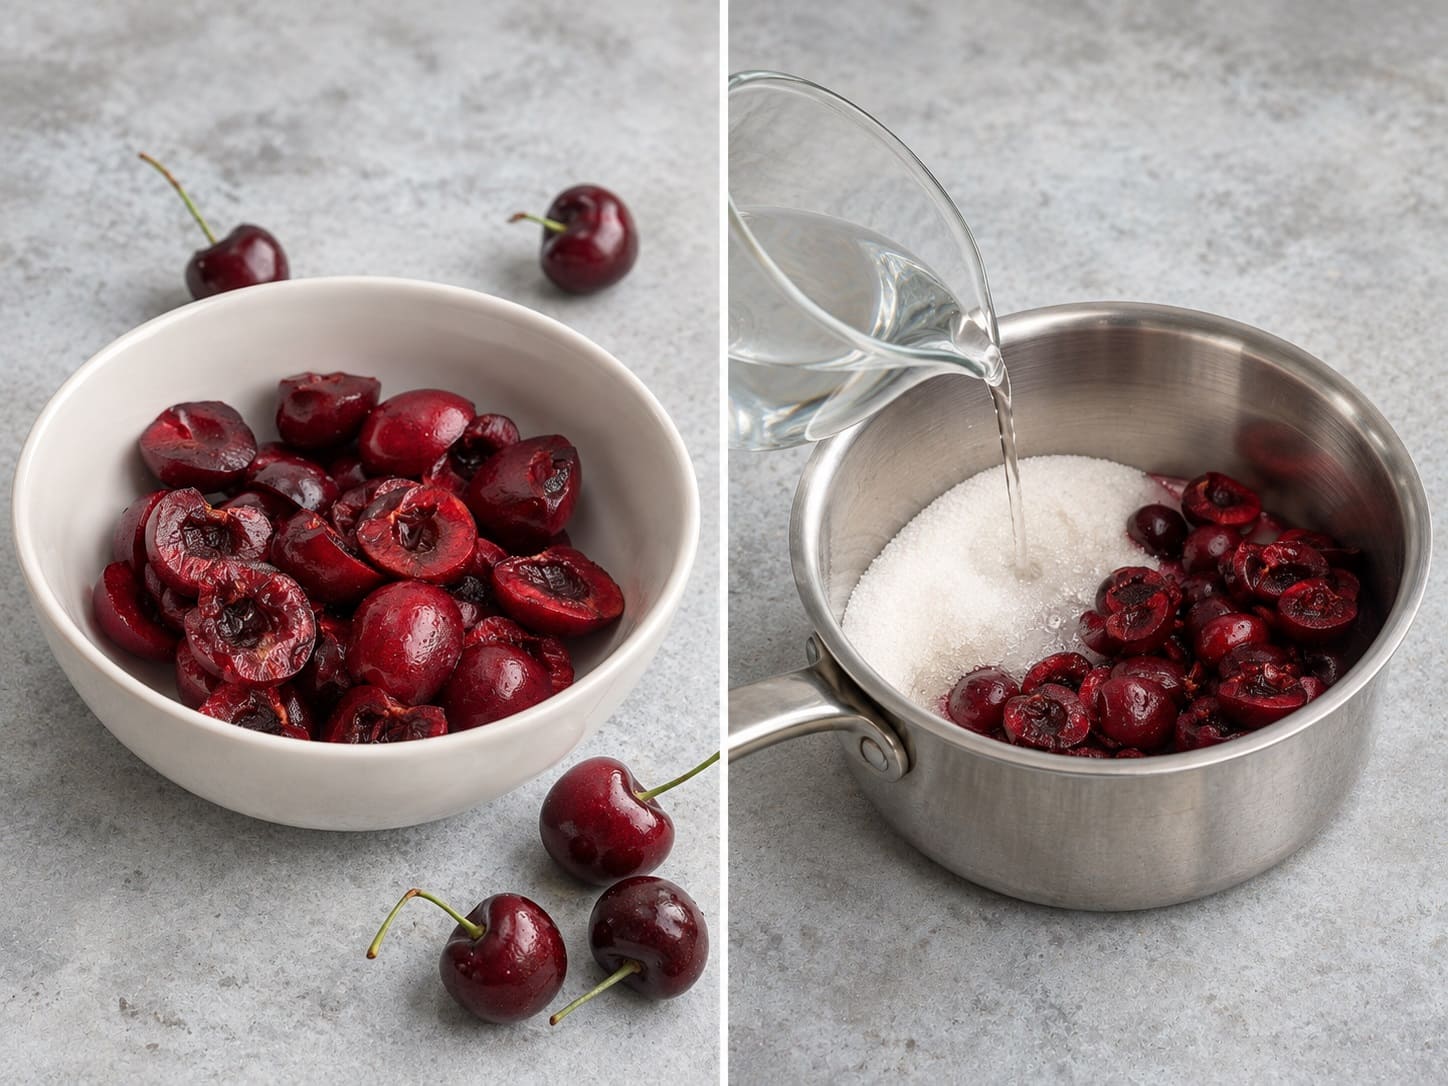
- Set the pan over medium heat and stir until no sugar crystals remain and the liquid turns clear.
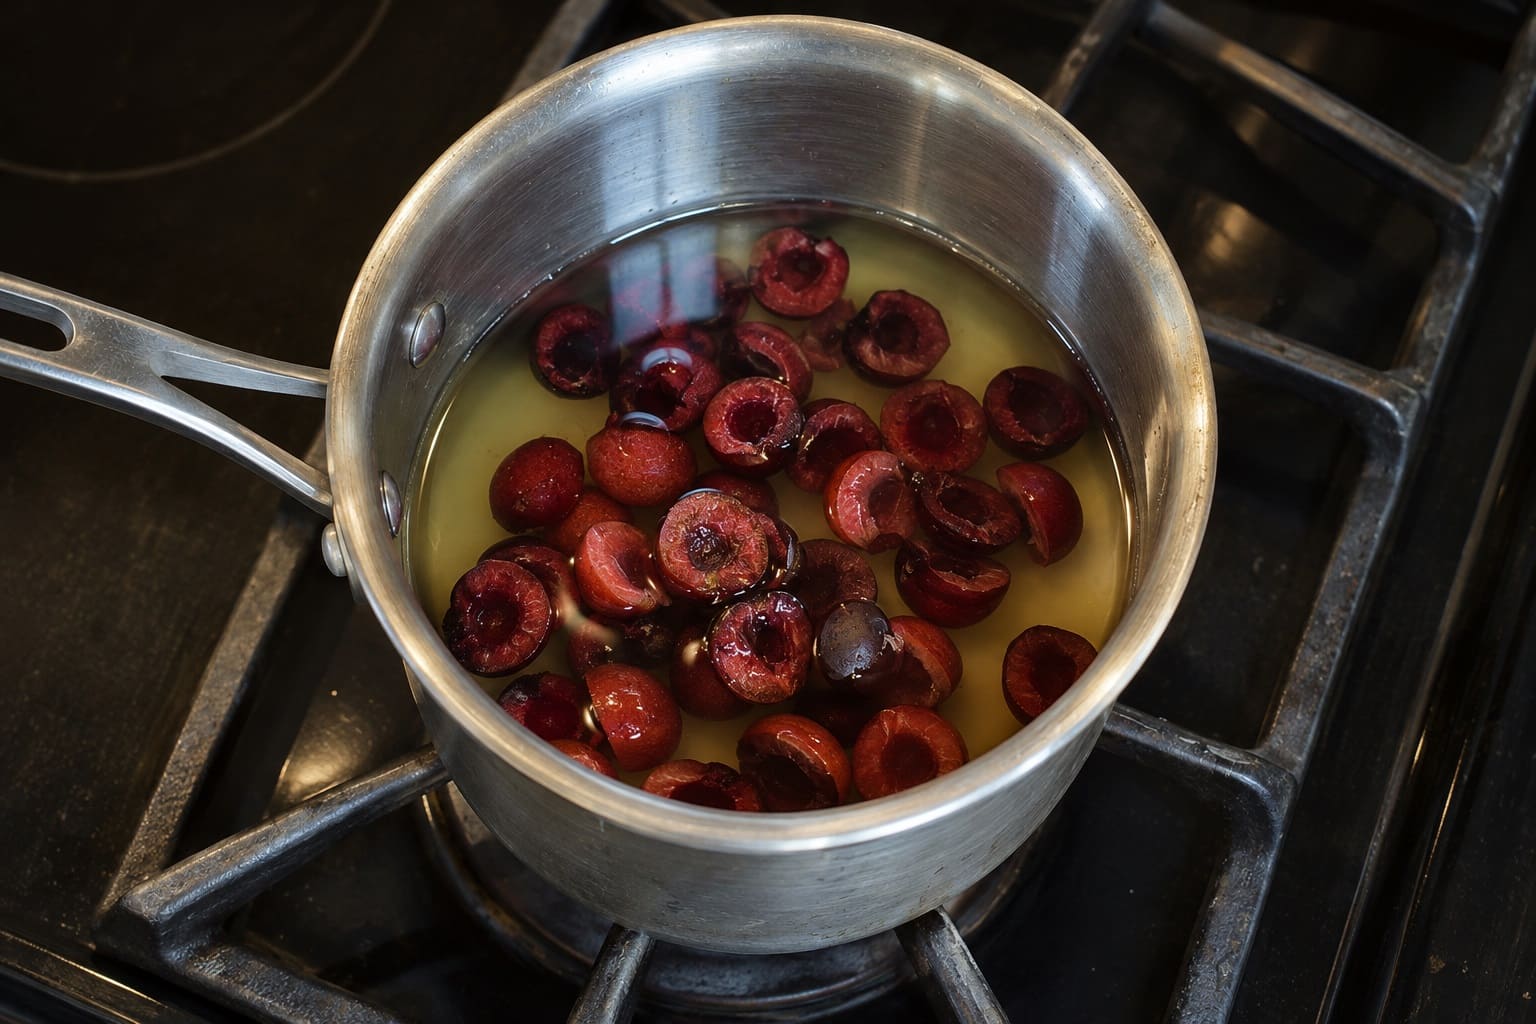
- Lower the heat to a gentle simmer, with small, lazy bubbles rather than a rolling boil. Give it 10 to 15 minutes, nudging the fruit against the side of the pan now and then to help it release. Frozen fruit needs a few extra minutes to come up to heat.
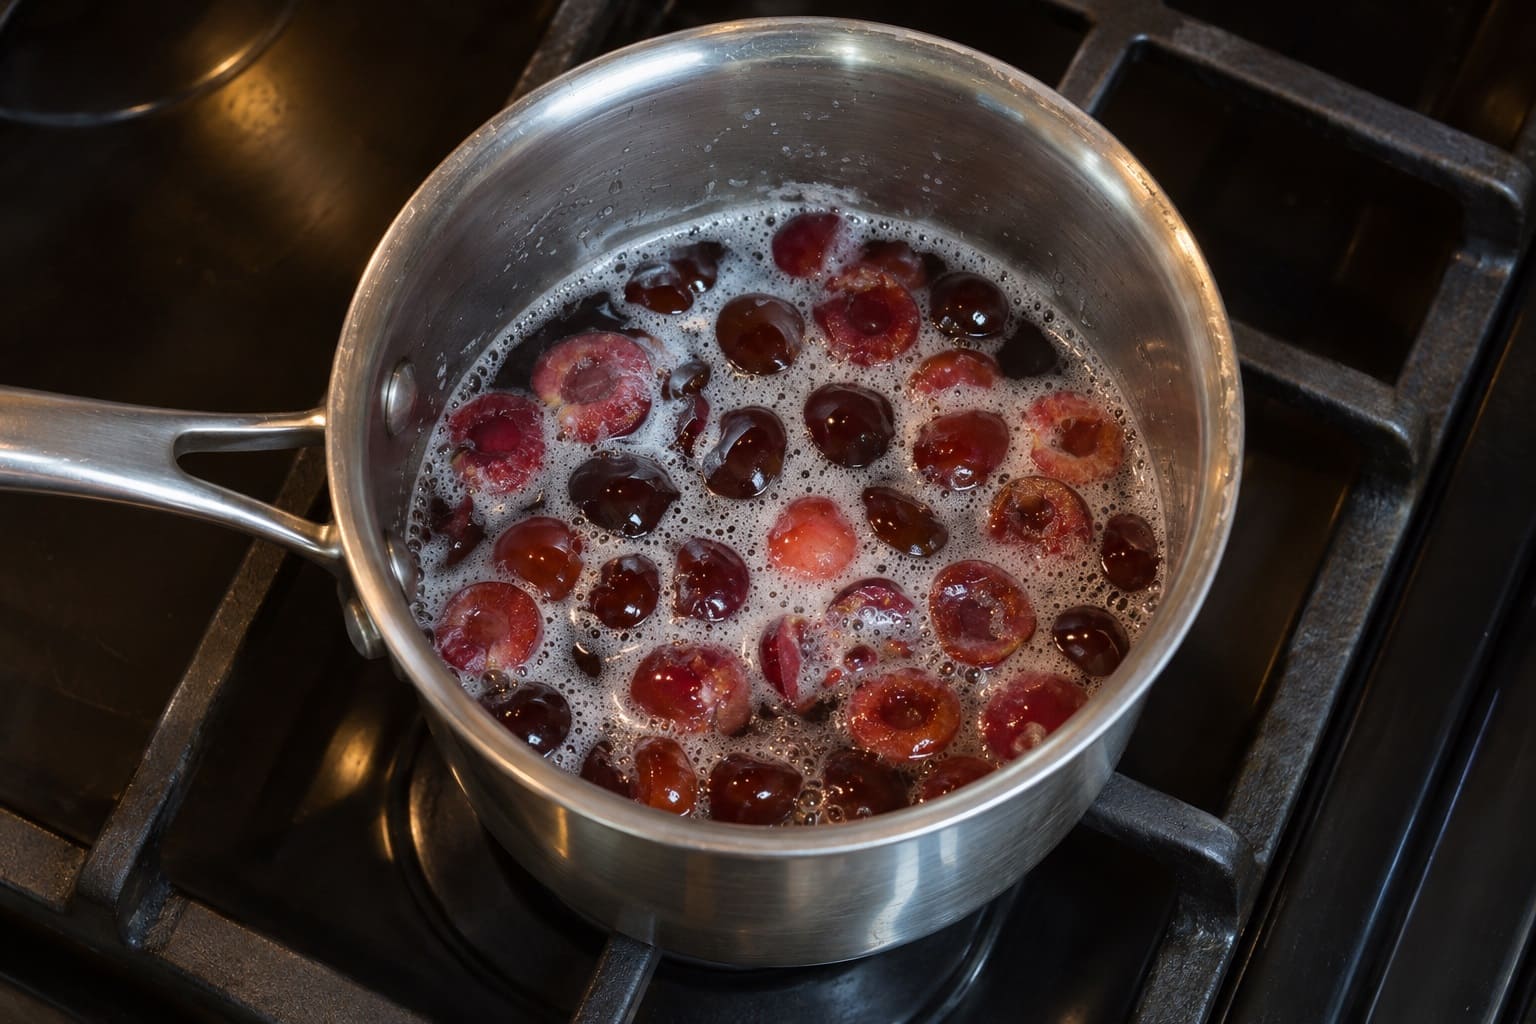
- Stop when the cherries look collapsed and pale and the liquid is glossy and deep red. Longer cooking won’t add cherry flavor; it drives off the fresh aroma and starts pushing the color toward brown.
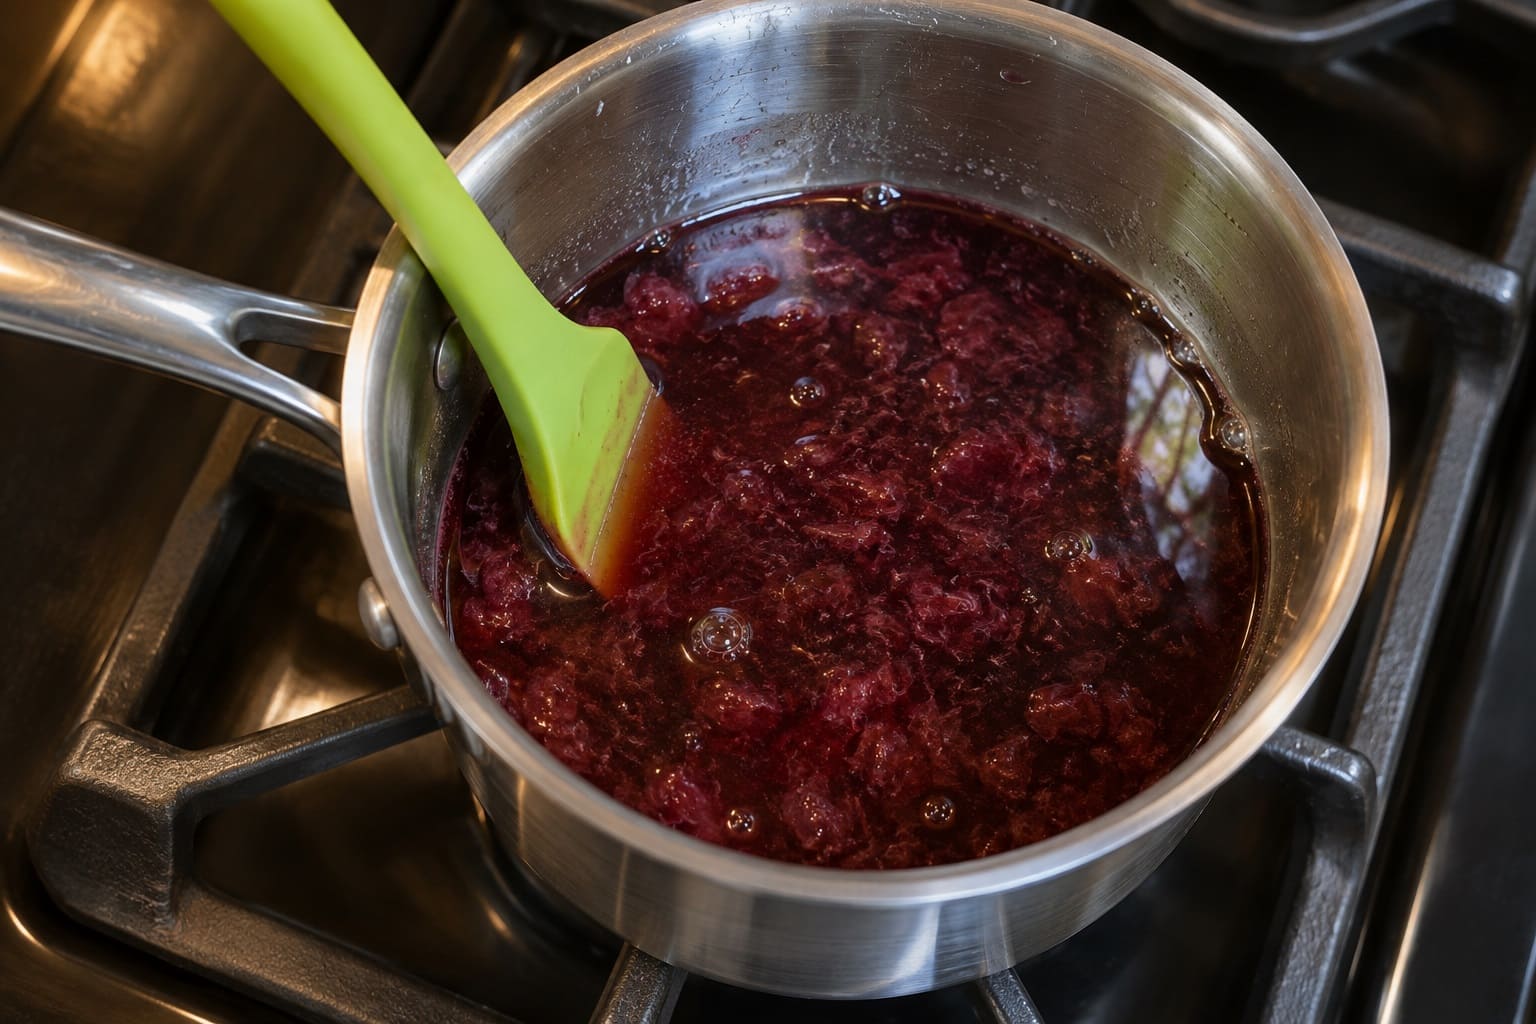
- Take the pan off the heat and stir in the lemon juice and salt. Acid keeps the red brighter, and adding it off the heat keeps its taste fresh. Let it sit for 10 minutes.
- Strain into a heatproof bowl or measuring cup. Let it drip for a clear syrup, or press the fruit with a spoon for more yield and a slightly cloudy one.
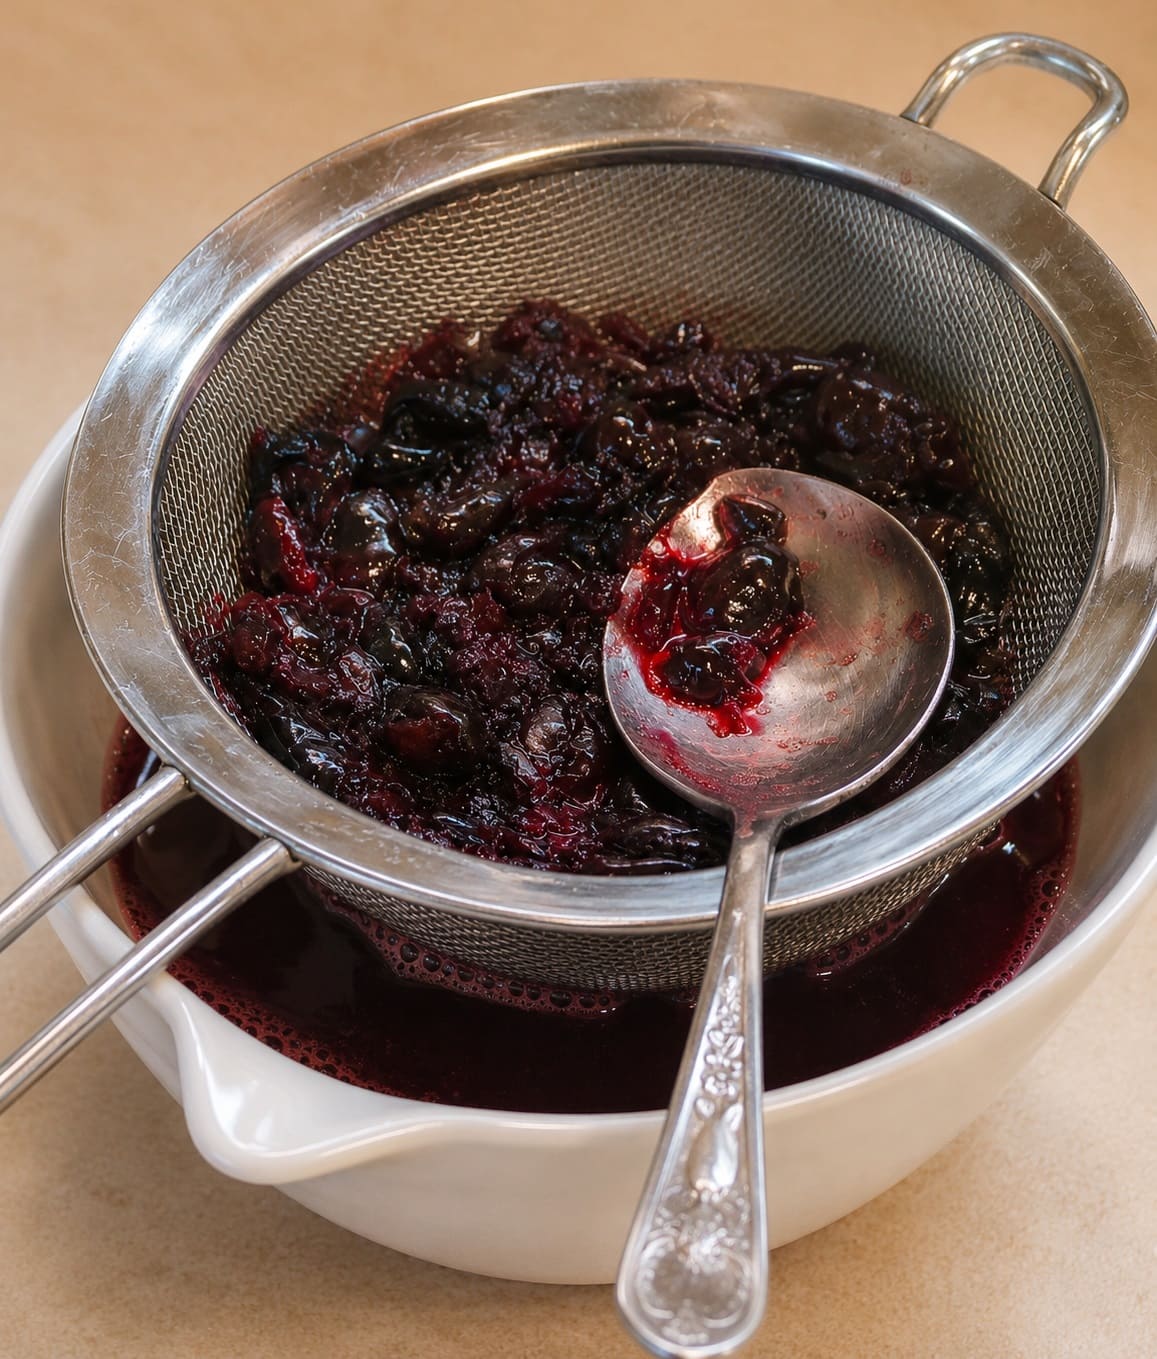
- Cool it uncovered until it stops steaming, then pour it into the jar, cap it and refrigerate. A lid on hot syrup traps condensation, and water dripping back onto the surface shortens its life.
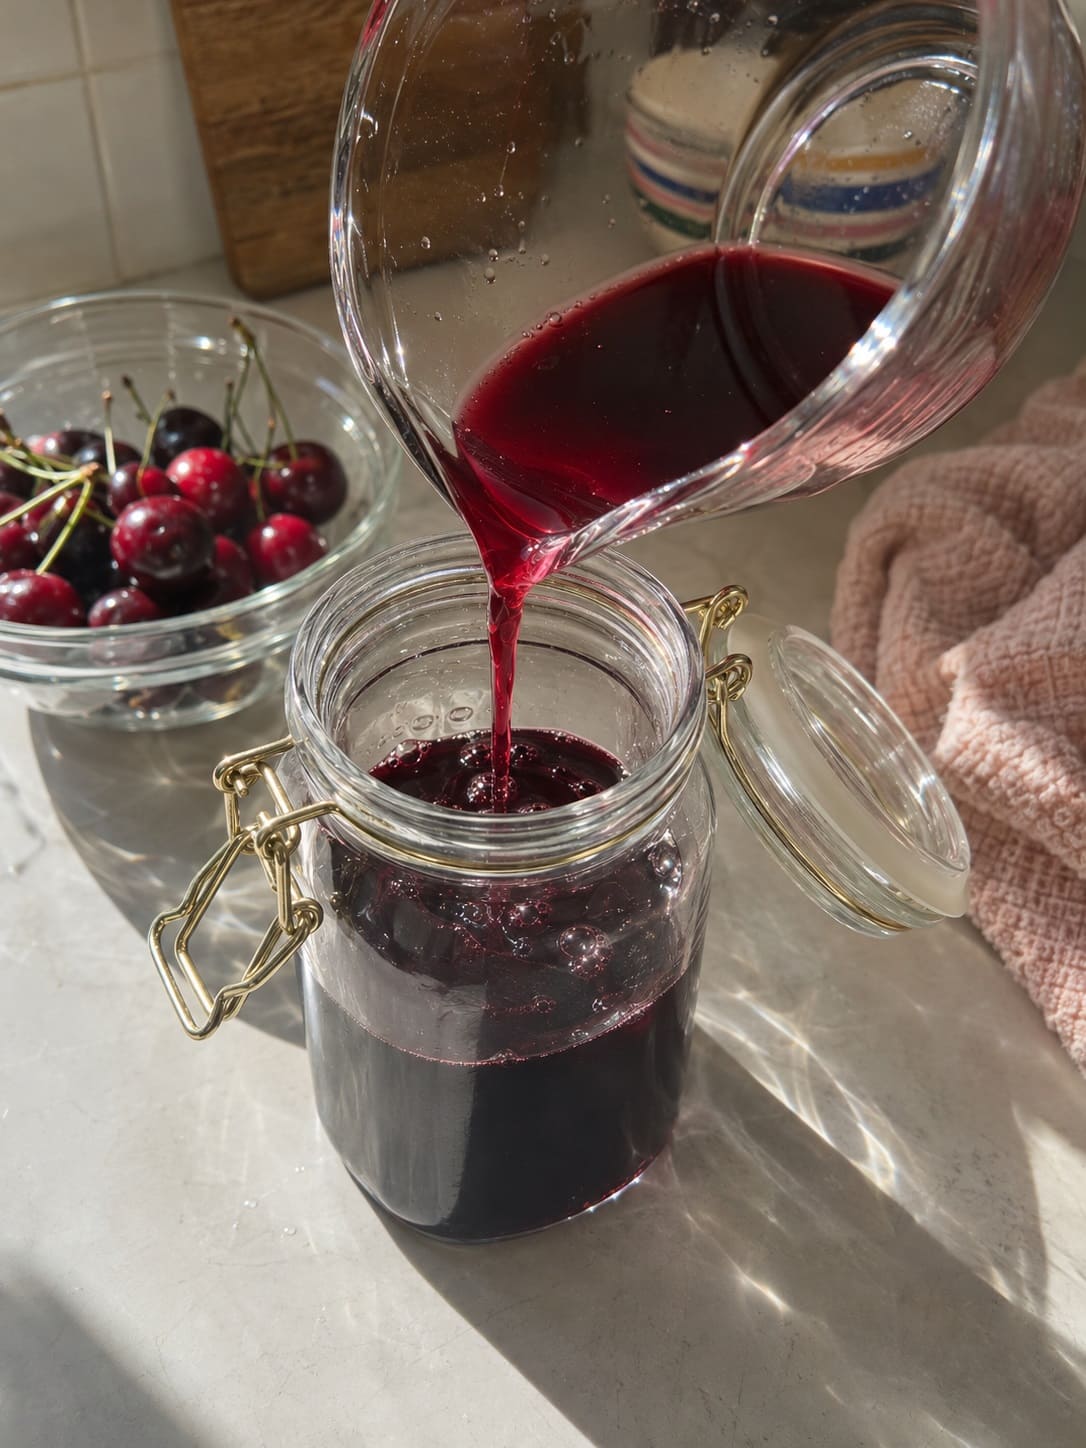
If you pitted the fruit, keep the strained cherries. They’re soft, sweet and good over yogurt, ice cream or oatmeal for a few days in the fridge.
To try one of the other methods from the table, use the same ingredients unless noted and add the lemon juice off the heat as before:
- Steep: heat the sugar and water until clear, take the pan off the heat, add the halved cherries, cover and leave for 1 hour before straining.
- Juice first: simmer the cherries in 2 cups (480 ml) water for 15 minutes, strain, then stir the 1 cup of sugar into the hot juice until it dissolves.
- No water: mash 1 lb (450 g) stemmed cherries with ¾ cup (150 g) sugar as they warm, gently if unpitted, simmer about 15 minutes and strain. Expect about 1 cup (240 ml).
Do You Have to Pit the Cherries?
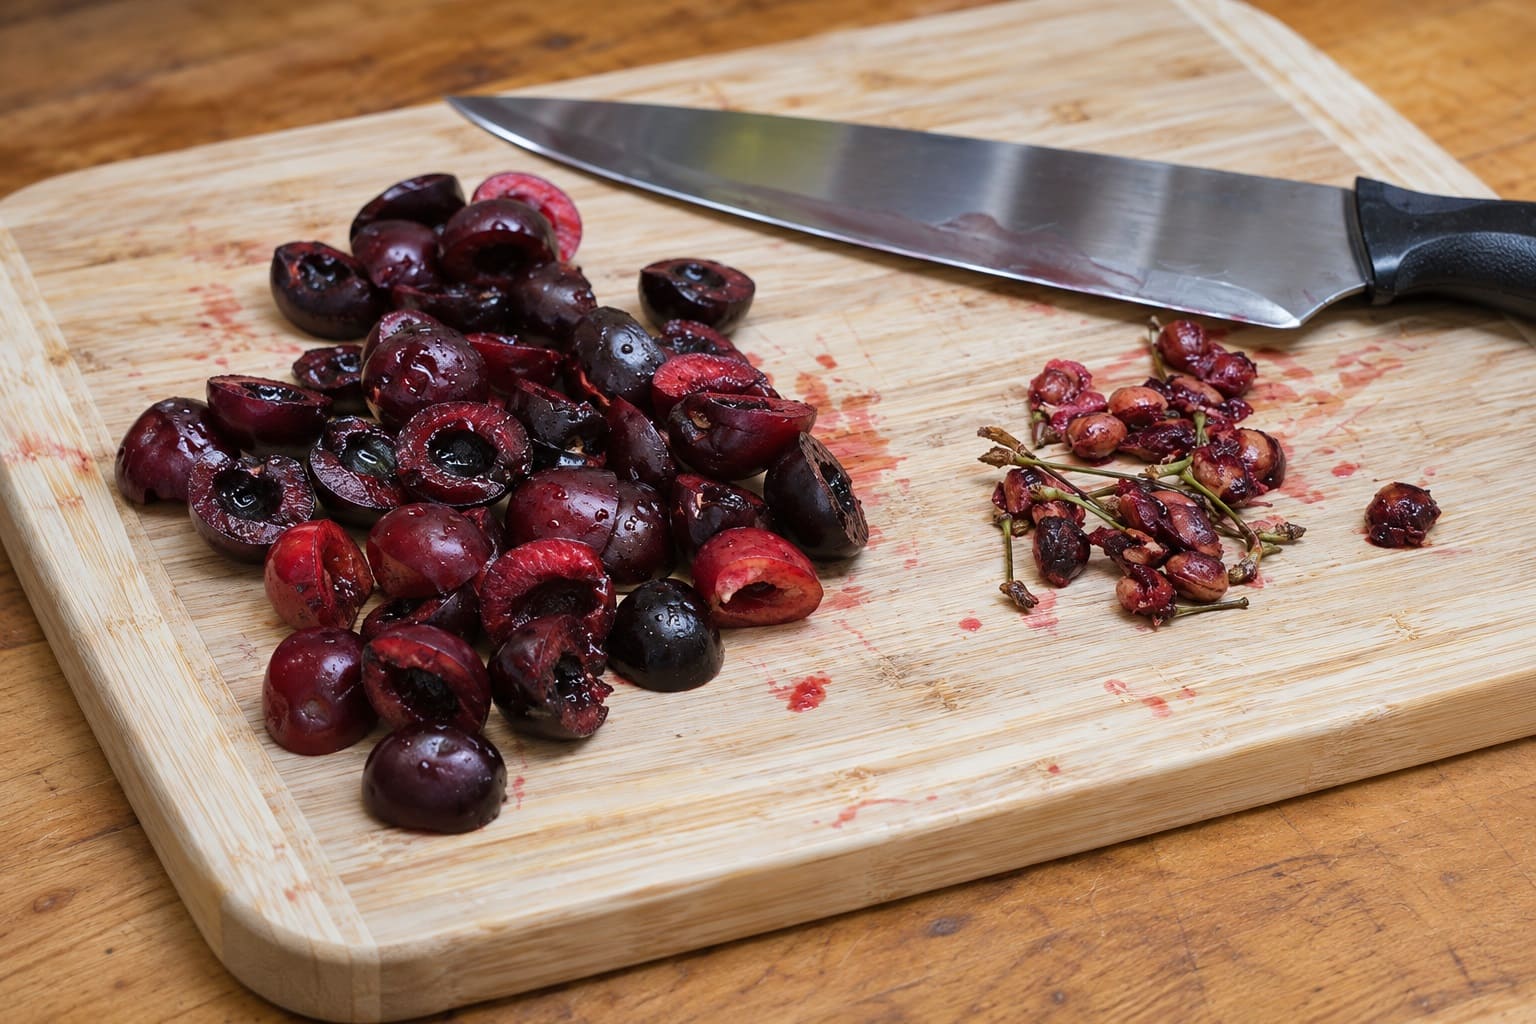
No, not for a strained syrup. You’ll see warnings about cyanide in cherry pits, and the concern is real but specific.
The compound involved, amygdalin, sits in the kernel inside the pit’s hard shell. Poison centers explain that the danger comes when pits are chewed or crushed, which releases it, while swallowing one or two whole pits by accident won’t cause harm.
The National Center for Home Food Preservation’s tested recipe for canning whole cherries leaves pitting up to you, which tells you intact pits are an accepted part of cooking cherries.
So the rule is simple: never do anything that could break the pits. A gentle press with a spoon on soft, cooked fruit is fine. A blender, food processor or heavy pounding is not, so pit first if your method involves any of those.
Pit too if you want to eat the strained fruit, leave pieces in the syrup or serve it to small children, since a stray pit is a choking risk.
You’ll read that pits either add a lovely almond note or a bitter one. Any effect through an intact shell is subtle, so it’s not a reason to leave them in. If you want that almond flavor, ¼ teaspoon of almond extract does it reliably.
No pitter? Stand a cherry stem end up on the mouth of an empty bottle and push a chopstick or sturdy straw through it; the pit drops into the bottle. For a small batch, halving each cherry and flicking out the pit with a paring knife is just as quick.
Getting the Thickness Right
Hot syrup is much thinner than it will be once chilled, which is why so many first batches either seem watery and get overcooked, or set into something sticky by morning.
Judge it cold. Put a spoonful on a saucer and chill it in the freezer for a minute or two, then run a finger through it. If the line stays open, the jar will pour like that tomorrow.
For a thicker result, choose one of these approaches:
- Change the ratio.
Using 1½ cups (300 g) sugar to 1 cup (240 ml) water gives a syrup that coats a spoon and still dissolves in drinks.
- Reduce it.
Simmer the strained syrup for another 5 to 10 minutes. You’ll trade away a little freshness, which matters less on pancakes than in soda water.
- Make a sauce.
Stir 2 tablespoons cold water into 1 tablespoon cornstarch until smooth, stir it into the simmering syrup and cook for 1 to 2 minutes until glossy. Pit the cherries first and leave some fruit in for a pancake or ice cream topping.
Never add dry cornstarch straight to the pan, and keep this version for the fridge or freezer, not the canner.
Variations Worth Making
- Sour cherry syrup: 1 lb (450 g) pitted sour cherries, 2¼ cups (450 g) sugar and 2 cups (480 ml) water, simmered about 20 minutes. Skip the lemon; the fruit brings its own acid. This richer syrup is the base for sharbat, the Persian chilled drink, when stirred into iced water.
- From bottled tart cherry juice: simmer equal volumes of unsweetened tart cherry juice and sugar for 15 to 20 minutes. No pitting, any time of year. If your juice is sweetened, cut the sugar.
- Almond: ¼ teaspoon almond extract, off the heat. Start small; too much tastes artificial. Leave it out for anyone with a tree-nut allergy.
- Vanilla: 1 teaspoon vanilla extract stirred in after cooking, or half a split vanilla bean simmered with the fruit.
- Spiced: simmer a cinnamon stick, two or three cloves or a single star anise with the fruit, then let it steep for 10 minutes before straining.
- Citrus or herb: a strip of orange or lime peel, or a sprig of rosemary or thyme, during the simmer. For a cherry limeade base, swap the lemon for 2 tablespoons lime juice.
- Less sugar: you can cut the sugar or use a sugar substitute, but the syrup will be thinner and spoil faster.
How Long Cherry Syrup Keeps
You’ll find everything from 4 days to 6 months quoted, and the spread has real causes: how much sugar the syrup holds, whether fruit pulp is left in it and how clean the jar was.
Here’s what to plan on.
- Basic strained syrup, refrigerated: about 2 weeks. Use a clean jar, pour rather than dip, and keep it at the back of the fridge, not in the door.
- Richer, higher-sugar syrups such as the sour cherry version usually keep longer, often a month or so, but check them as you go.
- Syrup or sauce with fruit pieces left in, and low-sugar versions: a few days to a week.
- Frozen: measure 1 tablespoon into each well of an ice cube tray, freeze, then bag the cubes so each one is a known amount. Use within about 3 months for the best flavor. If you freeze it in a jar, leave ½ inch (1.25 cm) of space for expansion.
Throw it out if you see bubbles or fizz in a jar nobody has moved, a film or fuzzy spots on top, or smell anything yeasty, winey or sour. A little sediment that settles at the bottom and stirs back in is normal.
Don’t try to skim mold off. For jams and jellies, USDA now advises discarding the whole jar rather than scooping out mold, and syrup deserves the same caution.
Canning Cherry Syrup for the Pantry
A refrigerator recipe isn’t a canning recipe, and you’ll see processing times online that range widely, some with lemon juice and some without.
For a shelf-stable jar, use the tested Berry Syrup recipe from the National Center for Home Food Preservation, which names cherries among its fruits, and follow it exactly:
- Wash and stem 6½ cups (about 1.5 L) fresh or frozen cherries, crush them in a saucepan (gently, if they still have pits), bring to a boil and simmer until soft, 5 to 10 minutes.
- Strain the hot fruit through a colander and let it drain until cool enough to handle, then strain the collected juice through a double layer of cheesecloth or a jelly bag. Expect 4½ to 5 cups (1.1 to 1.2 L) of juice.
- Combine the juice with 6¾ cups (1.35 kg) sugar in a large saucepan, bring to a boil and simmer 1 minute. Skim off the foam.
- Fill clean half-pint or pint jars, leaving ½ inch (1.25 cm) of headspace, and adjust the lids.
- Process hot-packed jars in a boiling-water canner for 10 minutes at up to 1,000 ft (305 m), 15 minutes at 1,001 to 6,000 ft (1,830 m) and 20 minutes above 6,000 ft. It makes about 9 half-pints.
The processing times were tested for this recipe, so don’t swap in your own ratio or add cornstarch. The center lists Clear Jel as the starch for canned pie fillings because ordinary starches break down in the jar.
Related posts:
- How to Can Peaches: Safe Step-by-Step Guide (Hot or Raw)
- How to Can Tomatoes: A Step-by-Step Guide for Beginners
Fixing a Batch That Went Wrong
- Thin even when cold: simmer it a few minutes longer, or add a cornstarch slurry if it’s headed for pancakes.
- Sweet but flat: add a pinch of salt and lemon juice by the teaspoon, tasting as you go. Missing acid is the usual problem, not missing fruit.
- Brown or dull instead of red: it cooked too long or too hard. Next time, keep the bubbles gentle and add the lemon juice.
- Cloudy: you pressed the fruit hard. Nobody will notice in soda. When clarity matters, run this batch through a coffee filter and let the next one drip on its own.
- Gritty crystals in the fridge: the sugar didn’t fully dissolve, or the syrup is very rich. Warm it gently with a spoonful of water.
- Tastes like pie filling: Try the steep method for a fresher flavor.
- Bitter, almond-like edge: pits may have cracked. Pit the fruit next time if you mash firmly.
How to Use It, and How Much
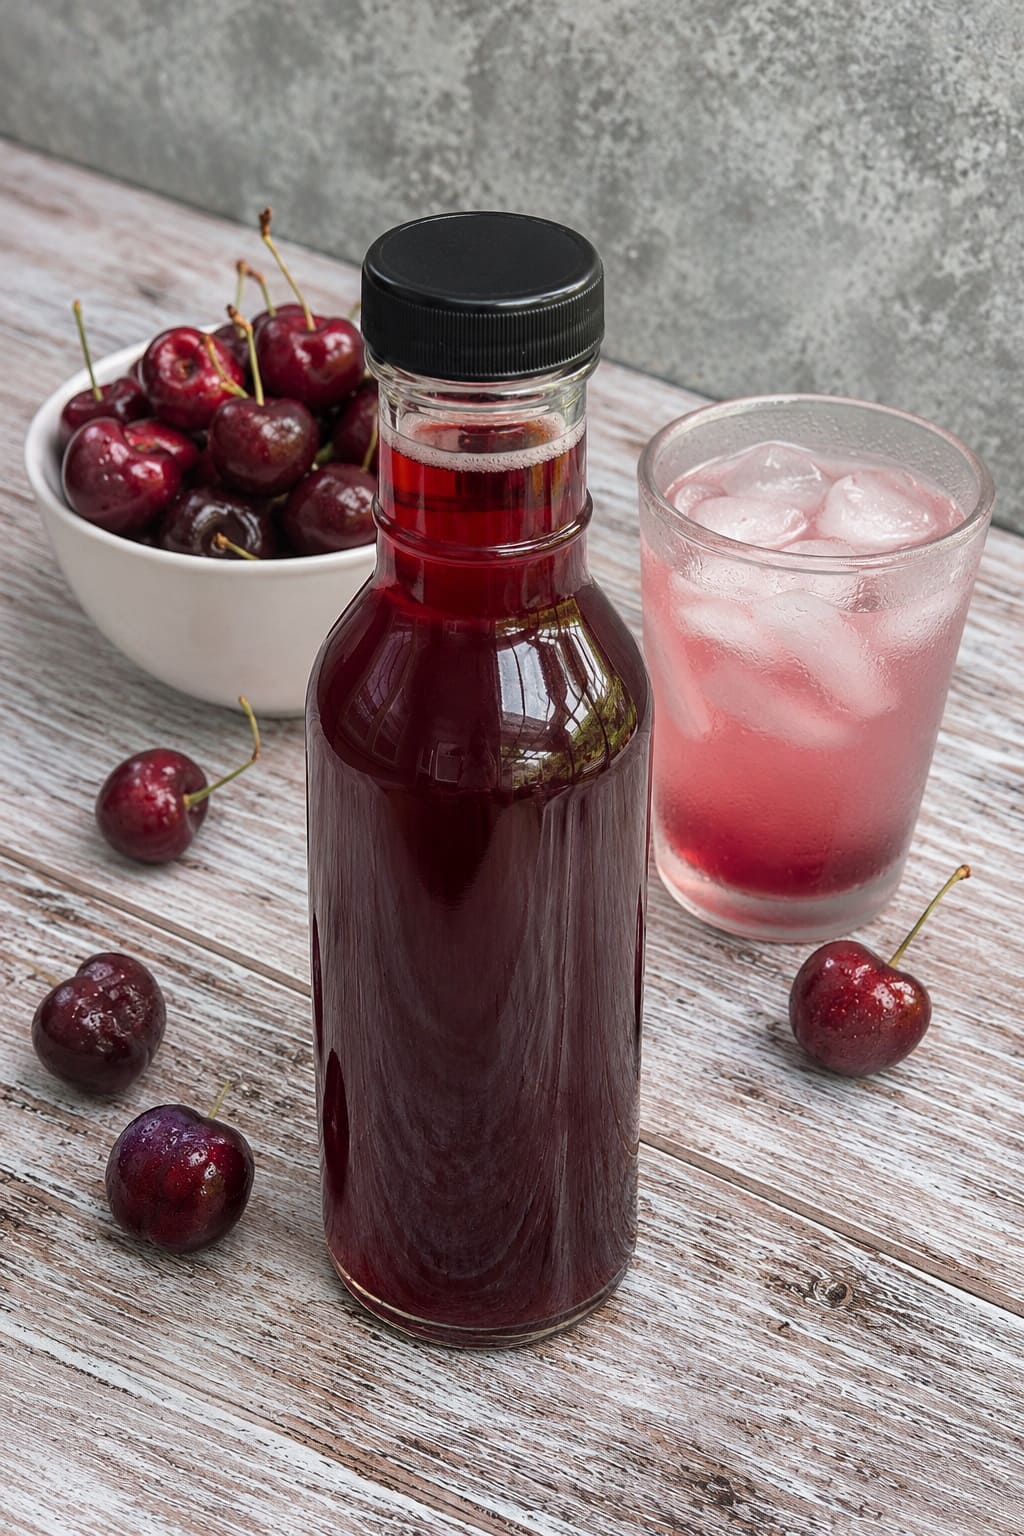
Start with these amounts and adjust to your taste.
- Cherry soda: 2 tablespoons (1 oz / 30 ml) syrup in 6 oz (180 ml) cold sparkling water, poured over ice and finished with lime. Go up to 3 or 4 tablespoons for soda-fountain sweetness, or add a splash of cream for an Italian soda.
- Iced tea and lemonade: 1 to 2 tablespoons a glass.
- Coffee: 1 tablespoon in an iced latte or a mocha. More than that and it turns into dessert.
- Cocktails: swap it one for one with simple syrup, for example ¾ oz (22 ml) in a whiskey sour, or use it wherever a recipe calls for grenadine, such as a Shirley Temple.
- Breakfast and dessert: warm the thicker version for pancakes, waffles and ice cream, or swirl it into yogurt and oatmeal.
- Cake: brush the thin syrup over warm cake layers before frosting for moisture and a quiet cherry flavor.
- Savory: reduce it with a splash of balsamic vinegar to glaze pork or duck, or whisk a spoonful into a vinaigrette.
Cherry Syrup FAQ
Is cherry syrup the same as grenadine?
They are different syrups. Grenadine is traditionally a pomegranate syrup, though many bottled versions are mostly sugar, flavoring and red dye. Homemade cherry syrup works in its place in drinks, with a deeper, darker fruit flavor.
Can I make it with maraschino cherries?
You can, but you’ll get the bright candy flavor of the jar rather than real cherry. Maraschino cherries are already sweetened and colored, so simmer the cherries with their jar liquid and cut the sugar well back.
Can I double the recipe?
Yes. Keep the same ratio and use a wider pan so the fruit still sits in a shallow layer. It will take a few more minutes to come to a simmer, but the cooking time once it bubbles stays about the same.
Your First Batch
Make one small batch this week with whatever cherries you can get, frozen included, and taste it in a glass of sparkling water before you decide what to change.
Once you know how it behaves, try the steep method or a sour cherry batch side by side, and keep the version you reach for most.

