
There’s something deeply satisfying about biting into a homemade dill pickle—that perfect snap, the bright tang of vinegar, the aromatic punch of garlic and dill.
After years of making pickles, I can tell you that once you taste homemade, it’s nearly impossible to go back to store-bought.
The best part?
Making dill pickles is far easier than you might think. This guide will show you exactly how to make crispy, flavorful dill pickles using either a quick refrigerator method (ready in 24 hours) or traditional canning for year-round enjoyment.
Quick Decision Guide: Which Method Is Right for You?
Before we dive deep, let’s help you choose your path:
- Choose refrigerator pickles if you: want to start eating pickles tomorrow, are making a small batch (1-4 jars), want maximum crispness, or are new to pickle-making.
- Choose canned pickles if you: have a large cucumber harvest, want pantry-stable pickles for gifts, need long-term storage, or want pickles available all year.
Both methods produce excellent pickles—refrigerator pickles stay slightly crisper, while canned pickles develop deeper, more complex flavors over time.
👉 Here’s How to Can Vegetables: Complete Beginner’s Guide to Safe Home Canning
The One Non-Negotiable: Start with the Right Cucumbers
Your cucumber choice determines everything. Use the wrong type, and you’ll end up with mushy disappointment no matter how perfectly you follow the recipe.
Use pickling cucumbers, not slicing cucumbers
You must use pickling cucumbers—sometimes called Kirby cucumbers. These short, plump cucumbers with bumpy skin are bred specifically for their firm texture and lower water content.
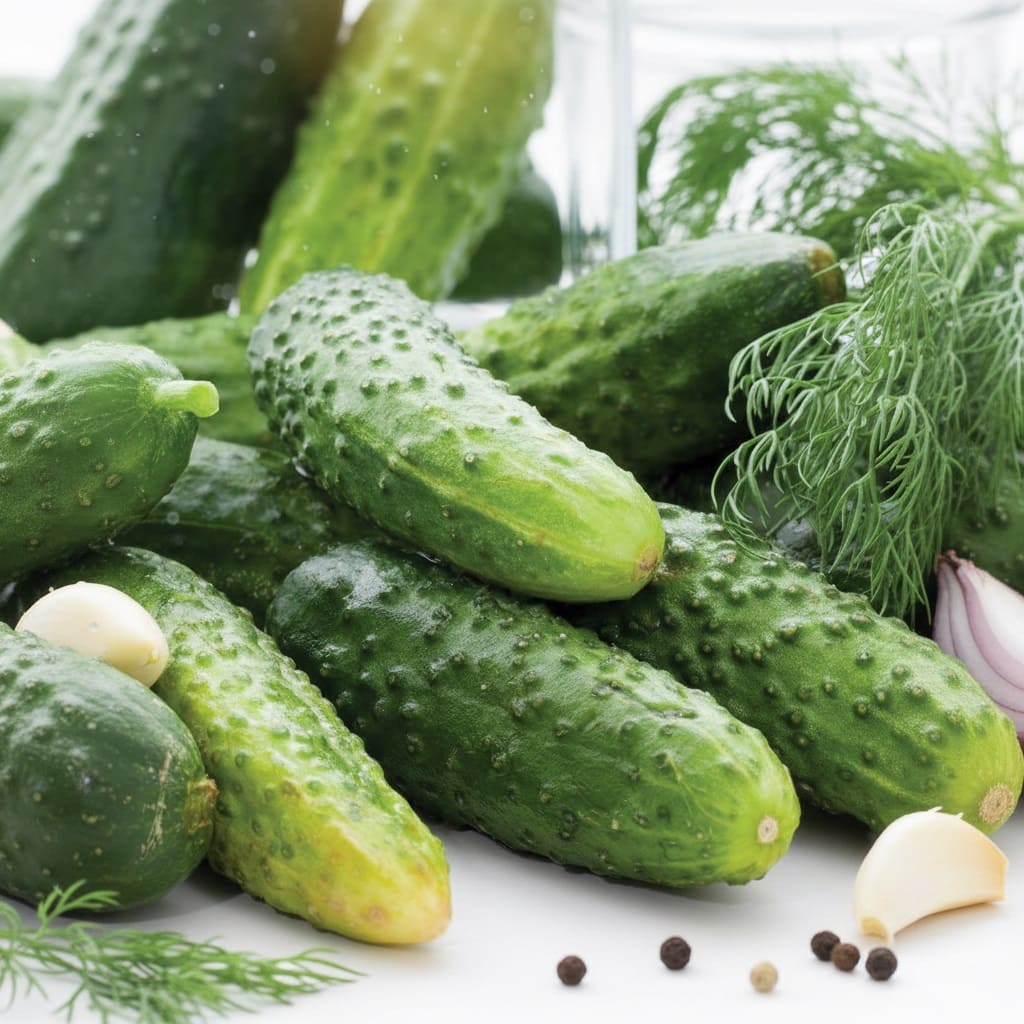
Popular varieties include Kirby, Persian, Boston Pickling, and Bushy. Look for cucumbers that are 3-6 inches long, firm to the touch, and free of soft spots.
English cucumbers, hothouse cucumbers, and regular slicing cucumbers won’t work. Their high water content turns mushy in brine, creating sad, limp pickles. Don’t waste your time with them.
👉 Here’s How to Get Rid of Bitter Taste in Cucumbers With 4 Simple Techniques
Freshness is equally critical
Pick or buy cucumbers as close to pickling time as possible—ideally within 24 hours. Morning-picked cucumbers are firmest.
If you can’t pickle immediately, refrigerate them right away. Every hour that cucumbers sit at room temperature after harvest, they lose crispness you’ll never get back.
👉 Find out Why Are Your Cucumber Leaves Turning Yellow? Top Causes & Solutions
Five Secrets to Consistently Crispy Pickles
Let me share the techniques that separate excellent pickles from mediocre ones:
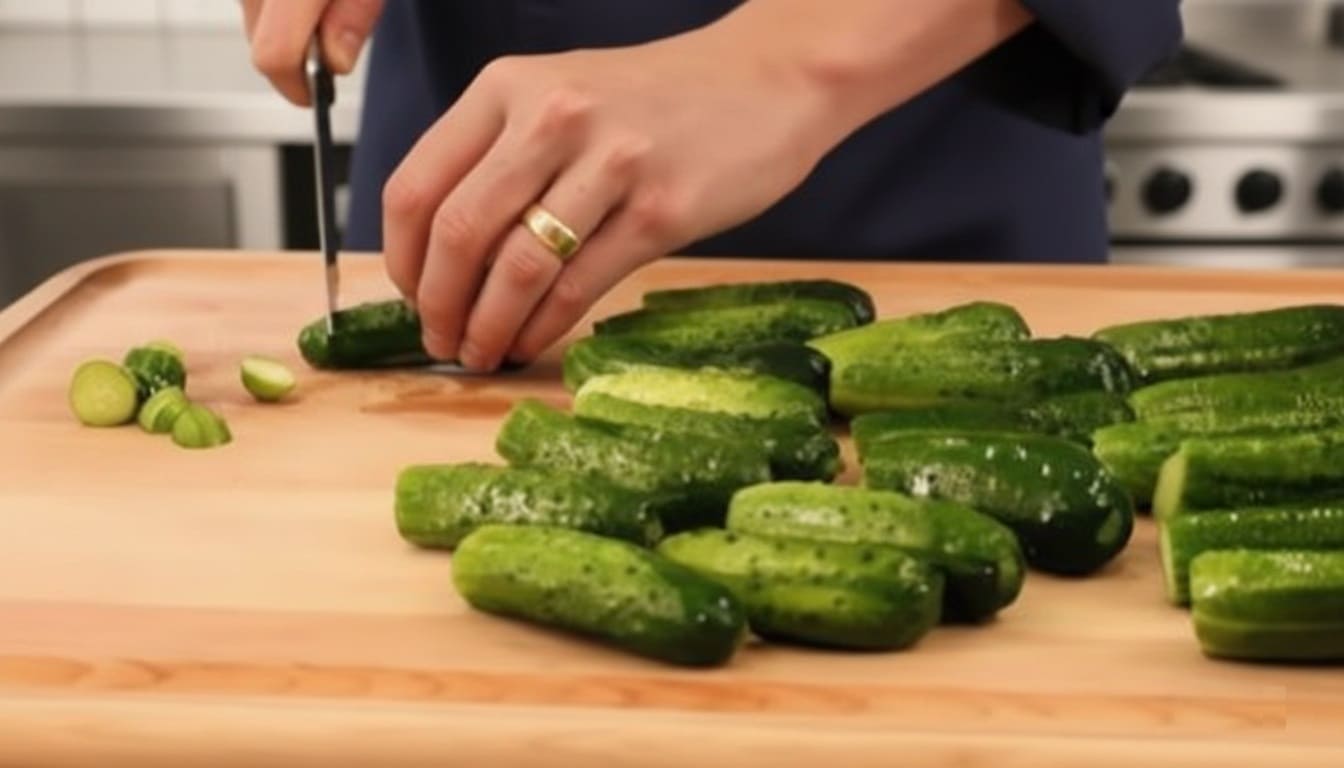
Remove the blossom end religiously
The blossom end contains enzymes that soften pickles during storage. Cut off 1/8 inch from this end before pickling.
How do you identify it? The blossom end is opposite the stem and typically slightly lighter in color and more rounded.
When in doubt, trim both ends—you’ll lose minimal cucumber but gain insurance against mushiness.
Consider a salt-ice bath
Soaking cucumbers in icy salt water (¾ cup salt per 2 gallons cold water) for 4-12 hours draws out excess moisture and firms them up beautifully.
Keep them covered with ice during the soak, drain thoroughly, and proceed with your recipe.
This step is optional but makes a noticeable difference, especially with less-than-perfectly-fresh cucumbers.
Add tannins for crunch insurance
This old-world trick really works. Tannins help maintain crisp texture during pickling and storage.
Add one grape leaf, horseradish leaf, oak leaf, or bay leaf to each jar. Don’t have leaves? Add a tea bag (black tea) to your brine and remove it before jarring.
Mind your processing time if canning
Overprocessing is the fastest route to soft pickles. Process for the minimum safe time at your altitude—no more.
Many experienced canners use low-temperature pasteurization (holding jars at 180-185°F for 30 minutes instead of a full boil) to preserve maximum crunch.
Pack whole or in large pieces
- Whole cucumbers or thick spears maintain better texture than thin slices.
- The fewer cuts you make, the better the structure holds.
- Save thin slicing for refrigerator pickles where heat processing isn’t a factor.
Essential Ingredients: What You Need and Why
Dill pickles require surprisingly few ingredients, but each one matters:
1. Vinegar (5% acidity) provides tang and prevents botulism. Distilled white vinegar creates clean, sharp flavor. Apple cider vinegar offers mellower, slightly fruity notes.
Never use vinegar below 5% acidity—check the label. This is a safety issue, not just preference.
2. Water dilutes the vinegar to palatable levels. If your tap water tastes heavily chlorinated or metallic, use filtered or distilled water.
3. Salt must be pickling salt, canning salt, or kosher salt—never iodized table salt, which clouds brine and darkens pickles. Salt draws moisture from cucumbers, adds flavor, and preserves them.
4. Sugar (optional but recommended) balances harsh vinegar without creating sweet pickles. Just 1-2 tablespoons per quart rounds out the flavor beautifully.
5. Fresh dill is your signature flavor. Dill heads (the umbrella-shaped flower portion) pack the most punch. Fresh fronds work well too.
If neither is available, dill seed provides authentic flavor (1 teaspoon dill seed equals roughly 1 dill head).
6. Garlic adds depth and that classic dill pickle aroma. Always use fresh cloves—2 to 4 smashed cloves per quart jar. Smashing releases far more flavor than leaving them whole.
👉 Here’s How to Plant Garlic in the Fall: Planting, Care & Harvest Guide
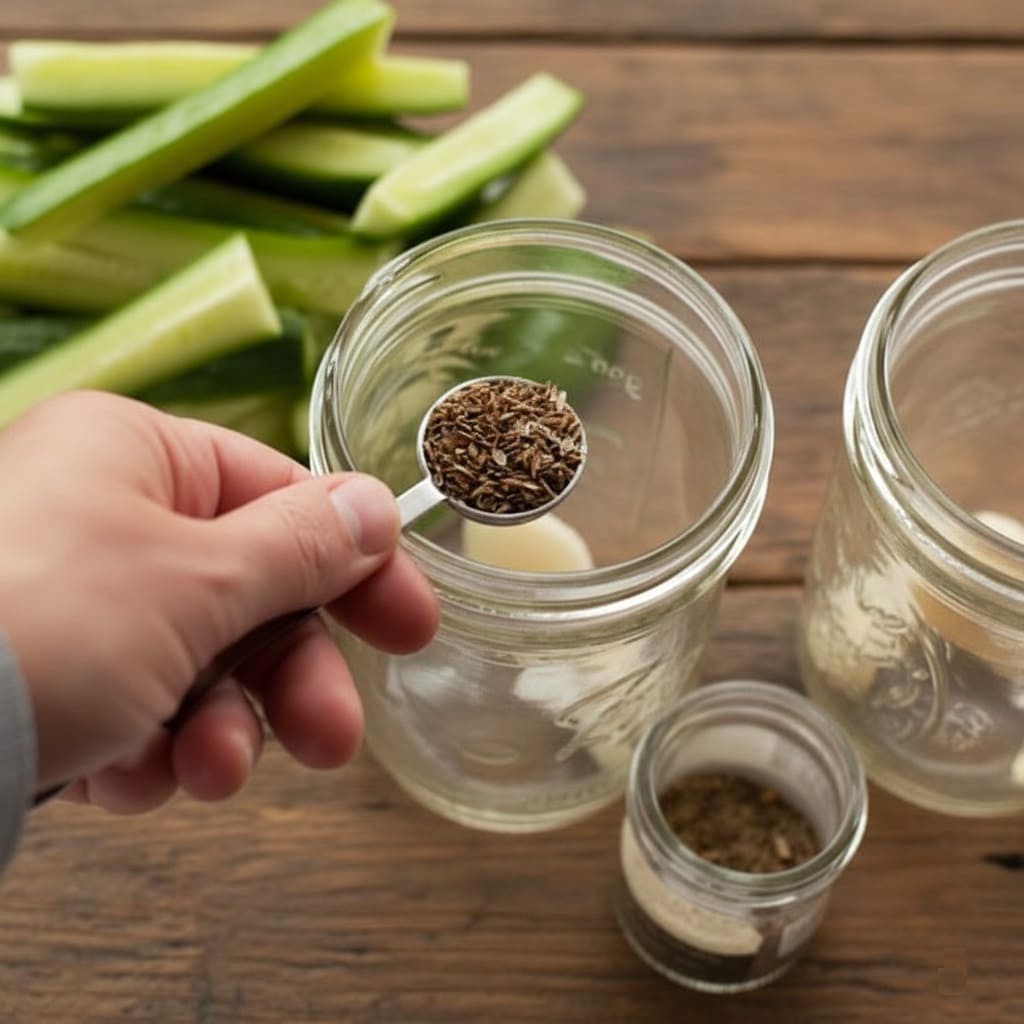
7. Whole spices customize your pickles: black peppercorns (½-1 teaspoon per jar), yellow mustard seeds (½-1 teaspoon), coriander seeds (¼ teaspoon), red pepper flakes (¼ teaspoon for gentle heat), and bay leaves all enhance complexity.
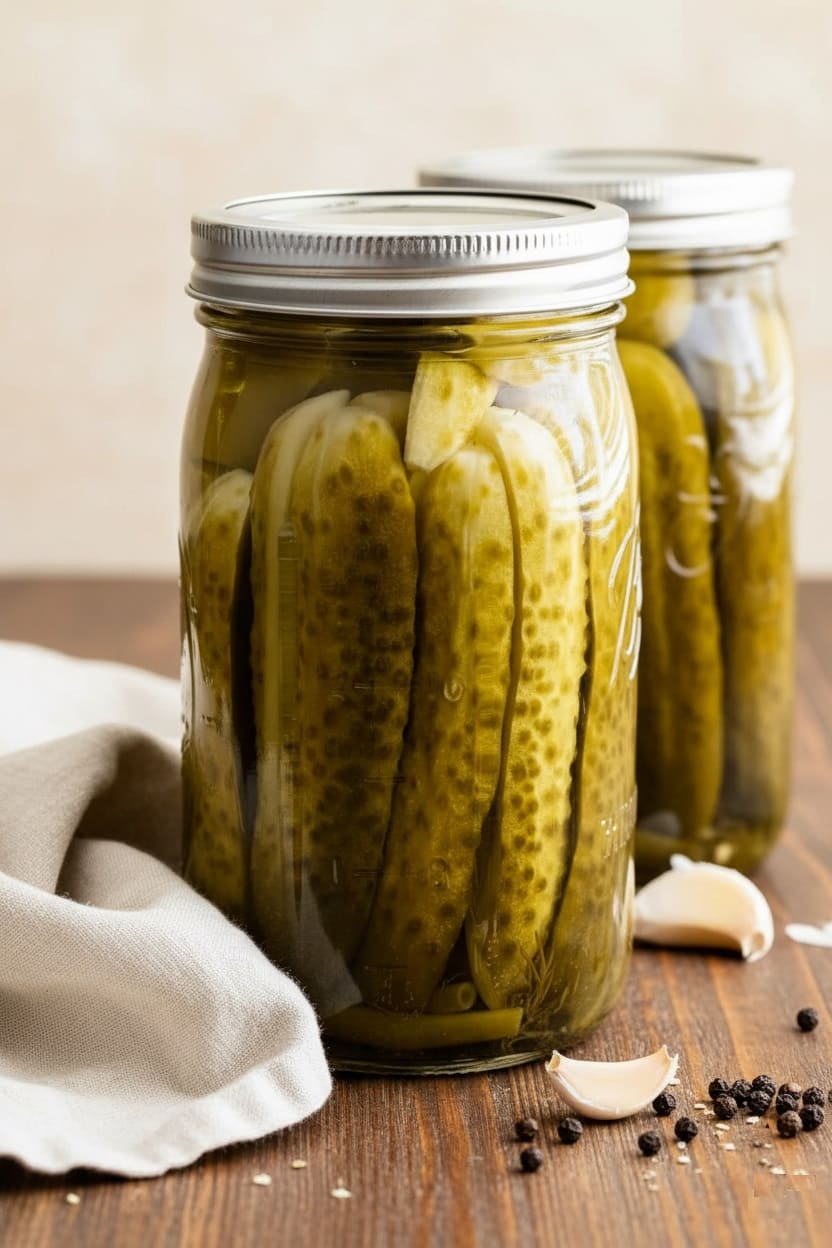
Master Recipe: Classic Garlic Dill Pickles
This recipe scales easily—the ingredients listed are per quart jar, so multiply based on how many cucumbers you have.
Per Quart Jar:
- 1½-2 pounds pickling cucumbers (5-7 cucumbers)
- 2-3 garlic cloves, peeled and smashed
- 1-2 tablespoons fresh dill (or 3 dill heads, or 1 tablespoon dill seed)
- 1 teaspoon yellow mustard seeds
- ½ teaspoon whole black peppercorns
- ¼ teaspoon red pepper flakes (optional)
- 1 grape leaf or bay leaf (optional, for crispness)
For Every 4 Quarts of Brine:
- 4 cups white vinegar (5% acidity)
- 4 cups water
- ⅓ cup pickling salt
- ¼ cup sugar
Note on brine quantities:
This makes slightly more brine than needed for 4 quart jars, which is intentional. It’s better to have extra than to run short mid-recipe. Leftover brine can be refrigerated and reused for your next batch.
Step-by-Step Instructions:
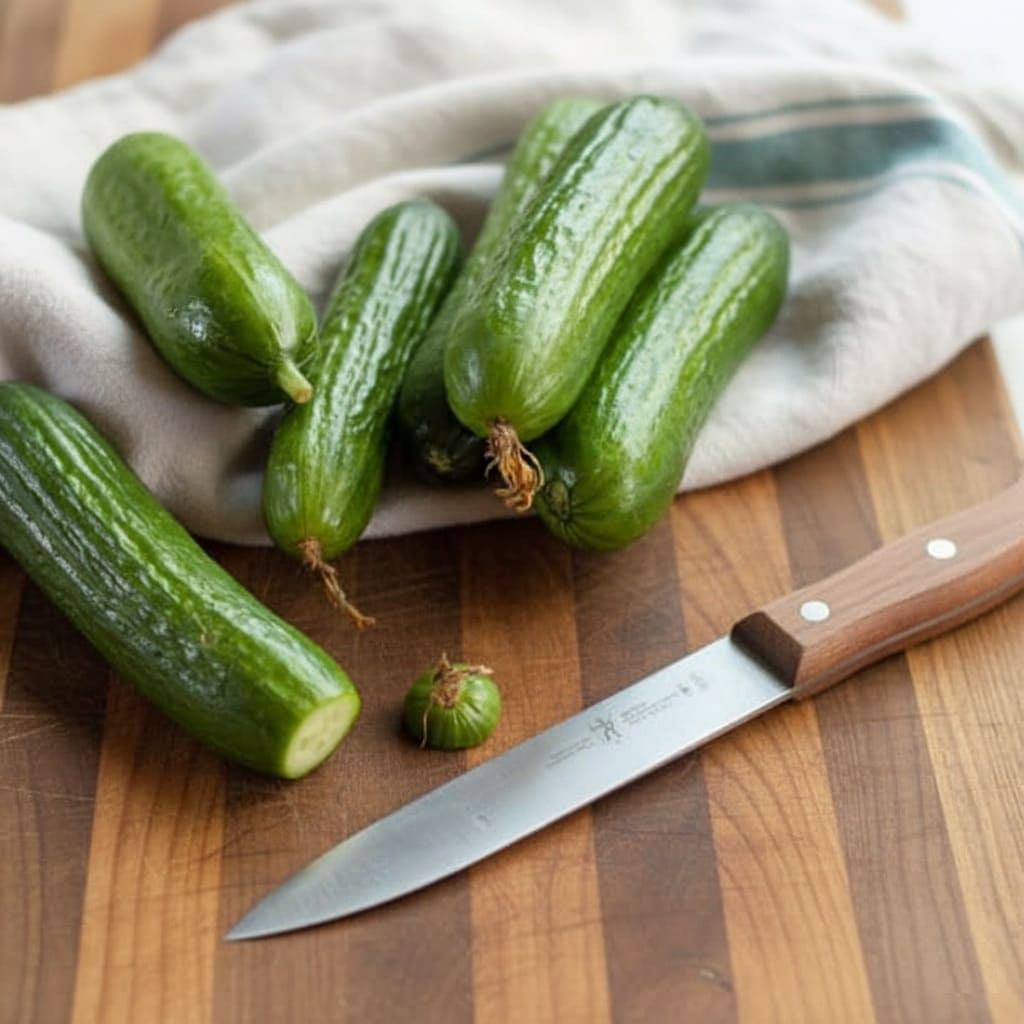
Step 1: Prepare cucumbers
Wash thoroughly and cut 1/8 inch from the blossom end (and stem end if still attached). Cut into spears, quarters, slices, or leave whole.
For the crispest results, optionally soak in salt-ice water (¾ cup salt dissolved in 2 gallons ice water) for 4-12 hours in the refrigerator, then drain well.
Step 2: Make the brine
Combine vinegar, water, salt, and sugar in a non-reactive pot (stainless steel, glass, or enamel—not aluminum or copper). Heat over medium-high, stirring until salt and sugar completely dissolve.
For refrigerator pickles, let cool to room temperature. For canning, use while hot but not actively boiling.
Step 3: Prepare jars
For refrigerator pickles, simply wash jars in hot soapy water and dry thoroughly.
For canning, wash jars and keep hot by placing them in a 200°F oven or in your canner filled with hot (not boiling) water.
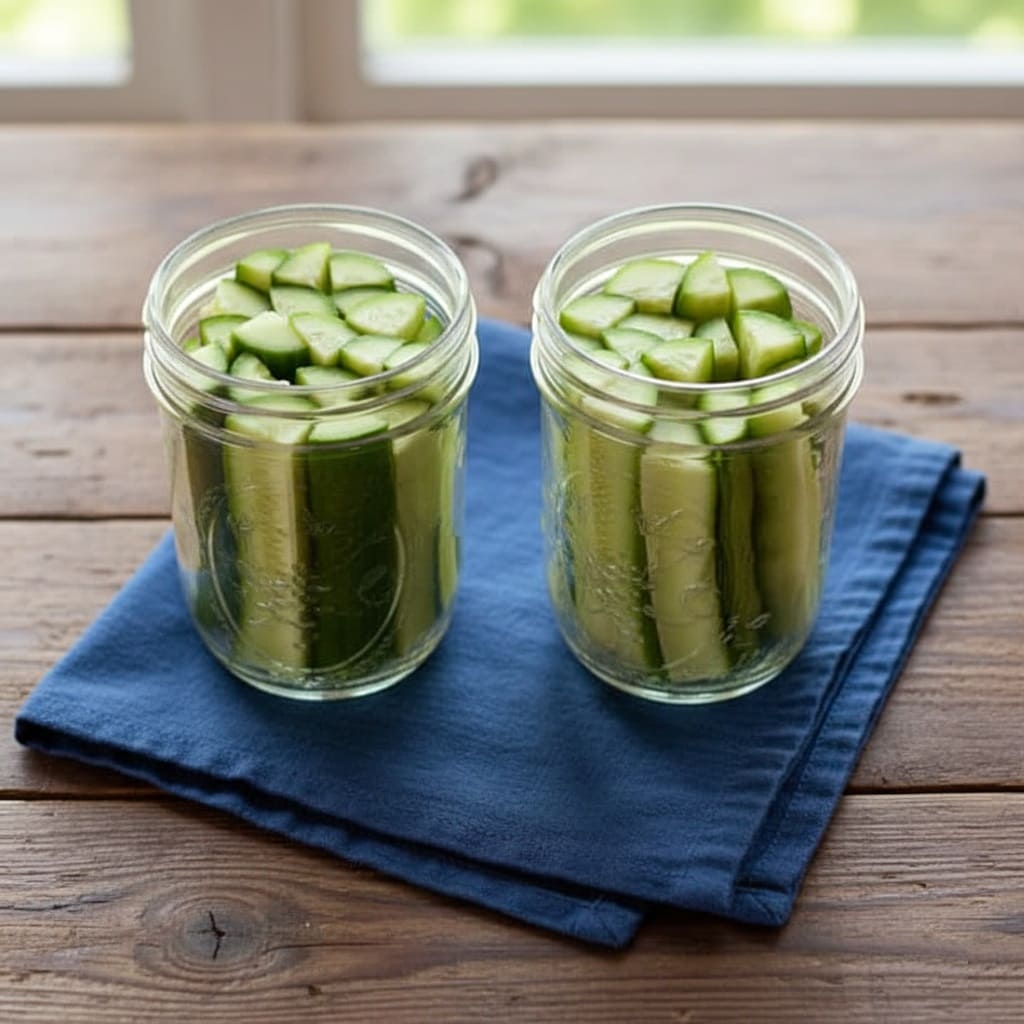
Step 4: Pack the jars
Add garlic, dill, mustard seeds, peppercorns, red pepper flakes, and optional grape leaf to each jar.
Pack cucumbers firmly but without crushing—they should be snug enough that they don’t float.
Leave ½ inch of space between the top cucumber and the jar rim (this is called headspace and it’s crucial for proper sealing).
Step 5: Add brine
Pour brine over cucumbers, maintaining that ½-inch headspace.
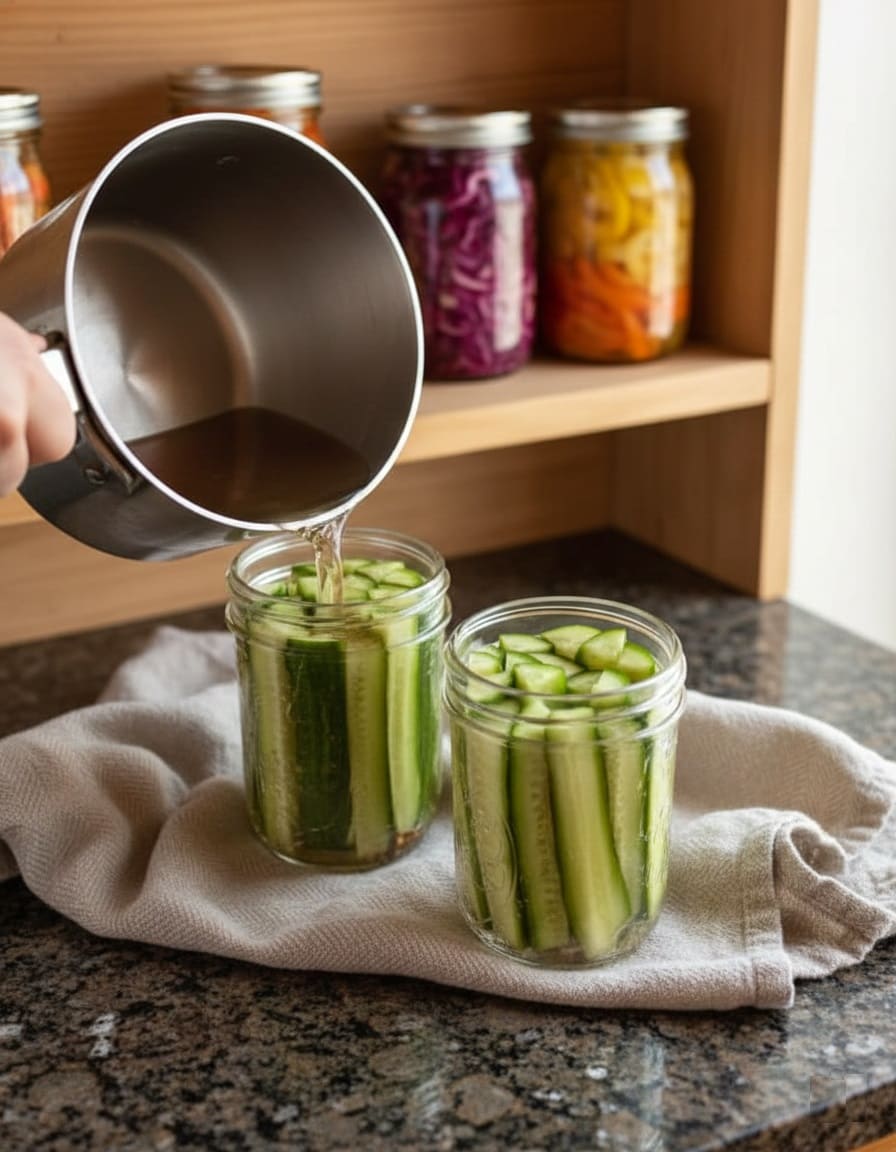
Gently tap jars on the counter and slide a clean chopstick or butter knife down the sides to release trapped air bubbles.
Add more brine if needed to restore proper headspace.
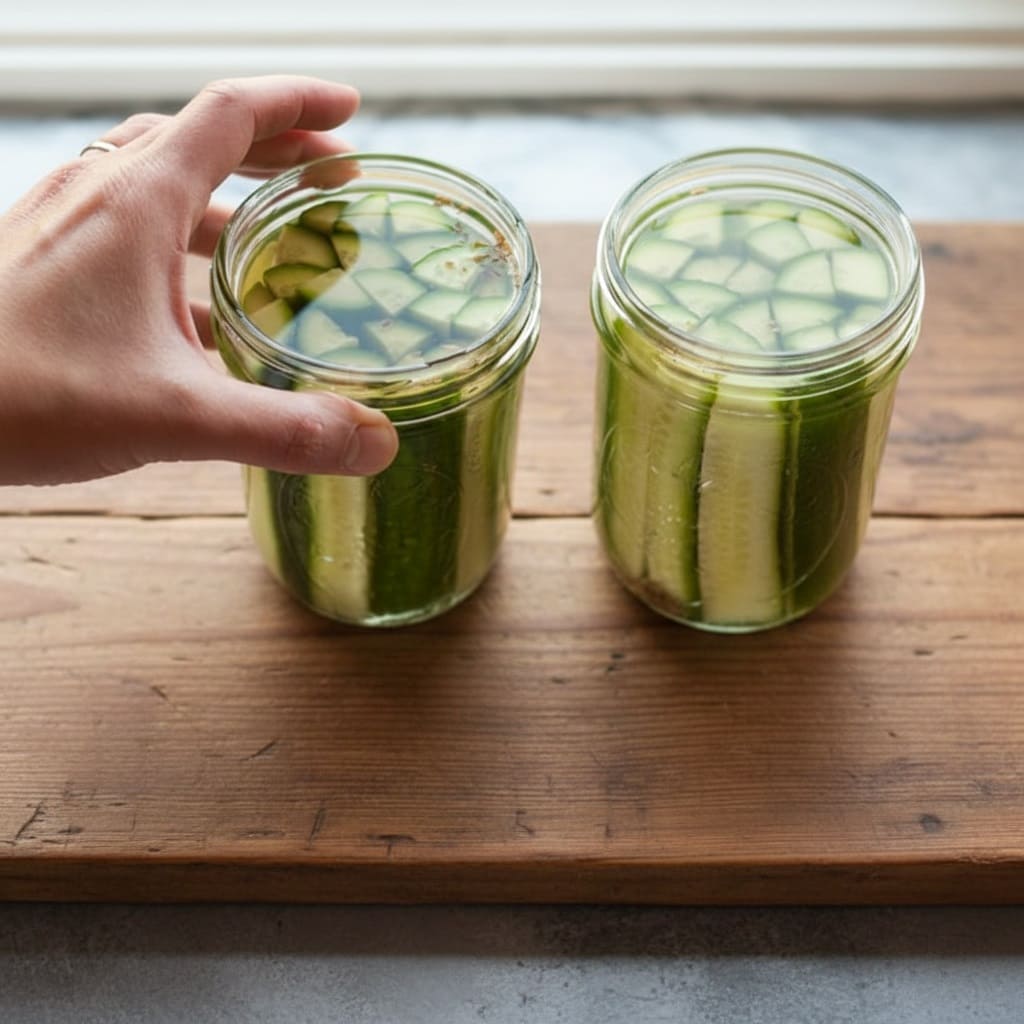
Step 6: Seal jars
Wipe jar rims meticulously with a damp paper towel—any residue prevents sealing. Center lids on jars and screw rings to “finger-tight” (snug but not forced—you should be able to remove the ring with just your fingertips if needed).
6a. For Refrigerator Pickles:
Let jars cool completely, then refrigerate for at least 24 hours before eating, though flavor improves significantly after 2-3 days. Store refrigerated for up to 3 months.
6b. For Canned Pickles:
Place jars on a rack in your water-bath canner or large pot. Add hot water until jars are covered by 1-2 inches. Bring to a boil and process:
- Pint jars: 10 minutes at 0-1,000 ft elevation (add 5 minutes per additional 3,000 ft)
- Quart jars: 15 minutes at 0-1,000 ft elevation (add 5 minutes per additional 3,000 ft)
Low-temperature pasteurization alternative (for crispest canned pickles):
Instead of a full boil, heat water to 180-185°F (verify with a thermometer) and maintain this temperature for 30 minutes. This gentler method preserves more crunch but requires vigilant temperature monitoring.
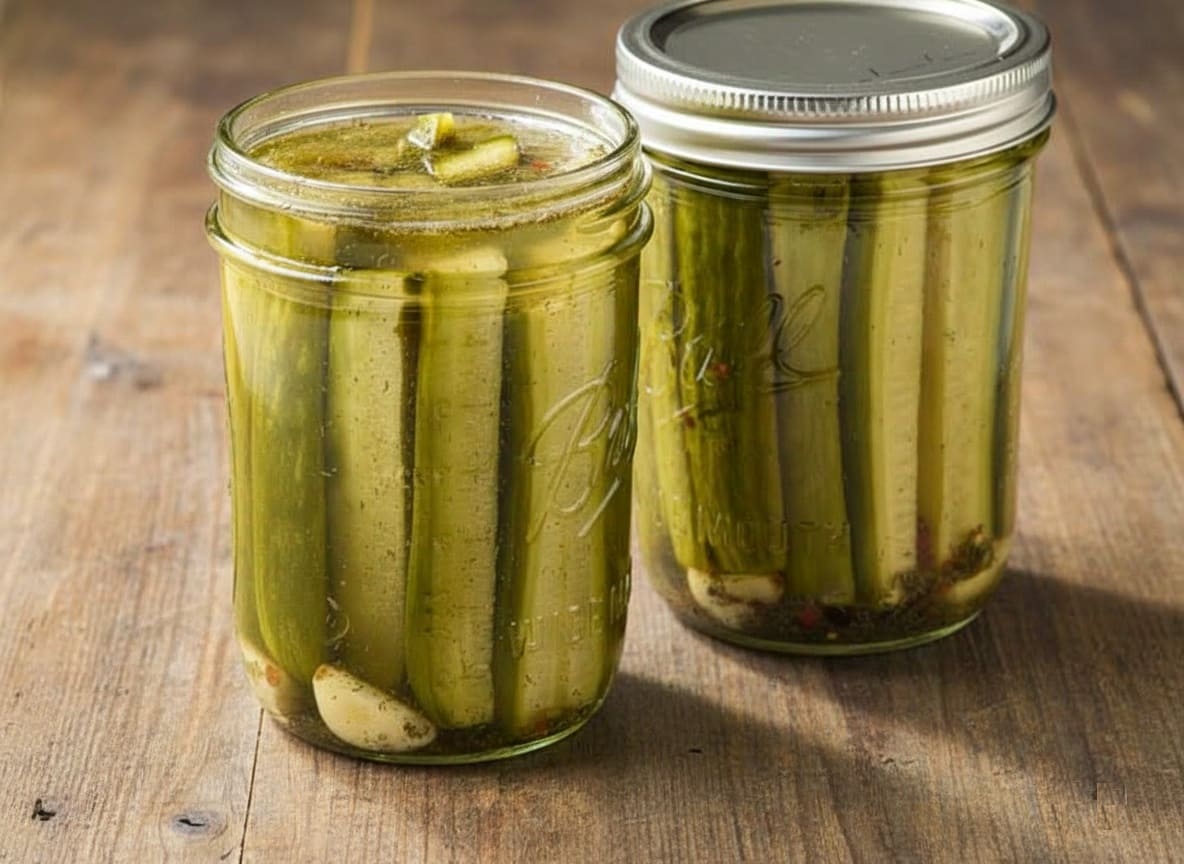
Step 7: Cool and store
Remove jars using a jar lifter and set on a towel-covered counter. Don’t disturb for 12-24 hours. You’ll hear pops as lids seal—this is normal and good.
After cooling, test seals by pressing the center of each lid; it shouldn’t flex or make a clicking sound. Remove rings before storage (they’re no longer needed and can hide seal failures).
Store in a cool, dark place for up to one year. Wait at least 2 weeks before opening, ideally 4-6 weeks for best flavor.
- What if jars don’t seal?
Jars that fail to seal are still perfectly safe—just refrigerate them immediately and eat within 2-3 weeks.
To reprocess: remove the lid, wipe the rim thoroughly, apply a new lid, and process again for the full time.
Customizing Your Pickles
Once you’ve mastered the basic recipe, experiment with these variations:
- Spicy Dill Pickles: Add 1-2 fresh jalapeño slices or habanero peppers to each jar, or increase red pepper flakes to 1 teaspoon per jar.
- Extra Garlic Dills: Double or triple the garlic—pickle lovers can never have too much.
- Dill and Onion: Add thin slices of sweet onion between cucumber layers.
- Pickle Spice Blend: Create a custom spice mix with coriander seeds, allspice berries, whole cloves, and celery seeds. Tie in cheesecloth and add to brine.
- Bread and Butter Style: Increase sugar to 1 cup per 4 quarts, add turmeric for color, use thinly sliced cucumbers and onions.
👉 Here’s How to Ferment Vegetables at Home (Simple, Safe, and Incredibly Cheap)
Troubleshooting Guide
- Soft or mushy pickles:
Caused by old cucumbers, not removing blossom end, over-processing, or using the wrong variety of cucumber. Prevention is key—this usually can’t be fixed after the fact.
- Cloudy brine:
Usually harmless, caused by table salt with anti-caking agents, hard water, or yeast/bacteria growth (which is normal in fermented pickles but shouldn’t happen in vinegar pickles). If accompanied by off-odors or flavors, discard.
- Hollow pickles:
Cucumbers sat too long between picking and pickling, or cucumbers didn’t get enough water while growing. Still safe to eat, just not ideal texture.
- Shriveled pickles:
Brine was too strong (too much salt/sugar) or cucumbers weren’t fresh. They’re safe but less appealing.
- Pickles too salty:
Reduce salt by 25-50% next time. For refrigerator pickles, you can drain and make fresh brine.
- Not enough flavor:
Use more garlic and dill, let pickles age longer, or make sure you’re using dill seed/heads rather than just dill weed.
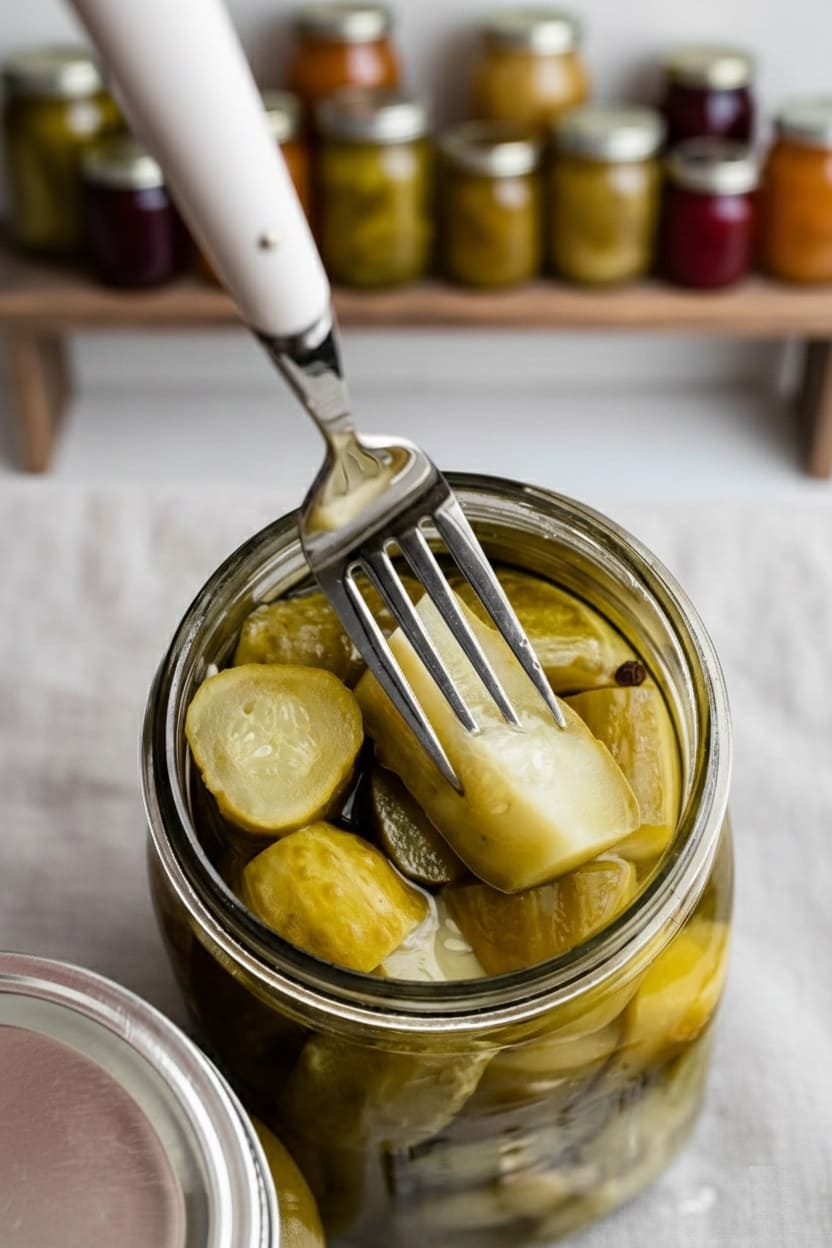
Serving and Using Your Dill Pickles
Homemade dill pickles are incredibly versatile:
- Classic accompaniments: Serve alongside burgers, hot dogs, deli sandwiches, or barbecue
- Chop for recipes: Add to potato salad, egg salad, tuna salad, or chicken salad
- Pickle plates: Arrange with cheese, crackers, and cured meats for a simple appetizer
- Snacking: Enjoy straight from the jar—the best way
- Fried pickles: Bread and fry slices for a crispy appetizer
- Bloody Marys: Use pickle juice in place of olive brine
Don’t discard the pickle juice! It’s liquid gold:
- Make another batch of quick pickles
- Add to salad dressings for tangy flavor
- Use as a brine for chicken or pork
- Mix into potato salad or coleslaw
- Drink it for post-workout electrolyte replenishment
- Add a splash to Bloody Marys or dirty martinis
Storage and Safety
- Refrigerator pickles: Keep sealed in the fridge for 2-3 months. Always use clean utensils when removing pickles to prevent contamination.
- Canned pickles: Store sealed jars in a cool, dark, dry place for up to 1 year. Once opened, refrigerate and consume within 1-2 months.
Signs of spoilage: Discard pickles if you notice:
- Bulging or unsealed lids
- Mold on the surface
- Off odors or unusual cloudiness
- Slimy texture
- Fizzing or spurting when opened (unless you made fermented pickles intentionally)
When in doubt, throw it out. Properly made pickles are very safe, but it’s not worth the risk.
Start Your Pickle Journey
Making dill pickles connects you to generations of home cooks while giving you complete control over what goes into your food.
Whether you’re preserving a cucumber harvest, seeking a fun weekend project, or simply craving pickles that taste infinitely better than store-bought, you now have everything you need.
That first bite of your first batch—the perfect crunch, the bright flavors, the satisfaction of creating something delicious—makes it all worthwhile.
Start small with a batch of refrigerator pickles. Once you taste the difference, you’ll understand why so many people become pickle enthusiasts.
Grab some fresh pickling cucumbers at your farmers market this weekend and give it a try. Your sandwiches will never be the same.