
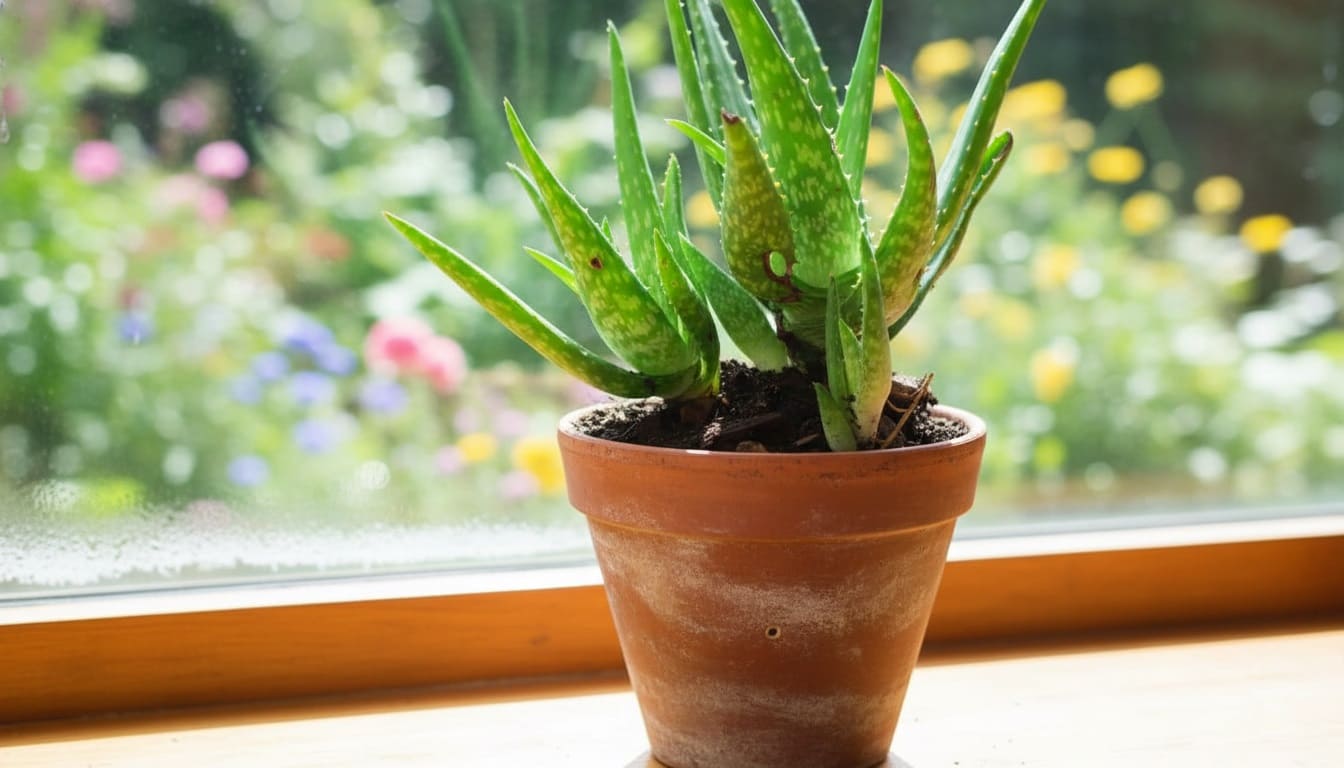
Is your aloe vera bursting out of its pot with baby plants crowding the base, or leaning precariously to one side? These are clear signals your plant needs a bigger home.
Repotting aloe vera is surprisingly straightforward—these resilient succulents forgive minor mistakes and bounce back beautifully when given proper care.
This guide will walk you through everything you need to know to successfully repot your aloe and keep it thriving for years.
👉 Read The Ultimate Guide to Edible Aloe Vera: Health Benefits, Identifying & How to Use It
When Your Aloe Needs Repotting: Reading the Signs
Aloe vera is remarkably adaptable and doesn’t need frequent repotting—typically every 2-3 years is sufficient. However, watch for these telltale signals that it’s time for a change:
- Your plant has physically outgrown its container when roots emerge through drainage holes or appear at the soil surface.
- Water that runs straight through without being absorbed indicates the root system has displaced most of the soil.
- If your aloe has stopped producing new leaves or growth has slowed significantly despite proper care, it likely needs fresh soil and more space.
- Top-heavy plants that lean or tip over easily need larger containers for stability.
- Multiple pups (baby plants) that are 2-4 inches tall with their own root systems will eventually compete with the mother plant for resources.
- Finally, if the pot itself is cracked or bulging from root pressure, repotting becomes urgent.
Timing matters too. Spring through early summer is ideal because aloe grows actively during this period and recovers fastest from the stress of transplanting. Avoid fall and winter when growth slows dramatically.
However, if you’re dealing with root rot, severe pest infestation, or a broken container, repot immediately regardless of season—just provide extra care during recovery.
Essential Materials: What You’ll Need
Gather these supplies before starting to make the process smooth:
The Right Pot
Choose a container only 1-2 sizes larger than the current one. For example, move from a 4-inch to a 6-inch pot, not a 10-inch. Oversized containers retain excess moisture that leads to root rot.
Terra cotta or unglazed ceramic pots work best because their porous material allows soil to dry evenly. Plastic works too but requires more careful watering.
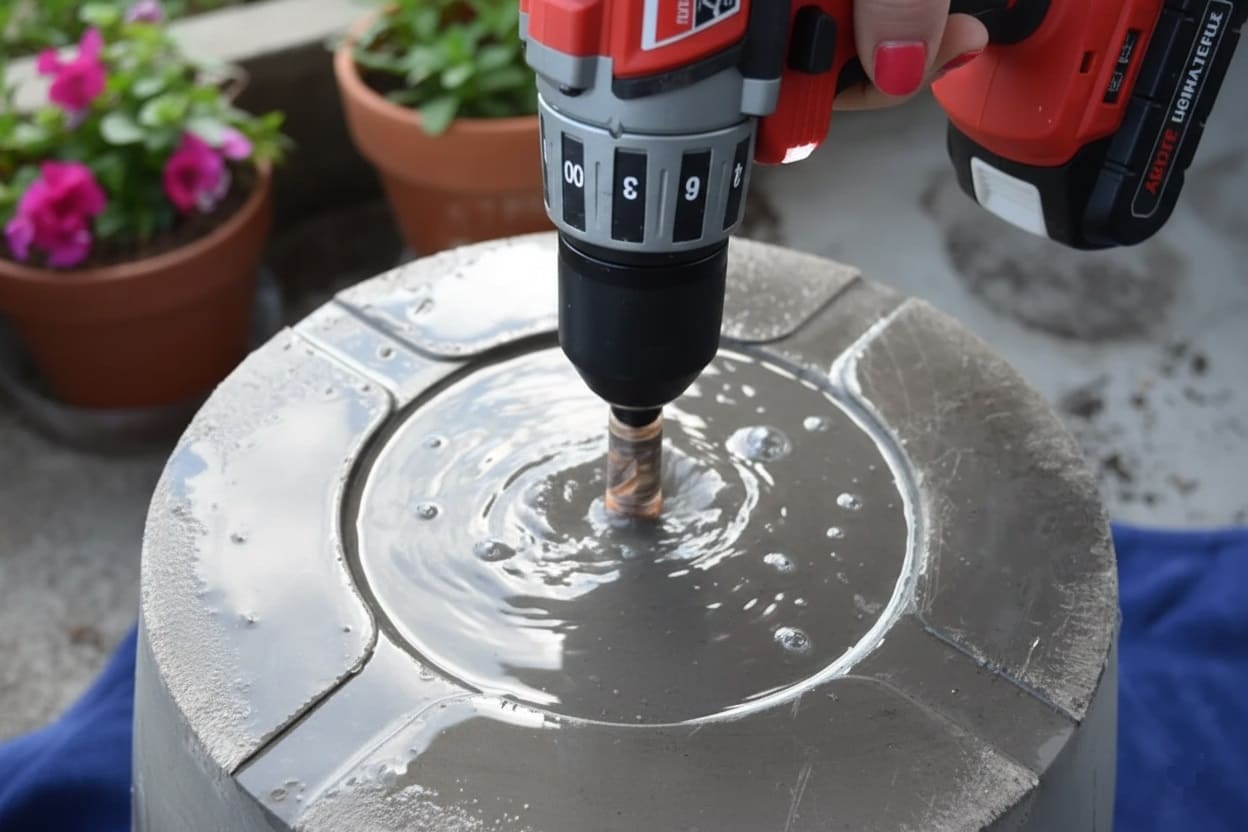
Whatever material you choose, drainage holes in the bottom are absolutely non-negotiable.
Since aloe roots spread outward rather than deep, a wider, shallower pot often works better than a tall, narrow one. The broader base also provides stability for top-heavy plants.
Well-Draining Soil
Regular potting soil is unsuitable for aloe vera—it holds too much water and compacts easily. Use a commercial cactus and succulent mix, or create your own:
- 2 parts quality potting soil
- 1 part coarse sand or perlite
- 1 part pumice, lava rock, or gravel
This creates the gritty, fast-draining texture these desert plants need. The soil should have a pH between 6.0-7.0 (slightly acidic to neutral).
When prepared correctly, the mixture looks chunky and feels gritty to the touch, not smooth or mud-like.
Additional Supplies
- Small trowel or large spoon
- Clean, sharp scissors or pruning shears (sterilize with rubbing alcohol)
- Gardening gloves (optional, for protecting hands from spines)
- Newspaper or tarp for your workspace
- Small gravel or broken pottery shards (optional, for drainage layer)
- Rooting hormone powder (optional, but helps encourage faster root development)
👉 Here’s How to Use Honey as a Natural Rooting Hormone for Cuttings
Step-by-Step Repotting Process
Working outdoors or on newspaper makes cleanup easier, as aloe sap can be sticky. Set aside about 30 minutes for the process.
Preparation and Removal
Stop watering your aloe 5-7 days before repotting. Dry soil makes removal cleaner and reduces root stress. During this time, prepare your soil mix by combining ingredients in a bucket.

Add a small amount of warm water and knead it like dough until barely damp—not soaking wet. This helps soil settle around roots later without creating mud.
Set up your new pot by placing small gravel or pottery shards over the drainage hole (this prevents soil from washing out while allowing water to drain).
Add enough prepared soil so when you position the plant, its base will sit about one inch below the pot’s rim.
To remove the plant, turn the pot sideways and tap the bottom and sides to loosen the soil. Support the base of the plant with one hand—never pull on the leaves as they snap easily.
If stubborn, run a butter knife around the inside edge or press on the sides if it’s plastic. The entire root ball should eventually slide out.

Root Care and Pup Separation
Place the plant on newspaper and gently brush away old soil from the roots. You don’t need to remove every speck, but loosening the root ball helps it establish in the new container.
If roots are tightly wound or circling, carefully tease them apart with your fingers.
Inspect roots closely. Healthy roots are firm and white to light tan. Brown, black, mushy, or foul-smelling roots indicate rot and must be trimmed away with sterilized scissors to prevent spread. Remove any dead or dried leaves from around the base.
If you see baby aloe plants (pups) at the base that are 2-4 inches tall with visible roots, you can separate them now.
Grasp each pup close to its base and gently wiggle and pull. Some detach easily; others need careful cutting with scissors. If using rooting hormone, lightly dust the cut areas before setting pups aside.

- Critical step many skip:
Let all cut areas dry for 1-3 days before planting. This allows wounds to form a protective callus that prevents infection and rot.
Set plants in a warm, dry location out of direct sunlight during this healing period. Don’t worry—aloe can survive surprisingly long out of soil thanks to water stored in its leaves.
Handling Leggy Growth
If your aloe has developed a long, bare stem (common when plants don’t receive enough light), you have two options.
You can plant it deeper in the new pot, burying the naked stem up to where green leaves begin. The buried portion will develop new roots over time, providing better stability.
Alternatively, if the stem is extremely long, cut the top portion off leaving 1-2 inches of stem attached to the leaves. Let this cutting callus for 3-5 days, then plant it.
This gives you a fresh, compact plant. Keep the old root system in soil too—it often sprouts new pups.
Planting
Position your aloe in the center of the new pot at the same depth it was growing before—or slightly higher, as soil settles over time.
The base of the leaves should rest just above the soil line. Planting too deep invites stem rot.

Hold the plant steady and begin filling around it with prepared soil. Add soil gradually, using your fingers to work it around roots and eliminate air pockets.
Press down gently but firmly as you go—not hard enough to compact the soil, but enough to anchor the plant securely.
Fill to within half an inch of the pot’s rim. This space prevents soil and water from spilling during future waterings.
Give the pot a gentle tap on your work surface to help everything settle, then add more soil if needed.

The Critical Waiting Period
Do not water immediately after repotting. This feels counterintuitive but is essential. Your aloe stores water in its thick leaves and doesn’t need immediate hydration.
More importantly, roots need time to heal from any minor damage that occurred during handling. Watering too soon invites rot.
Wait 3-7 days before the first watering. When you do water, do it thoroughly—water until it runs out the drainage holes, then let all excess drain completely. Never let the pot sit in standing water.
Potting Separated Pups
For any pups you separated, use small pots (3-4 inches in diameter) with the same well-draining soil.
Plant at the same depth they were growing, and wait 5-7 days before watering. These young plants take 4-8 weeks to develop solid root systems, so water sparingly during establishment—only when soil is completely dry.

Post-Repotting Care
Place your newly repotted aloe in bright, indirect light for 1-2 weeks while it adjusts. Direct, intense sunlight stresses plants already dealing with transplant shock. Ideal recovery temperatures are 65-80°F (18-27°C).
Some temporary drooping or leaf changes are normal—this is transplant shock and usually resolves within a week or two.
If your plant seems unstable, use wooden stakes or chopsticks pushed into the soil for support until roots establish firmly.
Watering and Feeding
After the initial dry period, resume regular watering: deeply soak the soil when it has completely dried out. To test, insert your finger 1-2 inches into the soil—if it feels even slightly damp, wait.
During active growth (spring and summer), this typically means watering every 2-3 weeks. In winter dormancy, reduce to every 3-4 weeks.
Water by pouring directly onto the soil surface, not on the plant itself. Use room-temperature water and continue until it flows from drainage holes. Empty any saucer beneath the pot after 15 minutes to prevent root rot.
Hold off on fertilizing for at least one month after repotting—fresh soil already contains nutrients.
When you do fertilize, use a balanced succulent fertilizer (10-10-10 ratio) at half the recommended strength, and only during spring and summer growing season. Over-fertilizing causes more harm than under-fertilizing.
Related posts:
- Banana Peel Fertilizer: Truth vs. Myths About This Popular Garden Hack
- Best Blueberry Fertilizer Guide: Avoid Mistakes, Maximize Harvests
Troubleshooting Common Issues
1. Brown or yellow leaves after repotting usually indicate overwatering or too much direct sun during recovery. Reduce watering frequency and move the plant to bright, indirect light.
Brown leaf tips specifically often mean underwatering or low humidity—increase watering slightly if soil dries out too quickly.
👉 Here’s How to Identify and Fix Brown Spots on Your Snake Plant
2. Droopy or limp appearance is normal for the first few days but should improve within two weeks.
Persistent limpness suggests overwatering (check for root rot by examining root color and texture) or severe underwatering (leaves will feel thin and papery).
3. Pups that won’t root likely weren’t large enough when separated or lacked adequate roots. Ensure pups are at least 2-3 inches tall before separation.
Verify you’re waiting 5-7 days before first watering and that soil drains well. Some pups take 2-3 months to root, so patience is key.
4. Pale, stretching leaves indicate insufficient light. Gradually move the plant to a brighter location over one week, avoiding sudden changes that cause sun stress.
5. Leaves turning orange or reddish typically means too much direct sun. This isn’t necessarily harmful but indicates the plant is stressed. Move to a location with bright, filtered light rather than intense direct rays.
👉 Related post: 13 Fiddle Leaf Fig Problems and How to Solve Them With Easy Fixes
Common Mistakes to Avoid
The most frequent error is choosing a pot that’s too large. While it seems generous, excess soil holds moisture the roots can’t absorb quickly enough, creating conditions perfect for rot. Stick to the 1-2 size increase rule.
Using regular garden soil or standard potting mix instead of succulent-specific soil almost guarantees problems. These products retain too much water and become compacted, suffocating roots.
Planting too deep by burying the stem or lower leaves invites rot. Always keep the base of the plant at or slightly above the soil line.
Finally, repotting during winter dormancy (unless it’s an emergency) forces the plant to recover when it has the least energy. Spring and summer repotting takes advantage of the plant’s natural growth cycle.
Frequently Asked Questions
- How often should I repot my aloe vera?
Most aloes need repotting every 2-3 years. Younger, fast-growing plants might need annual repotting, while mature plants can go 4-5 years between repottings if they remain healthy and aren’t producing numerous pups.
- Do aloe plants like being root-bound?
They tolerate being slightly pot-bound better than many plants, but they don’t prefer it. A snug fit is acceptable, but once roots circle densely or emerge from drainage holes, growth will slow and the plant will benefit from more space.
- Can I use garden soil for repotting aloe?
Never. Garden soil is far too heavy and water-retentive for succulents. It compacts easily in containers and prevents the fast drainage aloe requires. Always use cactus/succulent mix or create a well-draining blend with sand and perlite.
- Should I water my aloe vera right after repotting?
No. Wait 3-7 days to allow any root damage to heal and form protective calluses. Watering immediately increases the risk of rot. The plant’s leaves store enough moisture to sustain it during this brief period.
- How big should pups be before I separate them?
Wait until pups reach at least 2-3 inches tall with several leaves and visible roots. Smaller pups lack the root development needed to survive on their own. Larger pups (3-4 inches) have even better success rates.
- My aloe has a really long bare stem. Can I save it?
Yes. You can either repot it deeper, burying the stem up to the green leaves, or cut the top off, let it callus for several days, and replant just the leafy portion. Both methods work well.
Final Thoughts
Repotting aloe vera becomes second nature after your first successful attempt. These forgiving succulents recover beautifully when given proper drainage, appropriate pot sizing, and time to adjust without excessive watering.
The reward is vigorous growth, healthy leaves full of soothing gel, and likely a new generation of pups to share with friends.
Remember the essentials:
- Choose a pot only 1-2 sizes larger with excellent drainage.
- Use well-draining cactus soil, never regular potting mix.
- Wait several days after repotting before watering.
- Separate pups when they’re 2-4 inches tall.
- Time your repotting for spring or summer when possible.
Your aloe vera has survived in harsh desert conditions for millions of years—it can certainly handle a careful repotting. Take your time, follow these steps, and enjoy watching your plant flourish in its new home.