
I stared at my seed tray in frustration. Three weeks, and not a single lavender sprout. The soil was perfect, the moisture consistent, the temperature ideal—yet nothing.
I tried again the next spring with the same disappointing results. It wasn’t until I discovered seed stratification that those stubborn seeds finally germinated. Turns out, they were programmed to wait for winter, and I had no idea.
If you’ve struggled with germinating certain perennials, wildflowers, or tree seeds, you’re not alone. By the end of this guide, you’ll understand exactly what seed stratification is, which seeds demand it, and how to mimic winter conditions without leaving your kitchen.
What Is Seed Stratification?
Seed stratification is the process of exposing seeds to cold, moist conditions to break their dormancy and trigger germination. Think of it as nature’s alarm clock—many seeds won’t wake up without experiencing winter first.
In their native habitats, seeds drop to the ground in fall, lie dormant through winter’s cold, and germinate when spring warmth arrives. This cold period isn’t arbitrary—it’s a crucial biochemical process.
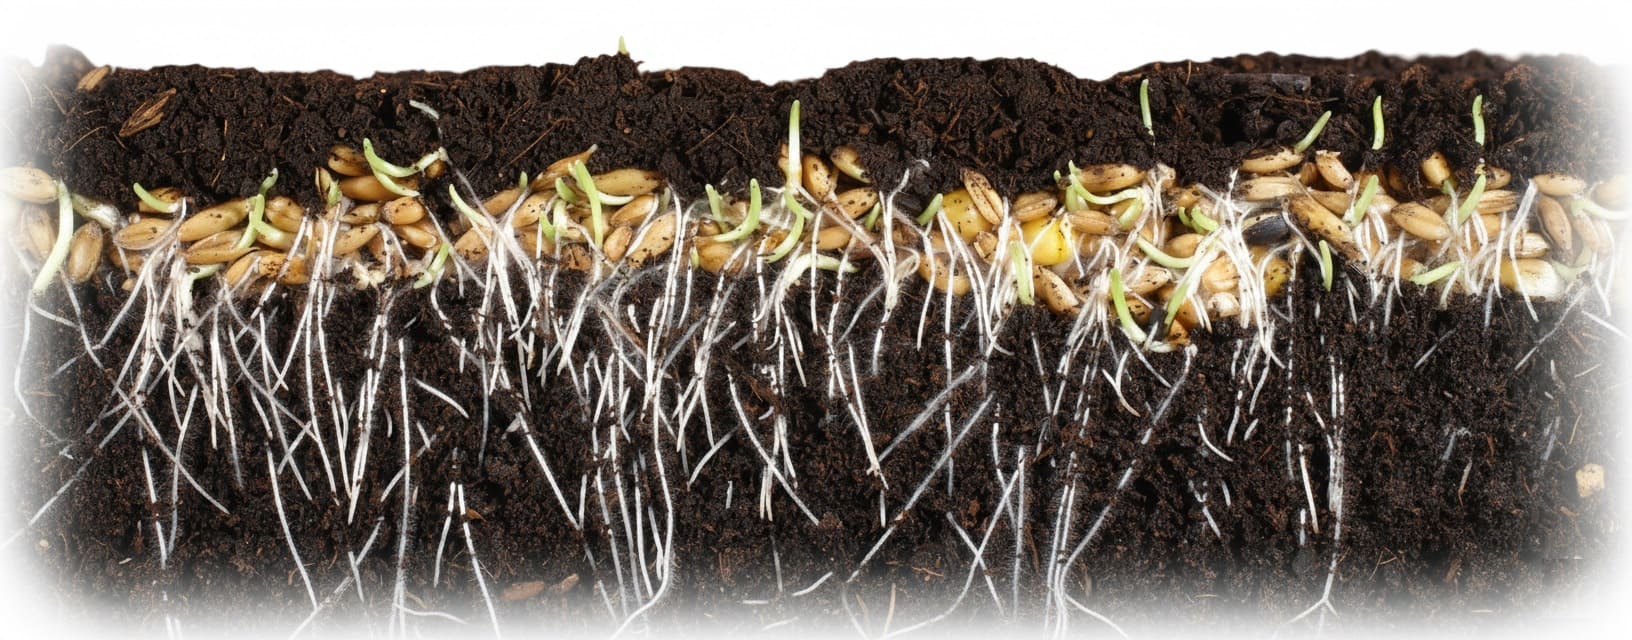
During stratification, moisture softens the seed coat, enzymes activate, germination inhibitors break down, and the embryo continues developing. Without this sequence, the seeds simply won’t sprout, no matter how perfect your growing conditions.
The challenge for gardeners? If you’re starting seeds indoors in late winter or gardening in warm climates, your seeds never experience that natural cold trigger.
Why Nature Built This Failsafe
Picture a warm October afternoon hitting 75°F—perfect growing weather. Without dormancy mechanisms, seeds would germinate immediately, only to face killing frosts weeks later. Seed dormancy prevents this deadly mistake.
This survival strategy ensures seeds only germinate when they have a full growing season ahead.
A larkspur seed falling in September won’t risk sprouting on an unusually warm November day. It waits patiently under winter snow, accumulating enough cold exposure to safely trigger growth when genuine spring arrives.
The mechanism varies by species. Some seeds have rock-hard coats that require moisture and cold to soften. Others produce chemical inhibitors that only break down after prolonged cold exposure.
Some have underdeveloped embryos that need time to mature. All are designed to answer one question: “Has winter passed?”
Which Seeds Need Cold Stratification?
The general rule: If a plant is native to regions with cold winters and is a perennial, tree, or shrub, it likely needs cold stratification.
Always need stratification:
- Most North American native wildflowers
- Hardy perennials from temperate zones
- Deciduous trees and shrubs
- Many culinary and medicinal herbs (lavender, catnip, echinacea, valerian)
Never need stratification:
- Annual vegetables (tomatoes, peppers, beans, squash)
- Tropical or subtropical plants
- Most highly bred annual flowers (zinnias, marigolds, cosmos)
Sometimes need it (check your seed packet):
- Coneflowers—purple coneflower (Echinacea purpurea) doesn’t require it, but pale purple coneflower (E. pallida) does
- Poppies—Oriental poppies benefit from stratification; California poppies don’t
- Rudbeckia species vary by type
Your seed packet should indicate stratification requirements, but if you’re collecting seeds yourself or packets lack information, a quick online search for “[plant name] + seed germination requirements” usually provides answers.
Common garden plants requiring stratification:
- Wildflowers & Natives: Milkweed (30-60 days), Black-eyed Susan (30 days), Columbine (30-60 days), Lupine (30 days), Wild geranium (60 days)
- Herbs: Lavender (30 days), Catnip (14-21 days), Lemon balm (21-30 days), Anise hyssop (30 days)
- Pollinator Favorites: Bee balm (30-60 days), Joe Pye weed (60 days), Ironweed (60 days), Purple coneflower varieties (30-60 days)
- Trees & Shrubs: Most fruit trees (60-120 days), Elderberry (60-90 days), Redbud (30 days)
Understanding Stratification Requirements
Cold Moist vs. Cold Dry
1. Cold moist stratification is what most gardeners mean by “stratification.” Seeds need three elements: cold temperatures (33-41°F), moisture, and time. This is by far the most common requirement.
2. Cold dry stratification involves cold storage without moisture and is needed primarily by seeds from arid climates with cold, dry winters.
However, many seeds labeled as needing “dry” stratification actually perform better with at least minimal moisture. When in doubt, cold moist stratification works for the vast majority of temperate seeds.
Temperature Precision Matters
Seeds don’t just count days in the cold—they accumulate “chilling hours” within a specific temperature range. The ideal range is 33-41°F, with the sweet spot around 37°F. This is why your refrigerator (typically 35-38°F) works perfectly for stratification.
Here’s the critical part: temperatures below 32°F (freezing) don’t count toward chilling hours. Neither do temperatures above 60°F. In fact, exposure to temperatures above 60°F can actually reverse accumulated chilling hours.
This is why you can’t use your freezer—the seeds might survive freezing, but they’re not accumulating the cold hours needed to break dormancy.
How Long Is Long Enough?
Stratification requirements vary dramatically by species:
- 1-2 weeks: Catmint, Chinese lantern, some coneflowers
- 30 days: Lavender, anise hyssop, balloon flower, most rudbeckia, lupine
- 60 days: Columbine, Joe Pye weed, wild geranium, most milkweeds
- 90+ days: Fruit trees, sea buckthorn, some shrubs
When uncertain, 30 days works well for most perennial wildflowers and garden perennials. Longer stratification rarely causes problems—if seeds don’t germinate after your first attempt, you can return them to the fridge for another 30 days.
How to Cold Stratify Seeds: Four Proven Methods
Method 1: The Refrigerator Paper Towel Method
This is the most reliable method for most home gardeners. It’s space-efficient, easy to monitor, and works for seeds from tiny to large.
Materials needed:
- Paper towels or coffee filters
- Spray bottle with water
- Plastic zip-top bags
- Permanent marker
- Your seeds
Step-by-step process:
Start by soaking seeds in room-temperature water for 12-24 hours. This jumpstarts the hydration process and can shorten stratification time.
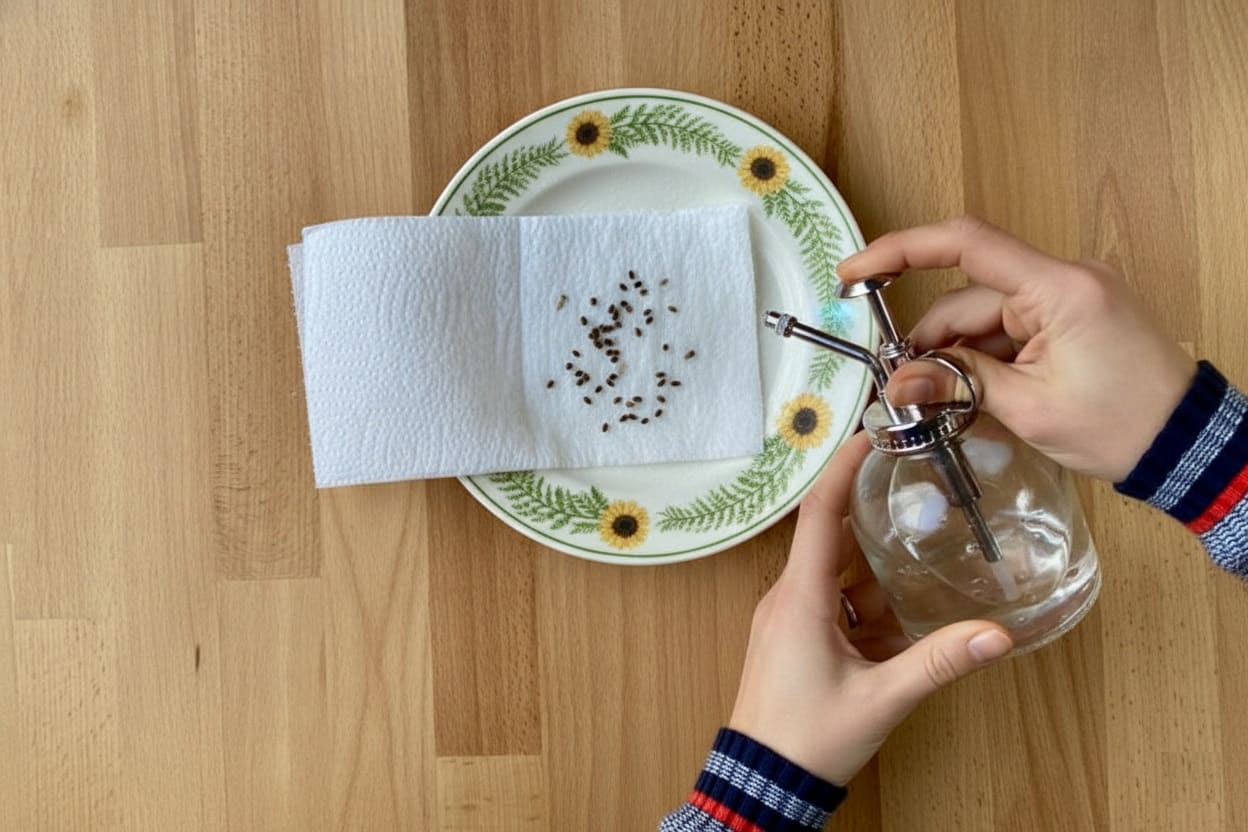
Thoroughly dampen a paper towel, then squeeze out excess water until it’s moist but not dripping—think wrung-out sponge.
Lay it flat and sprinkle seeds on one half, spacing them so they’re not touching (this prevents disease spread and makes it easier to separate them later). Fold the other half over and press gently to ensure good contact between seeds and moisture.
Slide the paper towel into a plastic bag. Here’s an important detail many sources miss: don’t seal the bag completely. Seeds need minimal air exchange to prevent anaerobic conditions that promote mold. Either leave a small opening or poke 2-3 tiny holes in the bag.
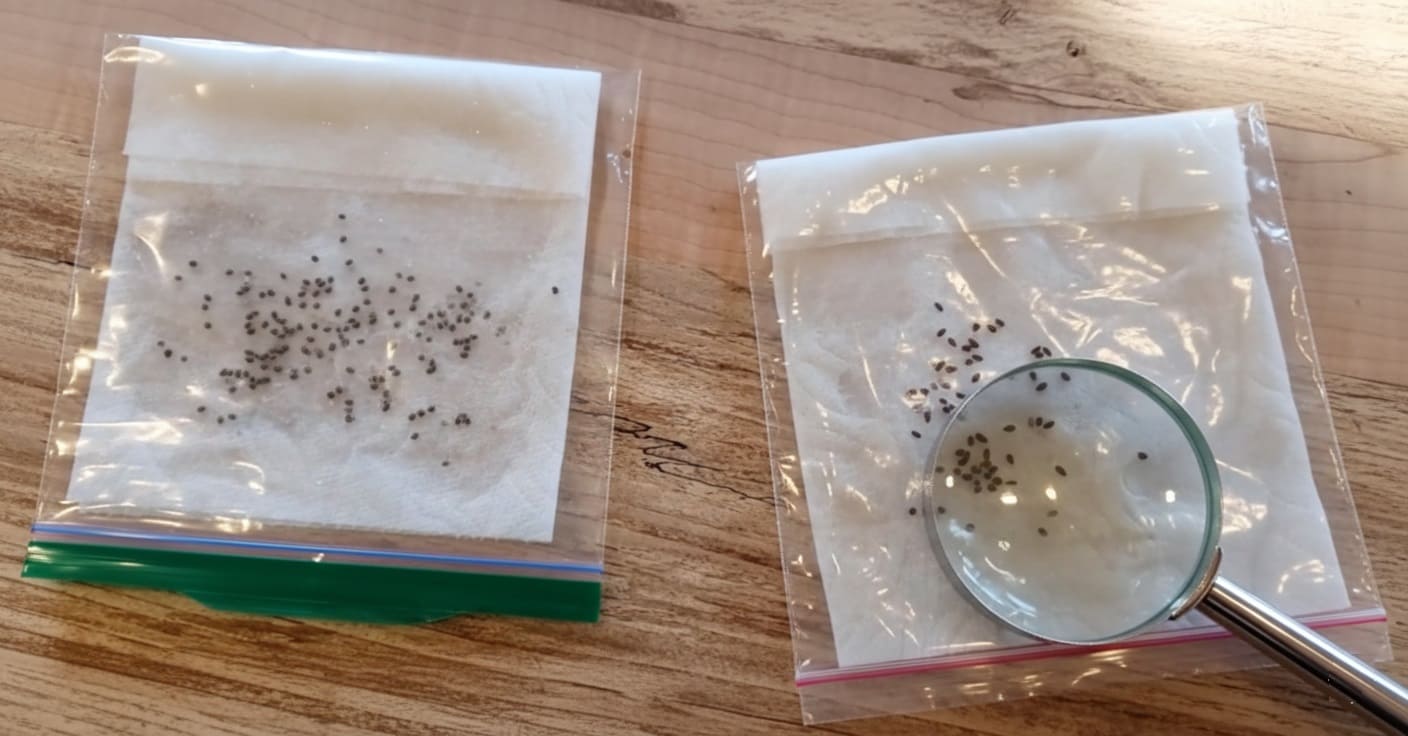
Label clearly with the plant name, stratification start date, and the date to remove (calculate this based on the required stratification period).
Place in the refrigerator, ideally toward the back where temperature is most stable and the bag won’t be disturbed during daily use.
Monitoring during stratification:
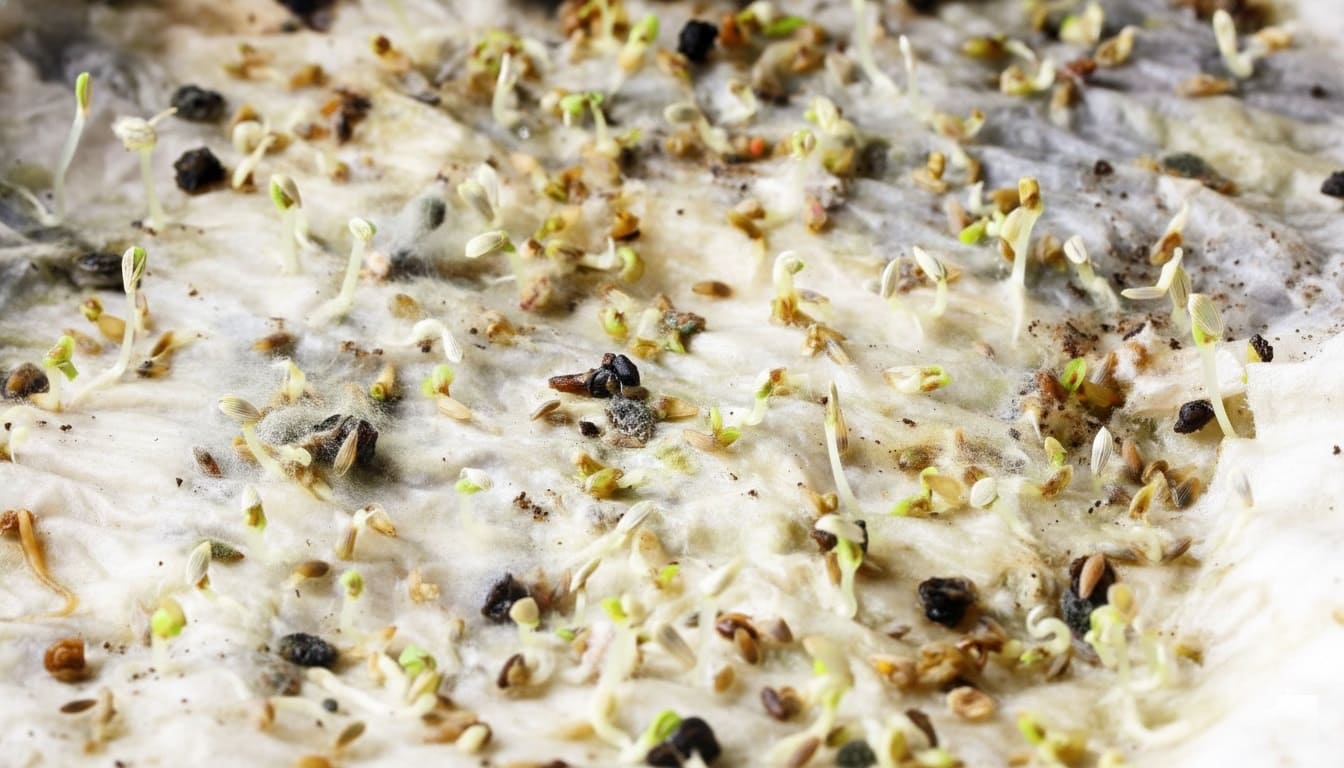
Check weekly for two things: moisture level and mold. If the towel feels dry to the touch, mist lightly with your spray bottle. If you see any fuzzy mold growth, act immediately—remove affected seeds, replace the paper towel, and reduce moisture slightly.
Some seeds will actually begin germinating while still in the refrigerator. This is excellent news, meaning stratification succeeded. Plant these sprouted seeds immediately, as the emerging root can become entangled in paper towels if left too long.
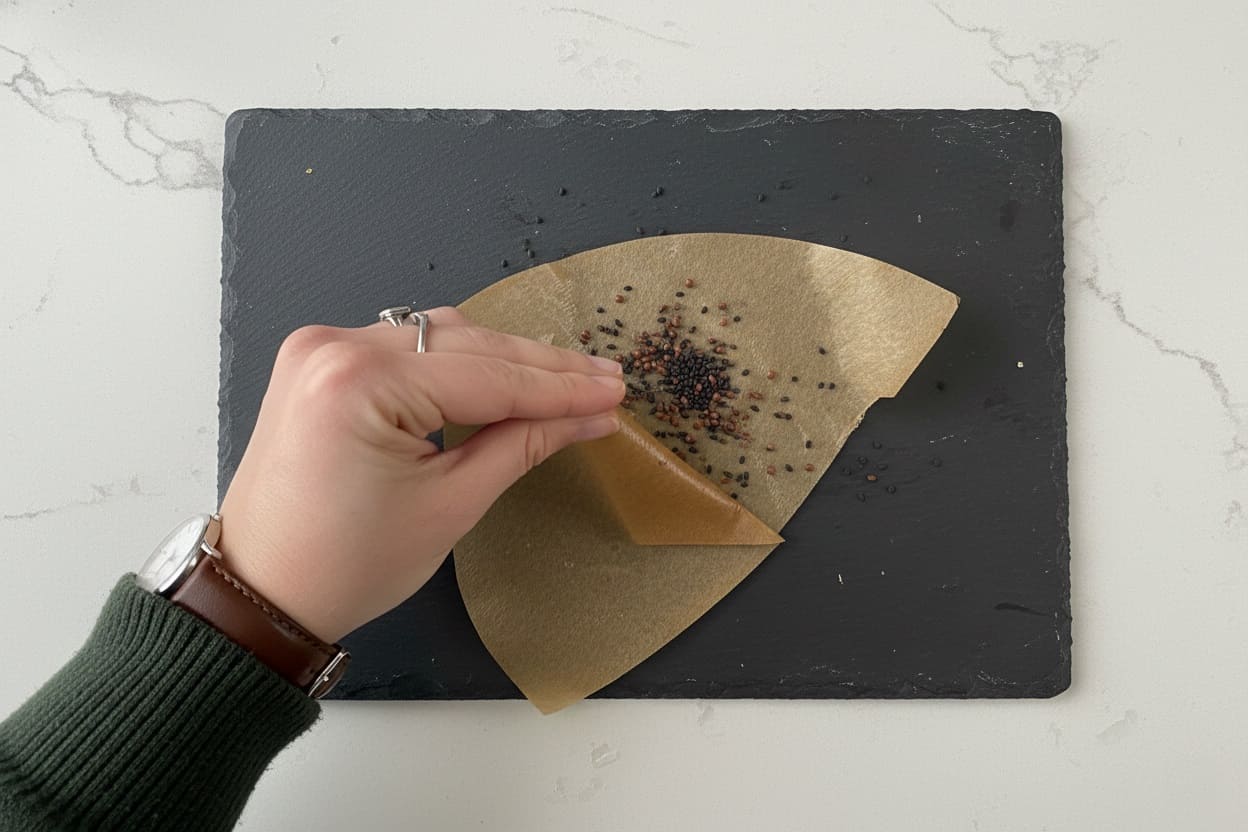
Pro tip: Coffee filters work better than paper towels for very small seeds because the tighter weave prevents seeds from sticking, making them easier to remove after stratification.
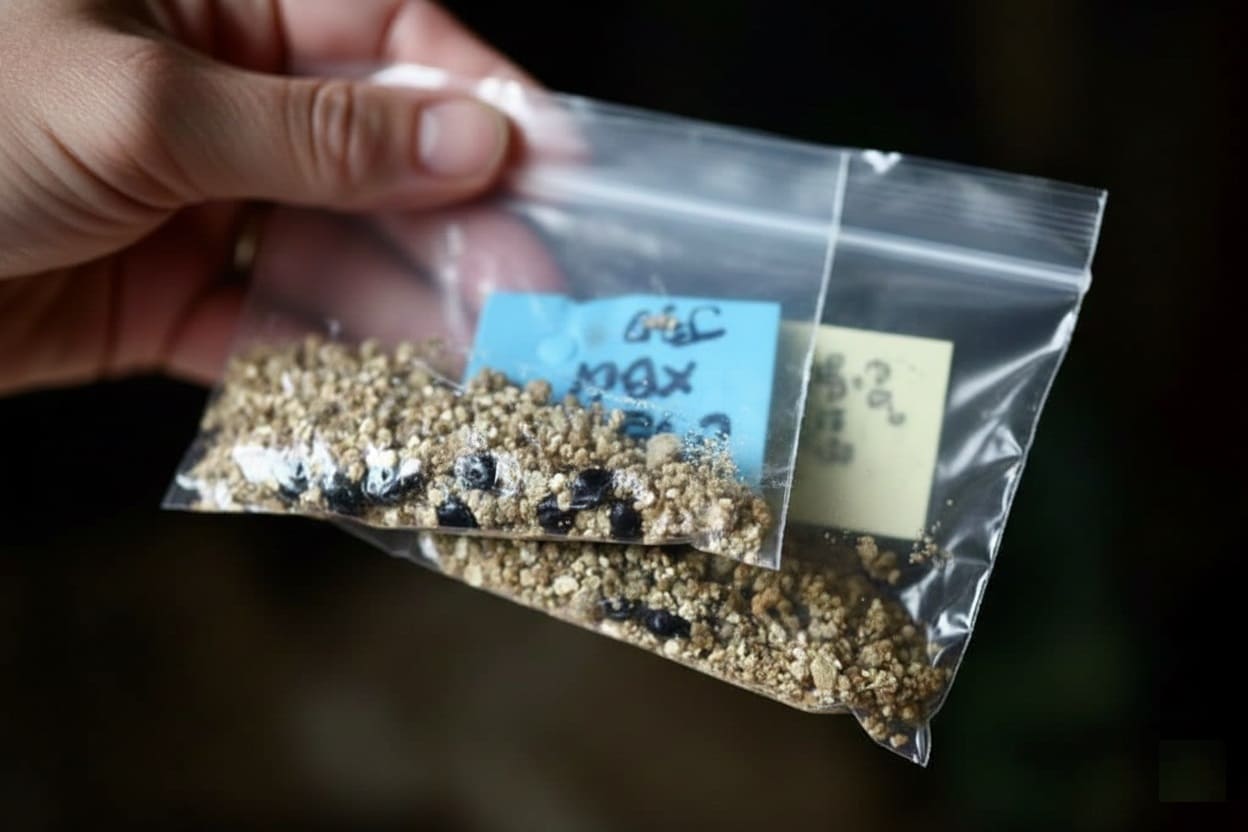
Method 2: The Vermiculite or Sand Method
For larger seed quantities or professional-scale propagation, this method offers superior moisture control and prevents seeds from drying out as quickly as paper towels.
Mix seeds with barely damp vermiculite, perlite, or coarse sand at a ratio of about 3 parts medium to 1 part seeds. The medium should be moist enough to form a ball when squeezed but not wet enough to drip water.
Place in a plastic container or bag with a few small ventilation holes, label thoroughly, and refrigerate.
Check weekly and adjust moisture as needed. The medium should never dry completely but shouldn’t be soggy either.
- The trade-off:
This method excels for large quantities and helps prevent mold better than paper towels, but you can’t see when seeds germinate. For tiny seeds, separating them from sand or vermiculite at planting time can be tedious.
I use this method for large seeds (like tree seeds) or when stratifying hundreds of seeds at once, but prefer the paper towel method for most garden applications.
👉 Here’s How to Grow Petunias from Seed: A Complete Guide for Beginners
Method 3: Outdoor Winter Sowing
Let nature handle stratification entirely by planting seeds outdoors in late fall.
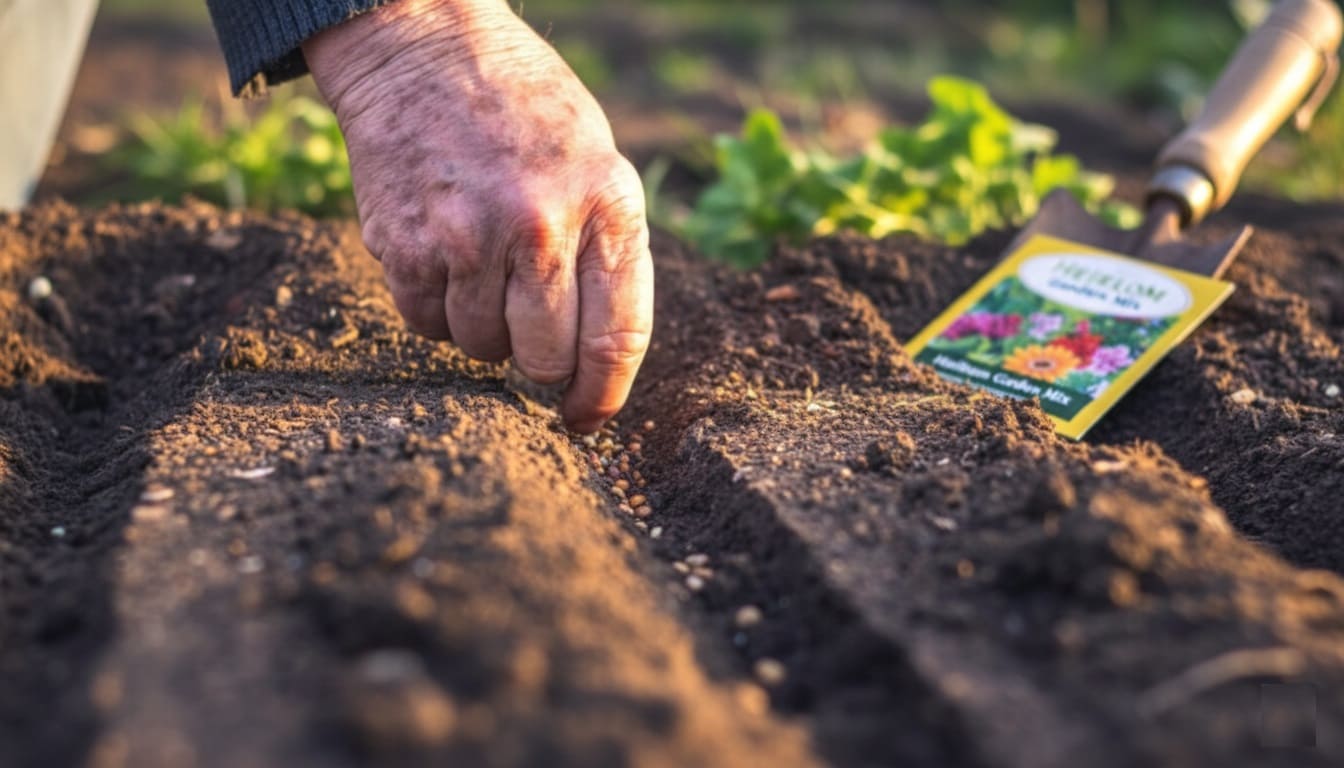
1. Direct fall sowing:
Simply scatter seeds where you want them to grow after soil temperatures drop below 50°F but before the ground freezes solid.
Lightly cover with soil (following the seed packet’s depth recommendations) or leave uncovered if seeds need light to germinate. Natural freeze-thaw cycles, winter moisture, and temperature fluctuations provide perfect stratification.
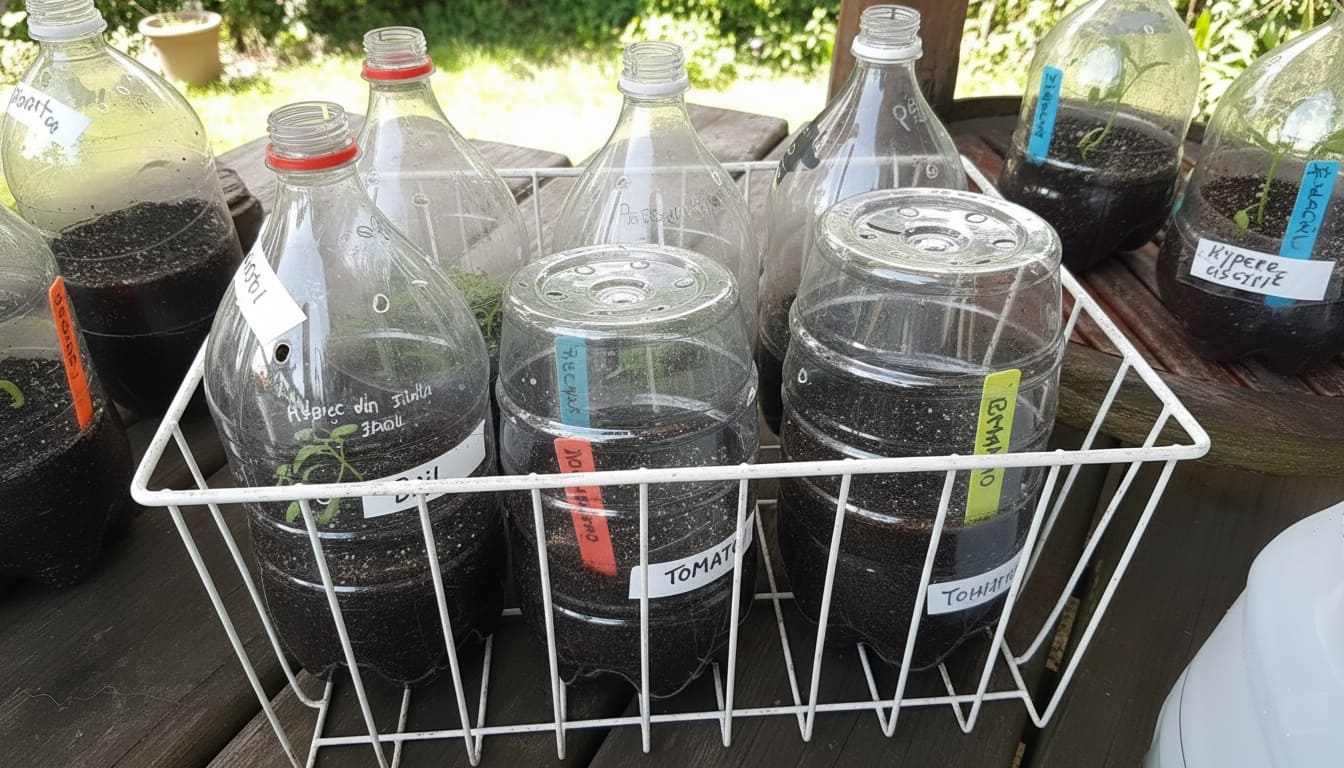
2. Container winter sowing:
This method gained popularity for good reason—it combines the benefits of natural stratification with more control over seedling care.
Use recycled milk jugs or clear plastic containers, cutting them in half horizontally but leaving a hinge. Add 2-3 inches of seed-starting mix to the bottom half, sow seeds according to packet directions, and water gently.
Tape the top back onto the bottom, leaving the cap off or slightly loosened for ventilation. Label each container clearly with plant name and sowing date. Place containers outdoors in a spot that receives sun but is protected from harsh winds.
The containers act as mini-greenhouses—winter cold stratifies the seeds, but the clear plastic moderates temperature extremes and keeps seeds from being eaten by wildlife or washed away. In spring, seedlings emerge when conditions are right.
- The advantages:
This method produces incredibly sturdy, cold-tolerant seedlings that require no hardening off. You also avoid dedicating refrigerator space to seeds for months.
- The disadvantages:
You have less control over timing (seeds germinate on nature’s schedule, not yours), and results can vary based on winter weather patterns. Unusually warm winters might cause premature germination, while extremely cold winters might delay germination.
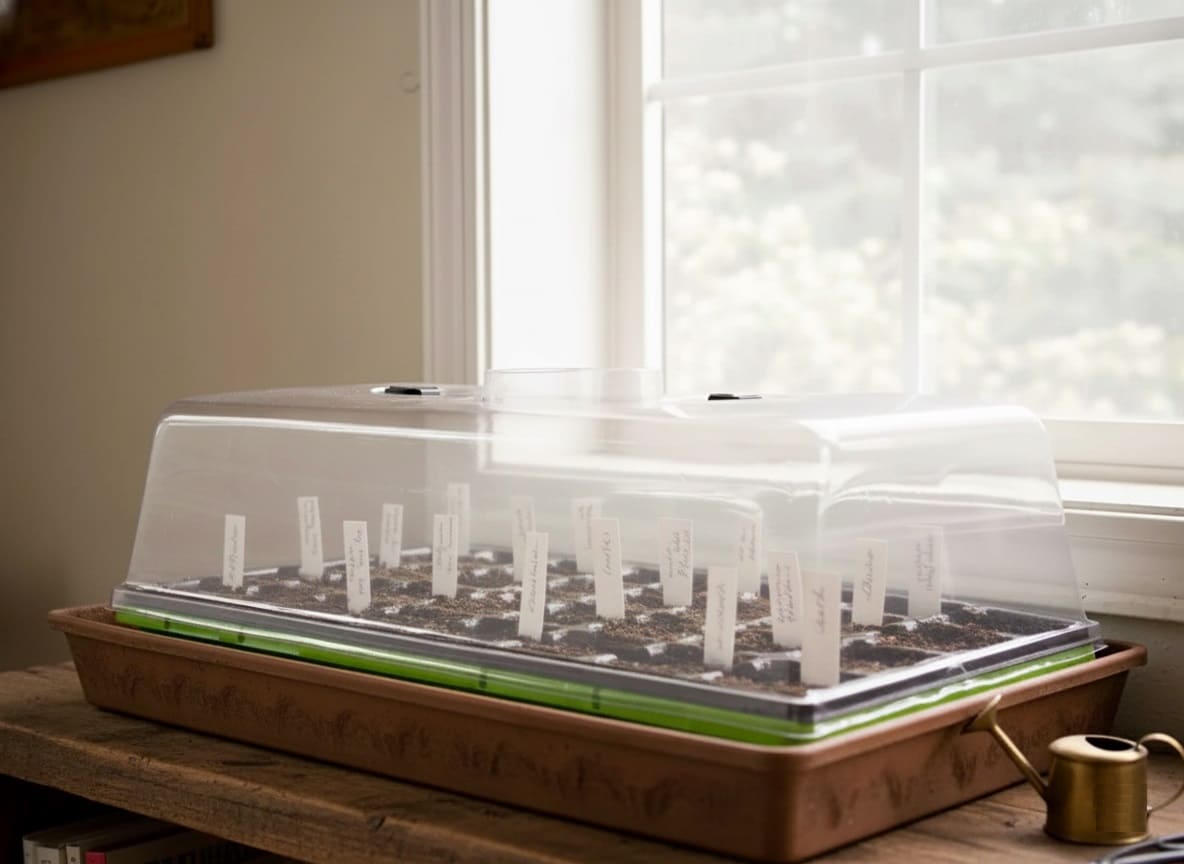
Method 4: The Direct Pot Method
Some gardeners prefer planting seeds in pots before refrigeration, essentially combining stratification and sowing into one step.
Fill small pots or cell packs with moistened seed-starting mix, sow seeds at proper depth, cover the pots with a plastic bag or place in a clear storage container, and refrigerate for the required period.
This method works well for large seeds or when you want everything ready to go at stratification’s end. However, it consumes significant refrigerator space, and you’ve committed soil and containers to seeds before knowing if they’ll germinate.
I reserve this method for expensive or rare seeds where I want to minimize handling after germination.
Timing Your Stratification for Spring Planting
One of the most common questions: “When should I start stratification if I want to plant in spring?”
Work backward from your target planting date. Most stratified seeds germinate best when planted outdoors after the last frost date or started indoors 6-8 weeks before that date.
- Example calculation:
Your last average frost date is May 15. You want to start seeds indoors on March 15. Your seeds need 60 days of cold stratification. Working backward: start stratification by January 15.
Add a buffer week or two in case stratification runs long or you need flexibility. Seeds can safely remain in cold stratification beyond the minimum requirement—think of it like keeping them in suspended animation.
- Important timing note:
Once seeds complete stratification and are exposed to warm temperatures (above 50°F), they “wake up.” Don’t remove seeds from the refrigerator until you’re ready to plant within a few days.
If you must delay planting sprouted seeds, keep them at temperatures just above freezing (33-35°F) for up to a week, though this is risky and should be avoided.
After Stratification: Planting for Success
The transition from cold stratification to active growth requires attention to several factors.
- Temperature transition:
Remove seeds from the refrigerator but leave them sealed in their bags at room temperature for 24 hours. This gradual warming reduces transplant shock, particularly for seeds that have already begun germinating.
- Planting depth and light requirements:
This varies significantly by species, and getting it wrong can prevent germination entirely.
Seeds requiring light for germination (lavender, lobelia, lettuce, petunias, many wildflowers) should be pressed into the soil surface but not covered. These seeds use light as a signal that they’re not buried too deeply to reach the surface.
Seeds requiring darkness (larkspur, delphinium, phlox, verbena) need to be covered. Plant these at a depth roughly equal to two to three times the seed’s diameter.
When in doubt, check your seed packet or look up species-specific requirements online.
- Soil temperature for germination:
Even properly stratified seeds won’t germinate if the soil is too cold or too hot. Most germinate best at 65-75°F, but this varies by species.
Cool-season seeds (many wildflowers, perennials) prefer 60-70°F. Warm-season seeds prefer 70-80°F. A seedling heat mat helps maintain consistent soil temperature, particularly valuable for spring indoor seed starting when ambient temperatures fluctuate.
- Moisture management:
Keep soil consistently moist but never waterlogged. The top of the soil should never dry completely, but if you can squeeze water from the soil, it’s too wet. Bottom watering from a tray prevents soil displacement and fungal issues.
- Germination timeline:
Patience is essential. After proper stratification, some seeds (prairie coneflower, lupine) germinate in 3-7 days. Others (wild geranium, some tree species) take 3-4 weeks.
Many species exhibit “erratic germination,” meaning seeds sprout over several weeks rather than all at once. This is normal and actually beneficial in nature—it spreads risk across time in case early seedlings face adverse conditions.
Keep conditions optimal and wait at least 4 weeks before concluding stratification failed. Some seeds surprise you by germinating after you’ve given up hope.
👉 Here’s How to Germinate Seeds: Complete Guide to Starting Seeds Successfully
Monitoring During Stratification: What to Watch For
Successful stratification requires minimal but crucial monitoring.
- Moisture check:
Seeds must remain moist (not wet) throughout the entire stratification period. For paper towel methods, the towel should feel cool and damp to the touch. If it’s dried even slightly, mist it with a spray bottle.
For vermiculite or sand methods, the medium should maintain the consistency of a wrung-out sponge.
- Mold management:
Some mold growth is almost inevitable with moisture and cold temperatures. Early-stage mold appears as small discolored spots (yellow, brown) on paper towels or a slight darkening of vermiculite.
This is manageable—remove affected seeds, replace the medium, and reduce moisture slightly.
Advanced mold appears fuzzy and gray, blue, or green. If you see this, discard affected seeds immediately and consider whether the remaining seeds are worth trying to save. Sometimes starting over with fresh materials is your best option.
Preventing mold: Use clean materials, ensure adequate ventilation in bags, avoid excess moisture, and check seeds regularly.
- Premature germination:
If seeds begin sprouting in the refrigerator (you’ll see white root tips emerging), plant them immediately. This happens most often in the final two weeks of stratification. Check seeds more frequently during this period if you’re not ready to plant yet.
- Signs of successful stratification:
Before visible germination, you might notice seeds swelling slightly as they absorb moisture, seed coats softening or cracking, or color changes (some seeds lighten or darken). These are all positive signs that stratification is working.
Common Mistakes and How to Avoid Them
- Using the freezer instead of the refrigerator: Freezers are too cold. While some seeds tolerate freezing, they’re not accumulating the chilling hours needed at temperatures below 32°F. Use your refrigerator, which typically runs at the ideal 35-38°F.
- Keeping seeds too dry: “Cold stratification” without the “moist” part rarely works. Seeds need moisture to begin the biochemical changes that break dormancy. Even seeds requiring “dry” stratification usually benefit from minimal moisture.
- Not allowing enough time: Cutting stratification short is tempting when you’re eager to plant, but it dramatically reduces germination rates. If your seeds need 60 days, give them 60 days. You can go longer, but don’t go shorter.
- Insufficient air exchange: Sealed bags with no ventilation create anaerobic conditions that promote harmful bacteria and mold. Leave bags slightly open or punch small holes.
- Temperature fluctuations: Repeatedly removing seeds from the refrigerator to check them, or storing them in the door where temperature fluctuates, can reduce stratification effectiveness. Place seeds toward the back of the fridge and minimize disturbance.
- Storing with ethylene-producing fruits: Apples, pears, and bananas produce ethylene gas, which can inhibit seed germination. Store your stratifying seeds away from fruits.
- Planting too early after stratification: Seeds “wake up” when warmed. If you remove seeds from cold storage but aren’t ready to plant, they may germinate in their bags with nowhere to go. Only remove seeds when you’re ready to plant within 2-3 days.
- Giving up too soon after planting: Some species take 3-4 weeks to germinate even after proper stratification. Wild geranium, for example, can take up to 8 weeks. Maintain optimal conditions and be patient.
Special Cases: Complex Requirements
Double dormancy
Plants like trillium, some peonies, and bloodroot need two consecutive winters before germination.
The first cold period breaks physical dormancy (the seed coat), allowing the seed to develop a root system. The second winter breaks embryonic dormancy, finally allowing shoot growth.
For home gardeners, the practical approach is planting these seeds outdoors in fall and waiting two full years for seedlings to appear. Artificially creating two years of stratification indoors is possible but tedious.
Combination treatments
Some seeds need multiple treatments in sequence:
- Lupine: Scarify (scratch seed coat with sandpaper), soak overnight, then cold stratify for 7 days
- Prairie smoke: Warm stratification (30 days at 60-70°F), then cold stratification (60 days)
- Some Prunus species: Warm stratification (30-60 days), then cold stratification (90-120 days)
Always research species-specific requirements. University extension bulletins often provide detailed germination protocols for native plants.
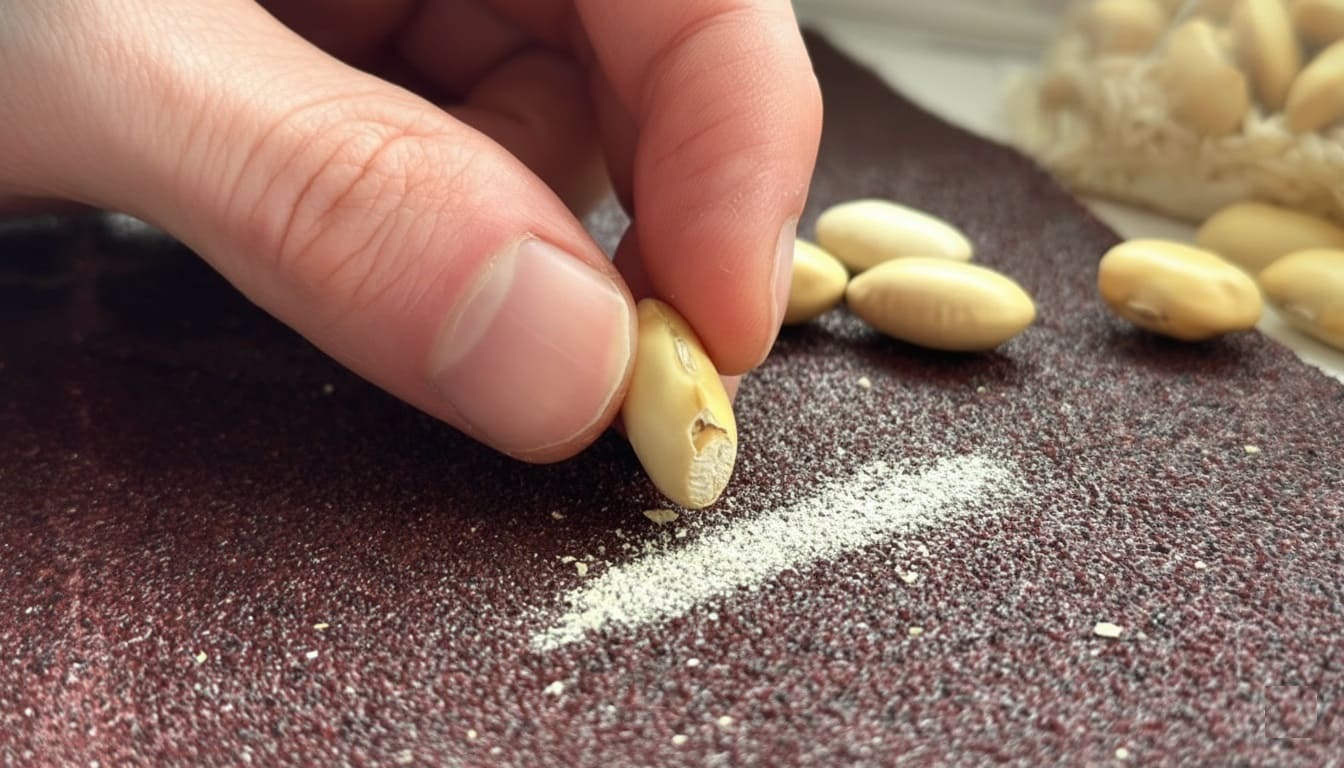
Scarification before stratification
Hard-coated seeds (many legumes, lupines, hibiscus, hollyhock) benefit from scarification—physically weakening the seed coat—before cold stratification.
Methods include rubbing with sandpaper, nicking with a knife, or soaking in hot (not boiling) water for 12-24 hours. This allows moisture to penetrate during stratification, dramatically improving results.
👉 Here’s How to Grow a Mango Tree from Seed: A Simple Guide for Beginners
Testing Seed Viability Before Stratification
Before investing months in stratification, consider testing seed viability, especially for old seeds or those with unknown storage history.
- The float test:
Place seeds in water. Viable seeds typically sink within a few minutes, while non-viable seeds float. However, this test isn’t 100% reliable—some viable seeds float due to air pockets, and some dead seeds sink. It’s a quick indicator, not a definitive answer.
- The paper towel germination test:
Place 10 seeds on a moist paper towel, fold it over, seal in a bag, and keep at room temperature (without cold stratification). Check daily for germination.
If 7-8 of 10 germinate within two weeks, you have excellent viability. If 3-5 germinate, viability is moderate—expect lower germination rates even with proper stratification.
If none germinate, your seeds are likely dead or require special treatment beyond basic cold stratification.
For seeds requiring cold stratification, this test won’t show germination, but you can check after a week whether seeds are swelling and absorbing water—indicators they’re still alive.
Frequently Asked Questions
- What if my seeds don’t germinate after stratification?
First, ensure you provided the correct stratification period—some species need longer than expected. Second, verify you planted at the correct depth and temperature. Third, wait longer—some seeds are slow germinators.
If still no results after 6 weeks, try a second round of stratification. Seeds sometimes need two cold periods to fully break dormancy.
- Can I stratify different species together in the same bag?
Keep different species in separate bags, even if they need the same stratification period. You’ll want to track each species’ progress independently, and mixing them creates confusion at planting time.
- Does water quality matter for stratification?
Most tap water works fine, though if your water is heavily chlorinated or has high mineral content, you might see better results with filtered or distilled water. The difference is usually minimal for most species.
- How do I handle erratic germination?
Some species naturally germinate over several weeks rather than all at once. Keep soil conditions optimal, and don’t disturb areas where you’ve planted. Mark sowing locations clearly so you don’t accidentally replant over late-emerging seedlings.
- Can I reuse vermiculite or sand from stratification?
Technically yes, but only if it showed no signs of mold or disease. Sterilize it by baking at 200°F for 30 minutes, let it cool completely, and store dry. Honestly, vermiculite and sand are inexpensive enough that using fresh material for each batch reduces disease risk.
Your Path Forward
Cold stratification sounds complex until you try it. After successfully germinating your first “difficult” seeds, the process becomes routine. Those formerly intimidating native perennials, rare wildflowers, and fruit trees suddenly become achievable.
Start small—choose 2-3 species you’re genuinely excited to grow. Mark your calendar for stratification timing based on when you want to plant. Gather your materials: paper towels, bags, labels, and a spray bottle. Those simple tools open up an enormous world of plants.
The real magic isn’t in the technique—it’s in understanding what seeds need and having the patience to provide it.
Every seed contains remarkable biological wisdom accumulated over thousands of years. Cold stratification simply lets you work with that wisdom rather than against it.
What seeds have you been dreaming of growing? Which “difficult” species will you try now that you understand their winter requirements?
Share your stratification plans or past experiences in the comments—I’d love to hear what works in your garden and what challenges you’re facing.
Happy growing, and may all your seeds wake up right on schedule.