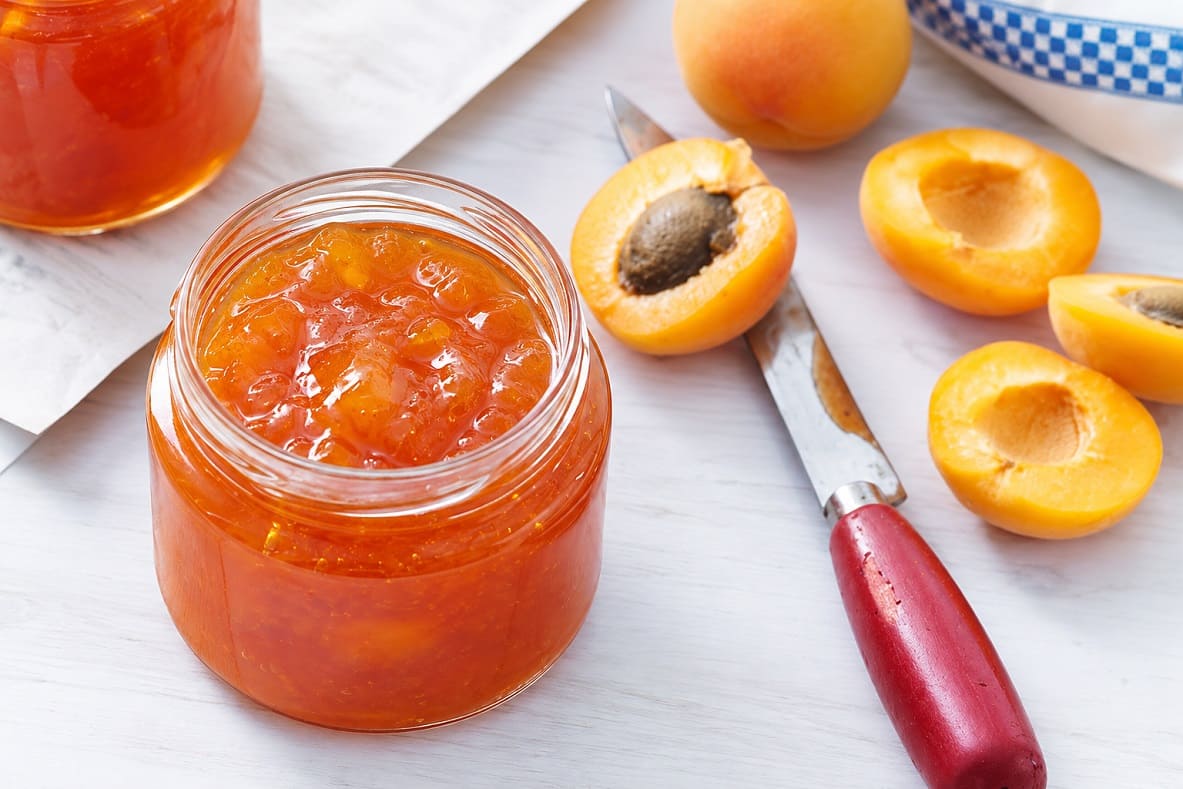
Apricot jam is one of the easiest preserves to get right. You need apricots, sugar and a squeeze of lemon, no boxed pectin, and about an hour.
Two decisions separate a bright, tart, spreadable jam from a dark, sticky one: how much sugar goes in, and the moment you take the pot off the heat.
Here you’ll get one method with two batches, a fruit-forward one for the fridge or freezer and a USDA-tested one for canning and the pantry shelf, plus how to tell when jam has set and how to rescue a batch that hasn’t.
Apricot Jam at a Glance
- Ingredients: apricots, granulated sugar, lemon juice
- Added pectin: none needed
- Time: 15 minutes of prep, then 20 to 40 minutes at the stove
- Done at: 220°F (104°C) at sea level, or when a chilled spoonful wrinkles
- Keeps: about 3 weeks in the fridge, 6 months frozen, a year canned and sealed
Choose Apricots That Taste Like Apricots
- Bite into one before you commit to a whole flat
Cooking concentrates the flavor already in the fruit but can’t add any, so mealy, bland apricots make mealy, bland jam. Good jam fruit smells like apricot the moment you pick it up and tastes tart as well as sweet.
- Ripeness is a trade-off
Soft, fully ripe apricots bring the most flavor and juice, but pectin, the natural fiber that lets jam gel, weakens as the fruit softens.
Firm-ripe fruit sets more easily and tastes sharper, so a mix of mostly ripe fruit with a handful of firmer ones gives you both.
Bruises, scabby patches and bird pecks are fine once trimmed; anything moldy or smelling of alcohol goes in the compost.
- Leave the skins on
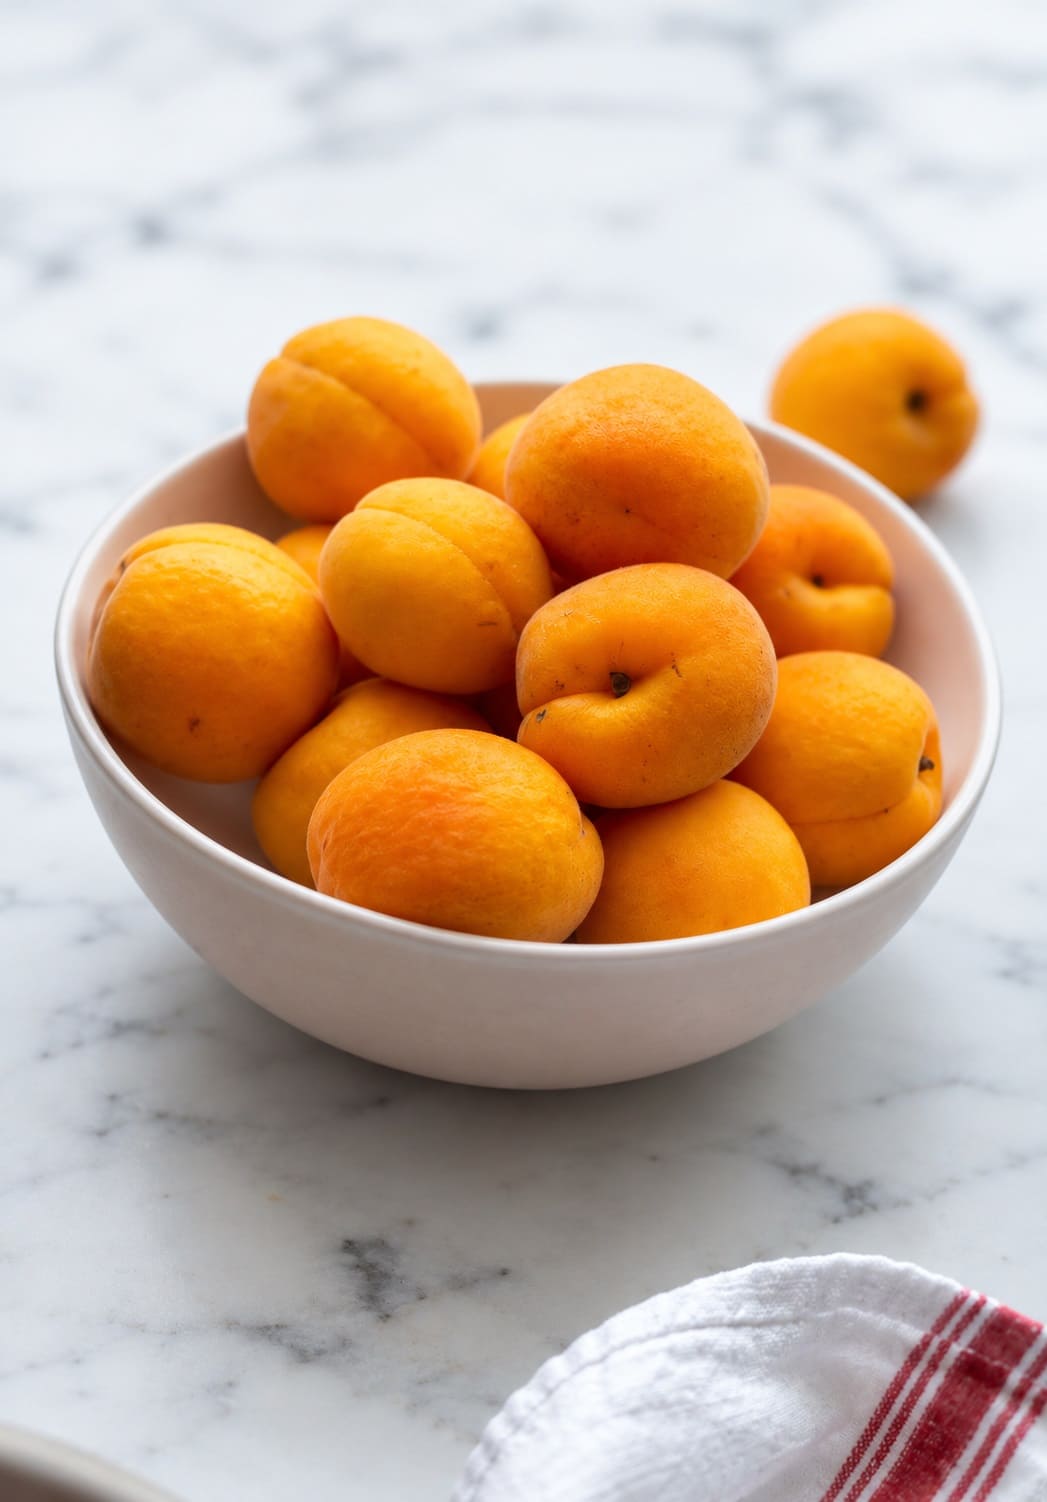
Apricot skin is thin enough to melt into the jam, and it adds color and a little extra pectin.
For a silky jam, run the finished batch through a food mill instead of peeling. The canning batch is the one exception, as you’ll see below.
- Pits and trimmings account for roughly a tenth of the weight, so weigh your fruit after pitting.
Out of season, frozen apricots work well straight from the freezer with a few extra minutes of cooking. Canned apricots don’t: they’re already cooked, usually sit in syrup, and make a flat, oddly sweet jam.
How Much Sugar? Pick Your Version
Apricot jam recipes range from equal weights of fruit and sugar to a few spoonfuls of honey. Some of that is taste, and some is measuring.
Sugar is denser than chopped fruit, so a recipe using 3 cups of apricots to 1 cup of sugar works out close to two to one by weight. Compare recipes by weight and they look far more alike.
More sugar gives a firmer set, holds the orange color longer and keeps longer. Less sugar tastes tarter and fresher, sets softer, darkens sooner and spoils faster once opened.
Cut it far enough and the jam won’t gel on its own at all; that’s where a pectin made for low-sugar jam comes in.
Don’t trim the lemon juice either. Pectin needs acid to gel, and in the pantry batch it’s part of the tested balance that keeps the jam safe on the shelf.
That’s why this recipe comes in two batches that share one method:
| Batch | Fruit to sugar | Use it for |
| Everyday | Roughly two to one by weight | Fridge or freezer jam with a soft set and lots of apricot flavor |
| Pantry | Roughly 1¼ to one by weight (USDA-tested) | Water-bath canning and storing jars on the shelf |
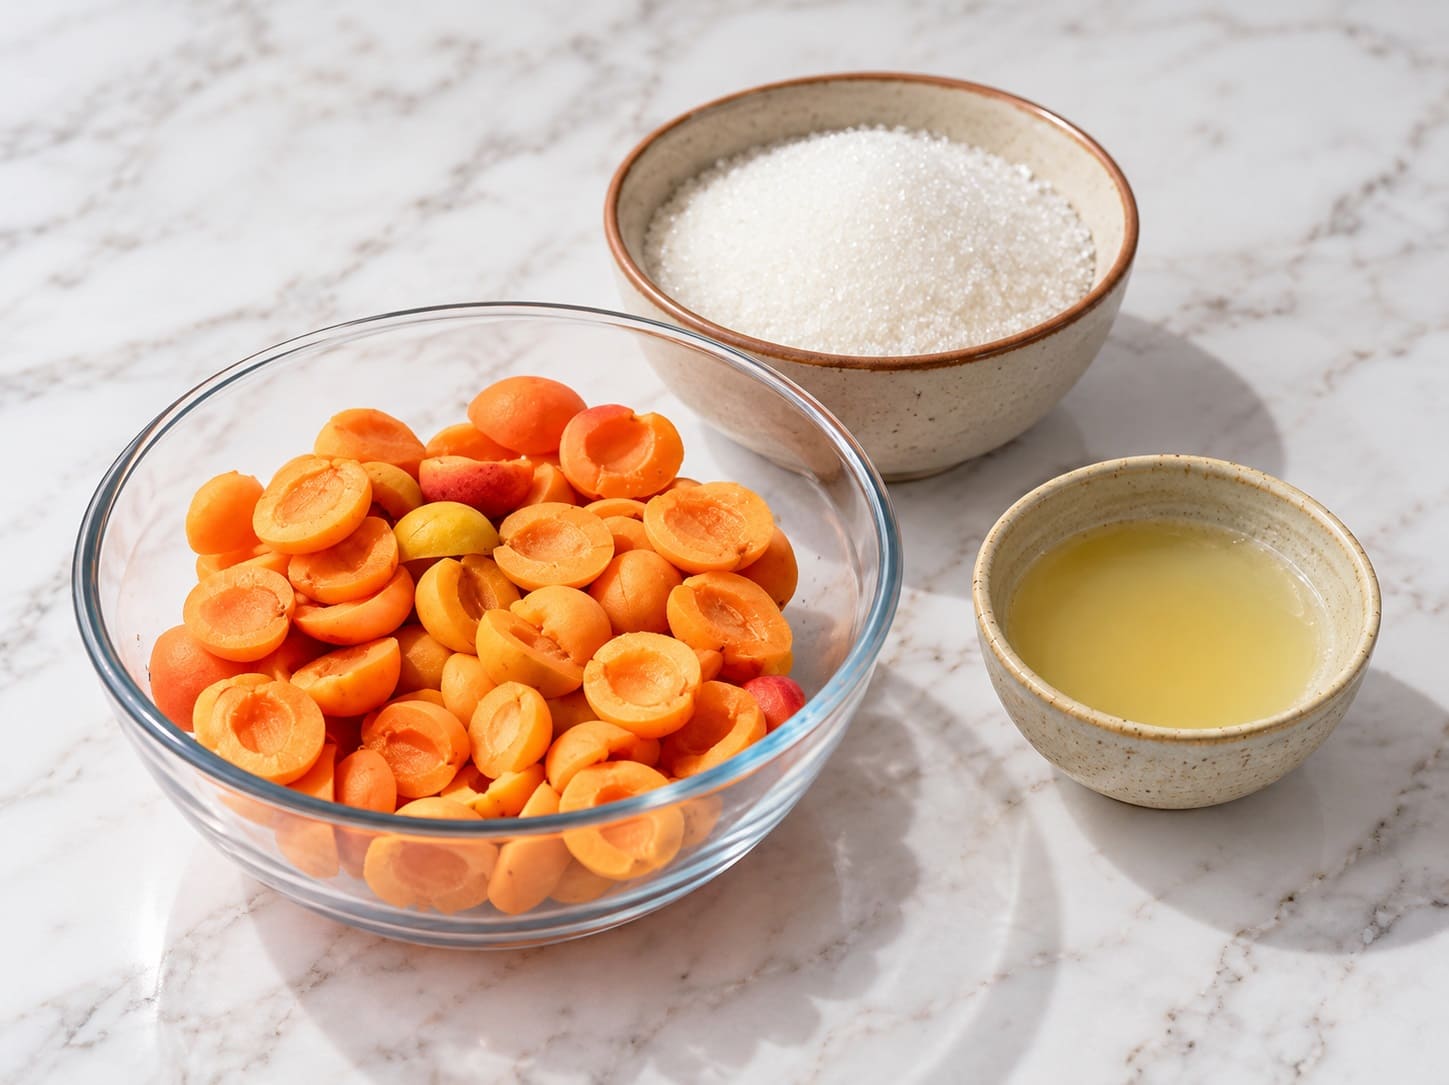
If your jars are going into a cupboard, use the pantry batch exactly as written. Its sugar, lemon juice and processing time were tested together by the USDA, and the National Center for Home Food Preservation (NCHFP) publishes it.
Lower-sugar jam is perfectly good, but it belongs in the fridge or freezer.
👉 Learn How to Can Vegetables: Complete Beginner’s Guide to Safe Home Canning
How to Make Apricot Jam
Equipment
- a wide, heavy pot that holds at least 5 quarts (4.7 liters), such as an enameled Dutch oven, because jam foams up as it boils (a deep 12-inch/30 cm skillet works for the everyday batch)
- a wooden spoon or heatproof spatula
- a potato masher
- two or three small plates
- clean jars with lids
- and a candy thermometer if you have one
Skip bare aluminum, which reacts with the fruit’s acid.
Everyday batch (fridge or freezer)
- 2 pounds (900 g) apricots, weighed after pitting, chopped (about 5½ cups)
- 2 cups (400 g) granulated sugar
- 2 tablespoons lemon juice
- ½ teaspoon butter, optional, to calm the foam
- Makes about three 8-ounce (250 ml) jars
Pantry batch (for water-bath canning)
- 4 to 4½ cups crushed apricots, from roughly 2½ pounds (1.1 kg) whole fruit
- 4 cups (800 g) granulated sugar
- 2 tablespoons bottled lemon juice
- Makes 5 to 6 half-pint (8-ounce) jars
The USDA method for the pantry batch uses peeled, crushed fruit and goes straight to the boil, so follow it that way and skip the rest in step 3.
Bottled lemon juice is the better choice for canning because its acidity is standardized, while a fresh lemon’s varies.
Method
- Chill two or three small plates in the freezer; you’ll use them to check the set.
2. Halve the apricots, pull out the pits and trim any damaged spots. Chop the everyday batch into rough ½-inch (1 cm) pieces.
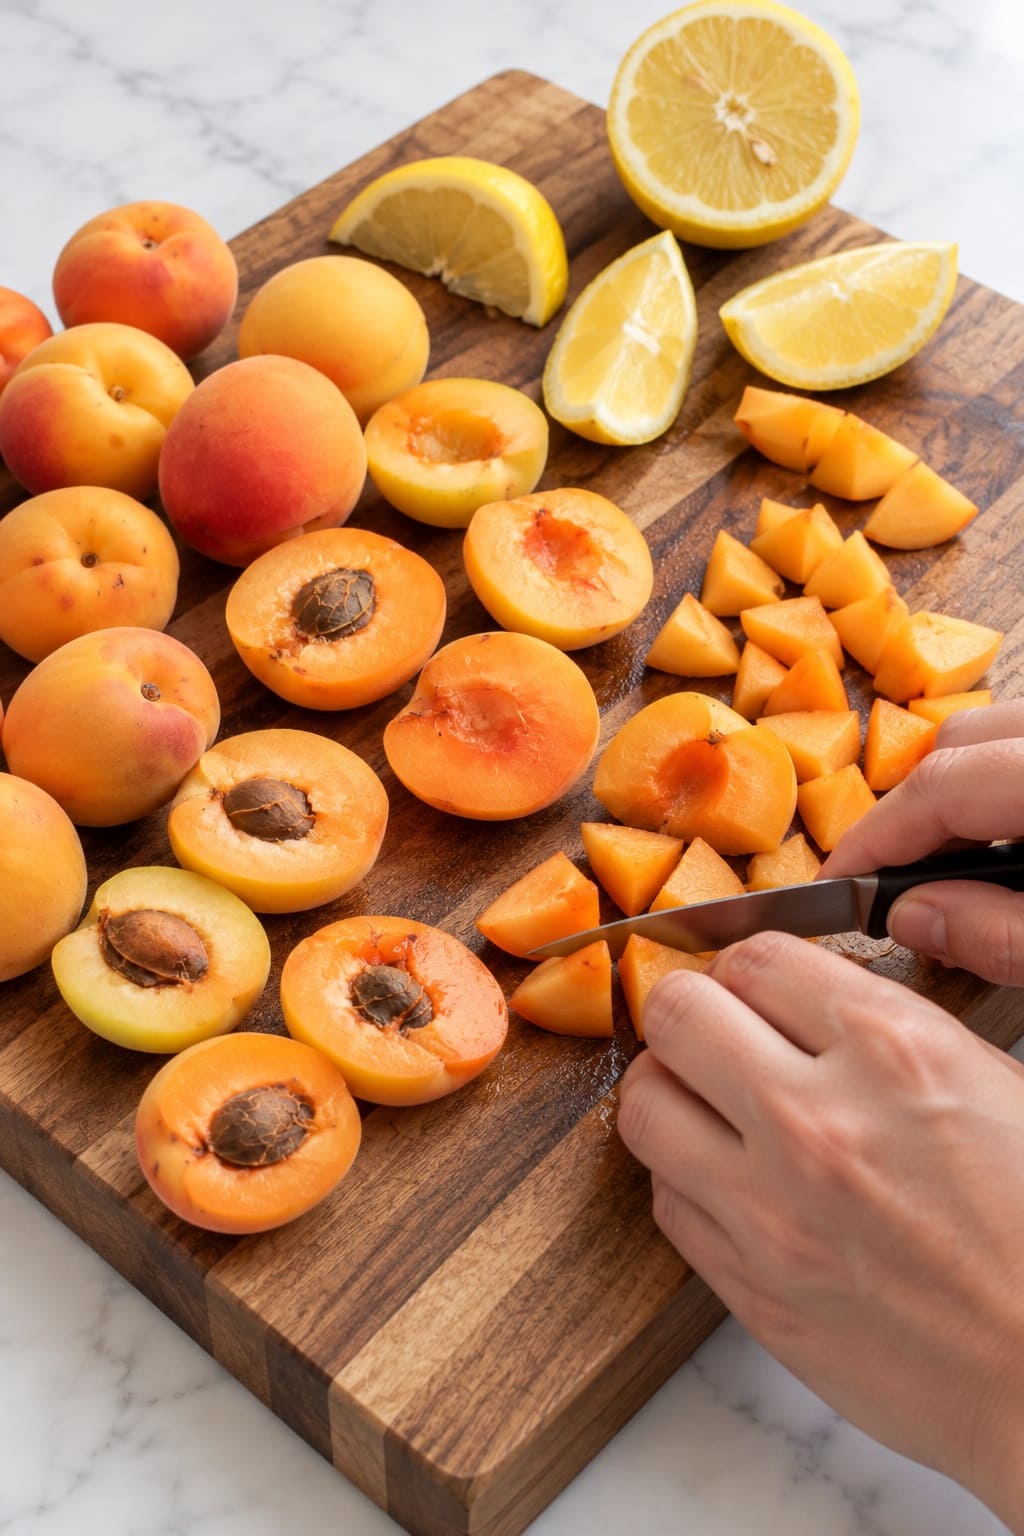
For the pantry batch, peel the fruit (30 to 60 seconds in boiling water loosens the skins), crush it with a potato masher and measure.
3. For the everyday batch, stir the fruit with the sugar and lemon juice, cover the bowl and chill it for at least 4 hours, or overnight.
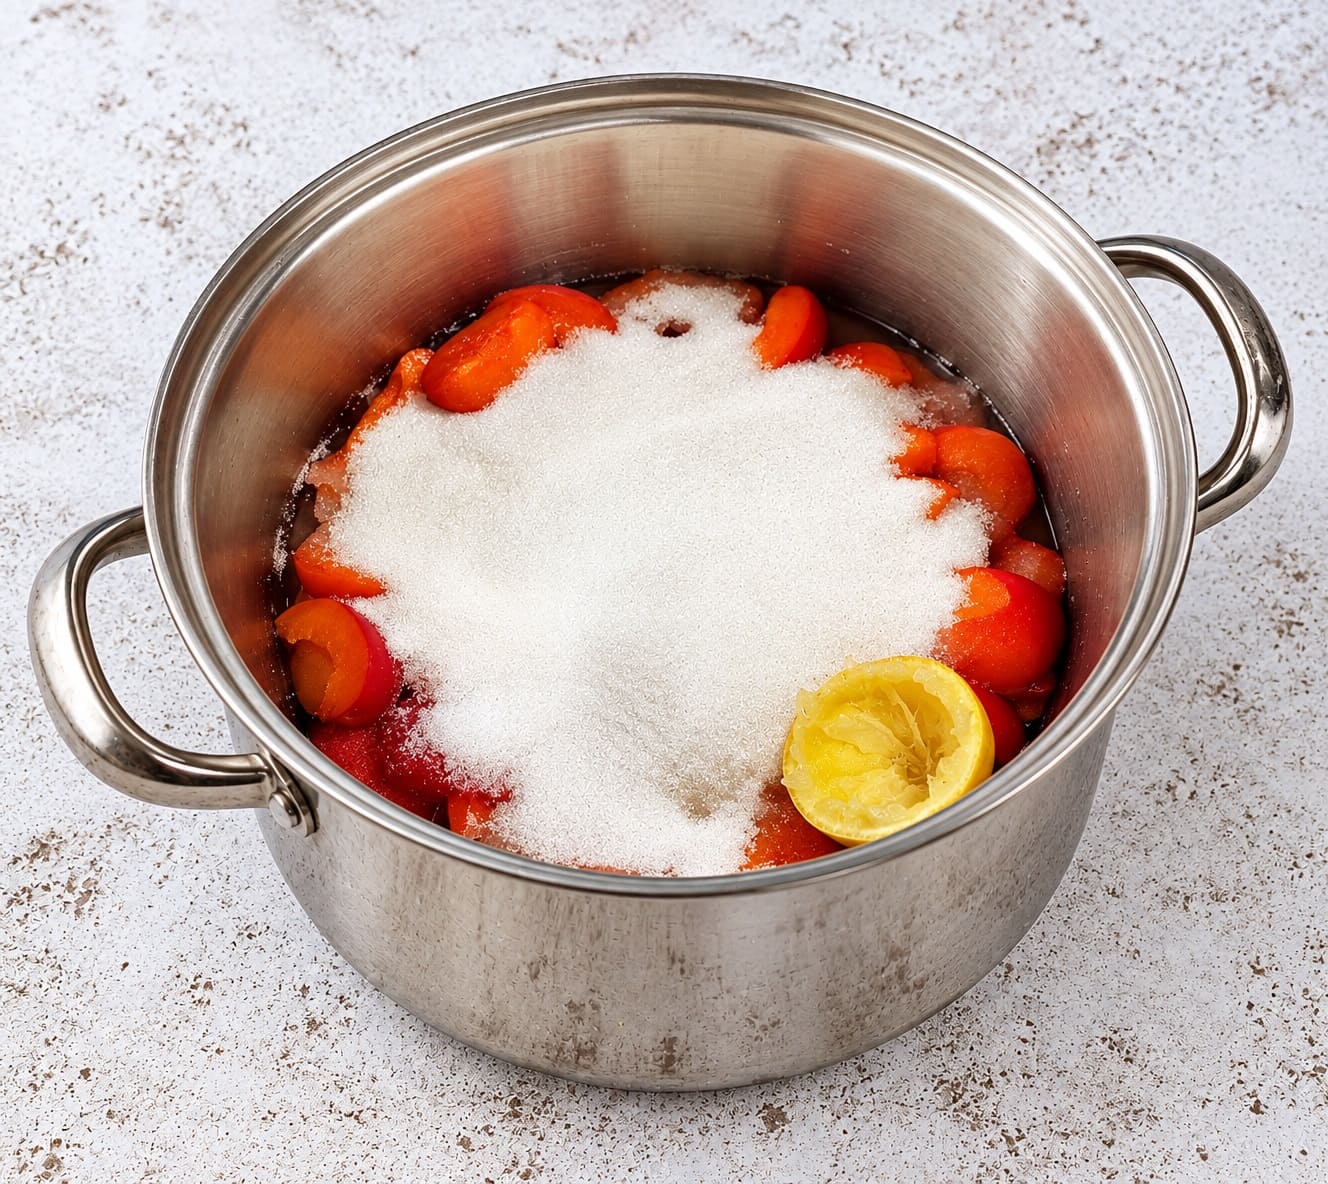
The sugar draws out the juice, so the jam needs less boiling and stays brighter. Even 30 minutes on the counter helps, but longer than that at room temperature invites fermenting.
4. Scrape everything into the wide pan over medium heat. Stir until you no longer feel sugar grinding against the bottom, adding the butter now if you’re using it.
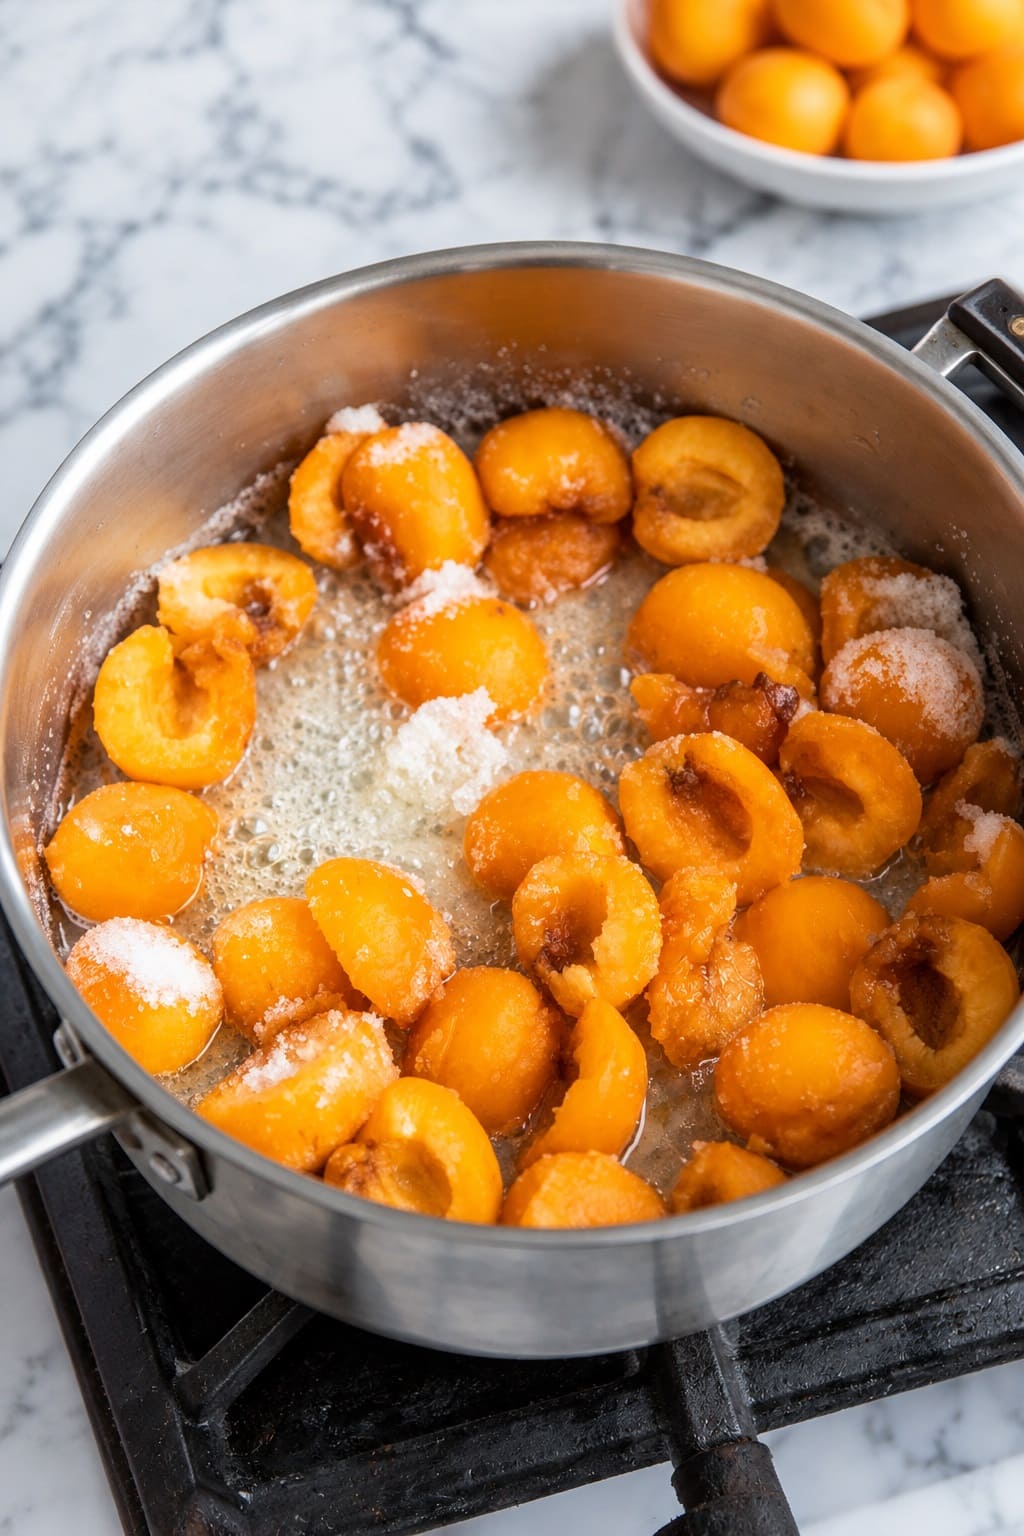
Don’t let it boil before the sugar has dissolved, or you risk gritty crystals later.
5. Turn the heat up to a full boil that keeps rolling while you stir. Stir often at first and constantly once it thickens, scraping the corners where the base meets the sides.
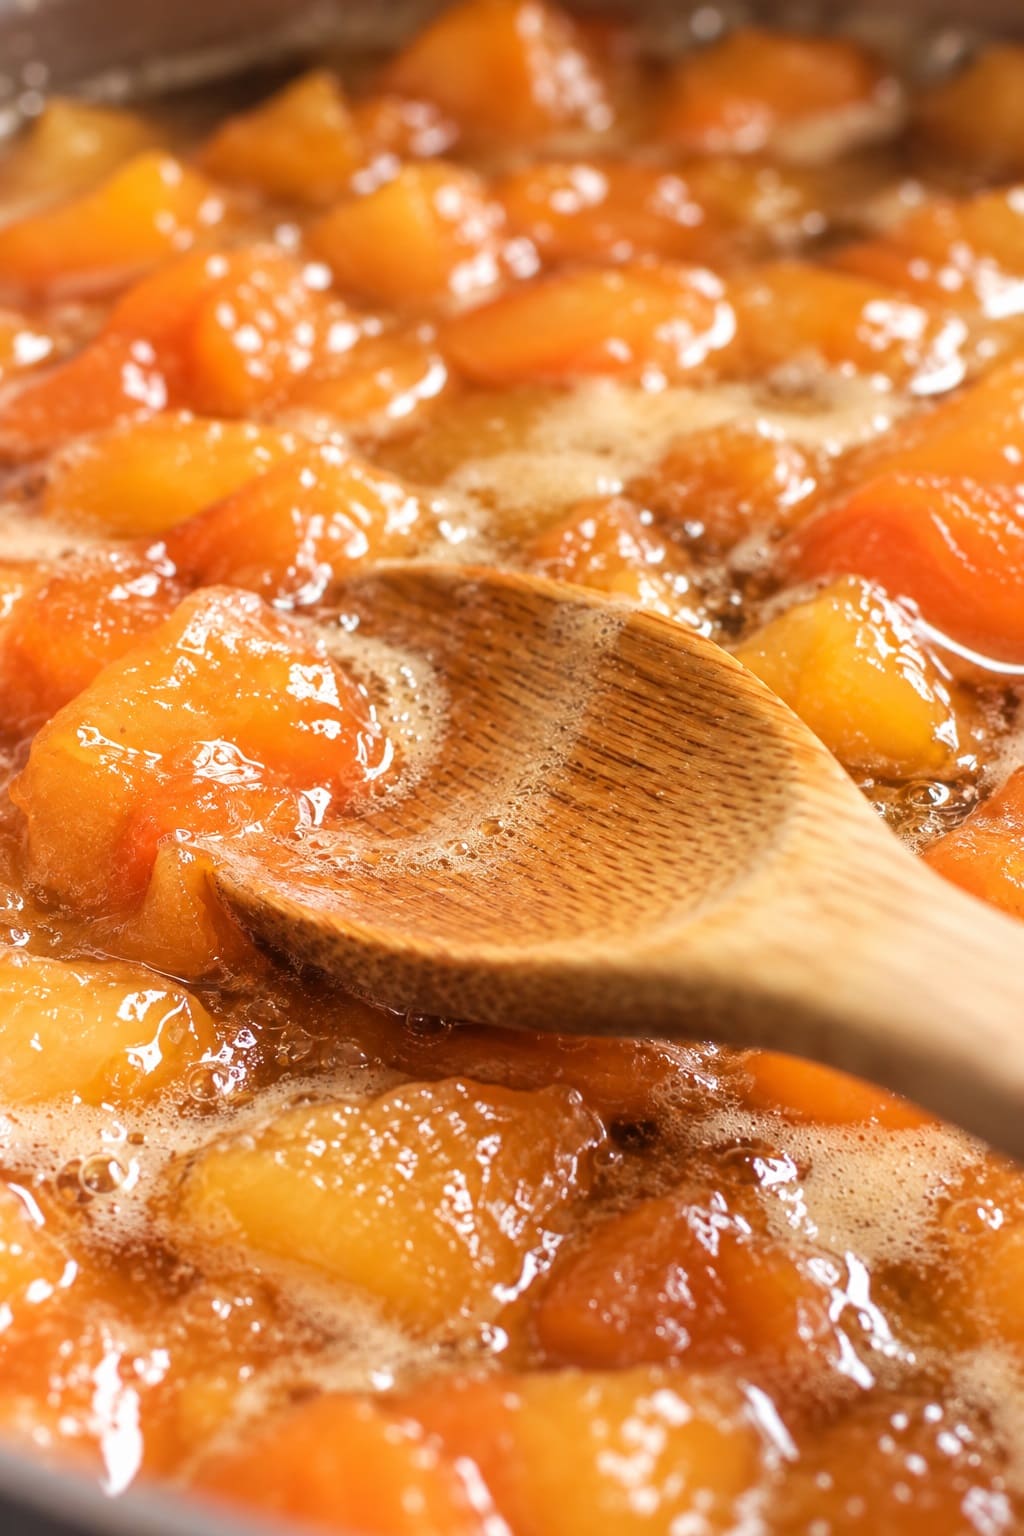
Skim foam as it gathers, and mash the fruit mid-boil if you like a smoother jam.
6. Start testing after about 10 minutes of hard boiling. In a wide pan, the everyday batch often sets within 15 to 25 minutes; a deeper pot or very juicy fruit can take 40 or more.
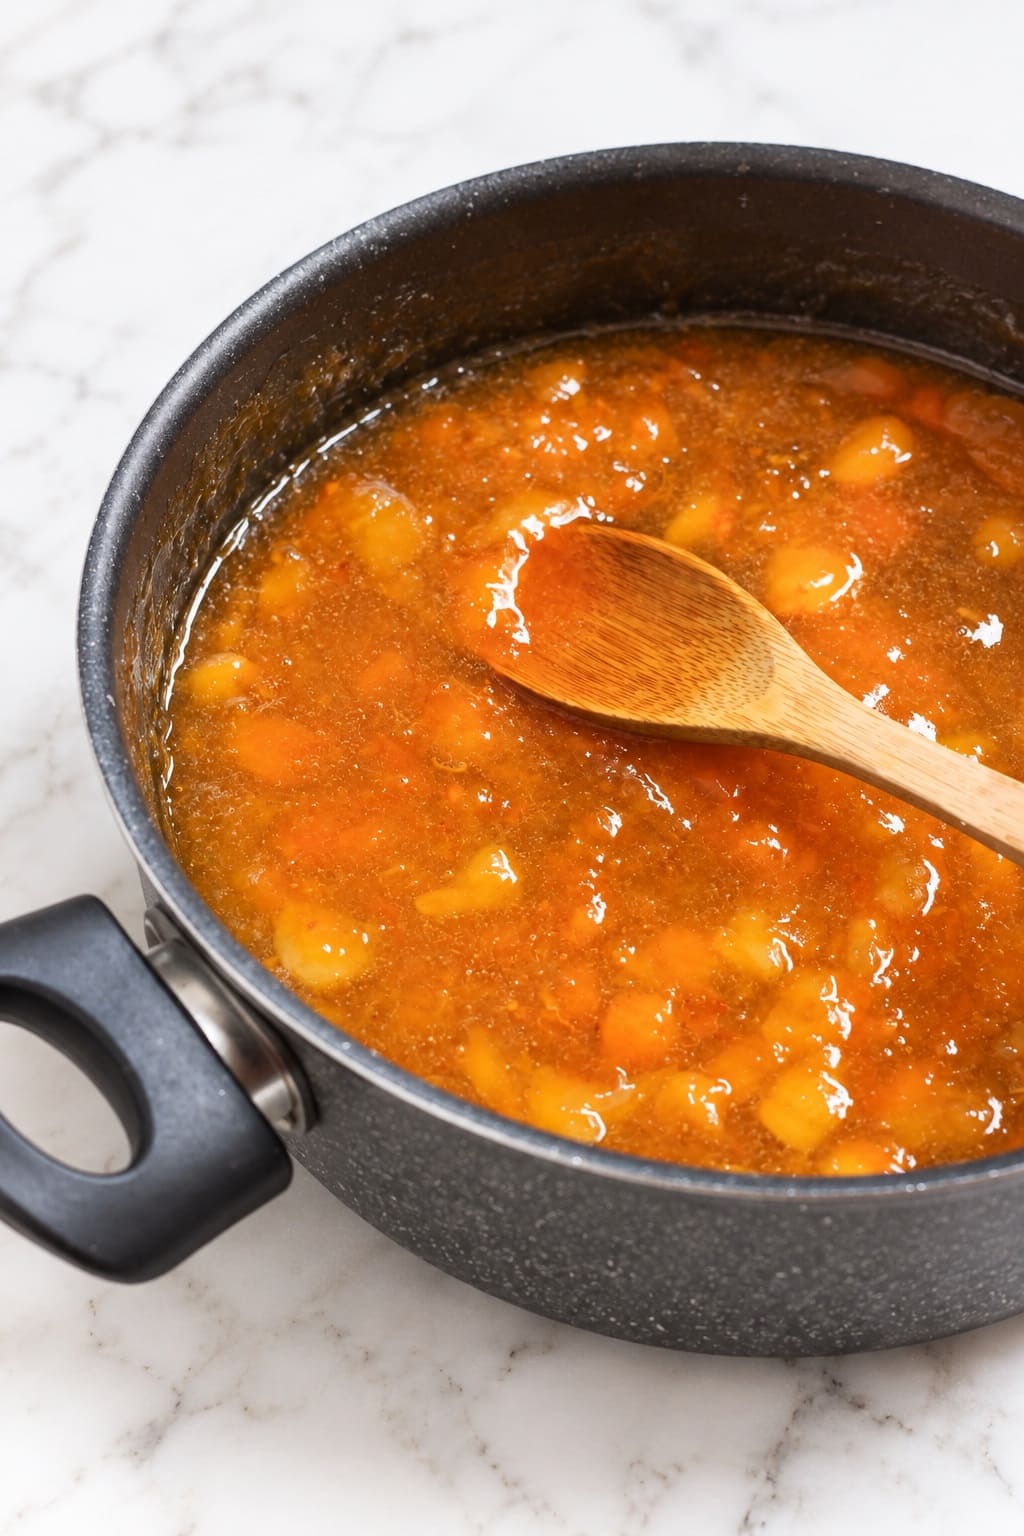
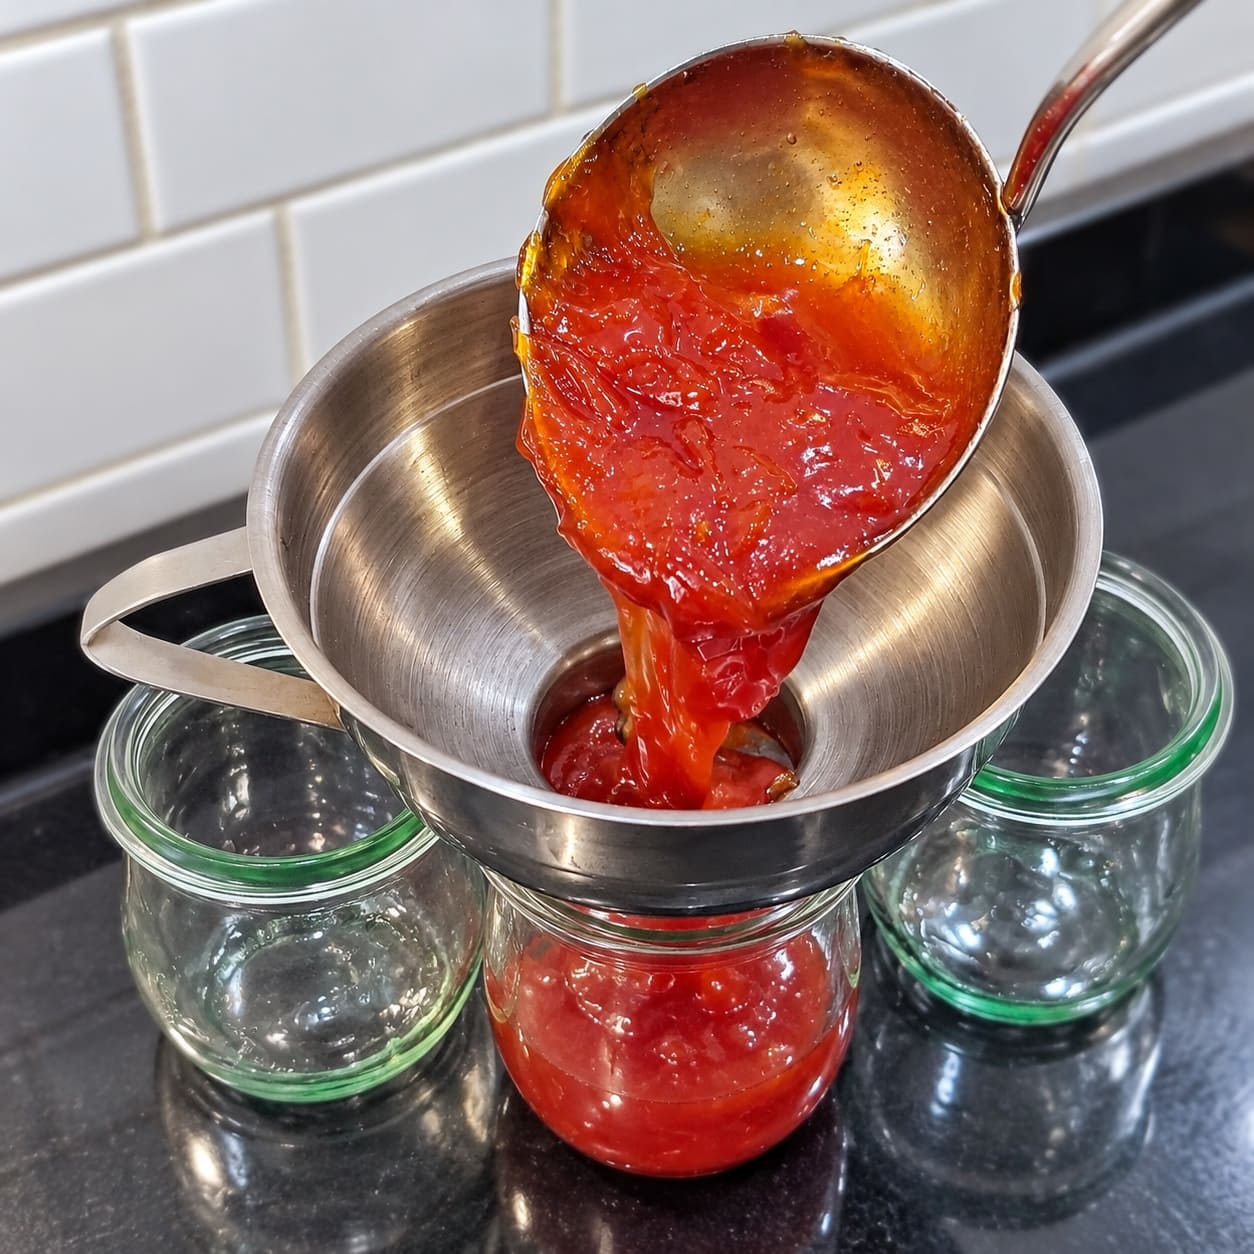
7. Once it passes, take the pan off the heat and let it sit for 5 minutes. Skim any last foam and stir once, so the fruit spreads through the jam instead of rising to the top of each jar. Fill your jars, then refrigerate, freeze or can.
How to Tell When Apricot Jam Is Set
Stop too soon and you have apricot syrup. Keep going too long and the jam turns brown, gummy and caramel-flavored. Use at least two of these checks together.
The cold plate test
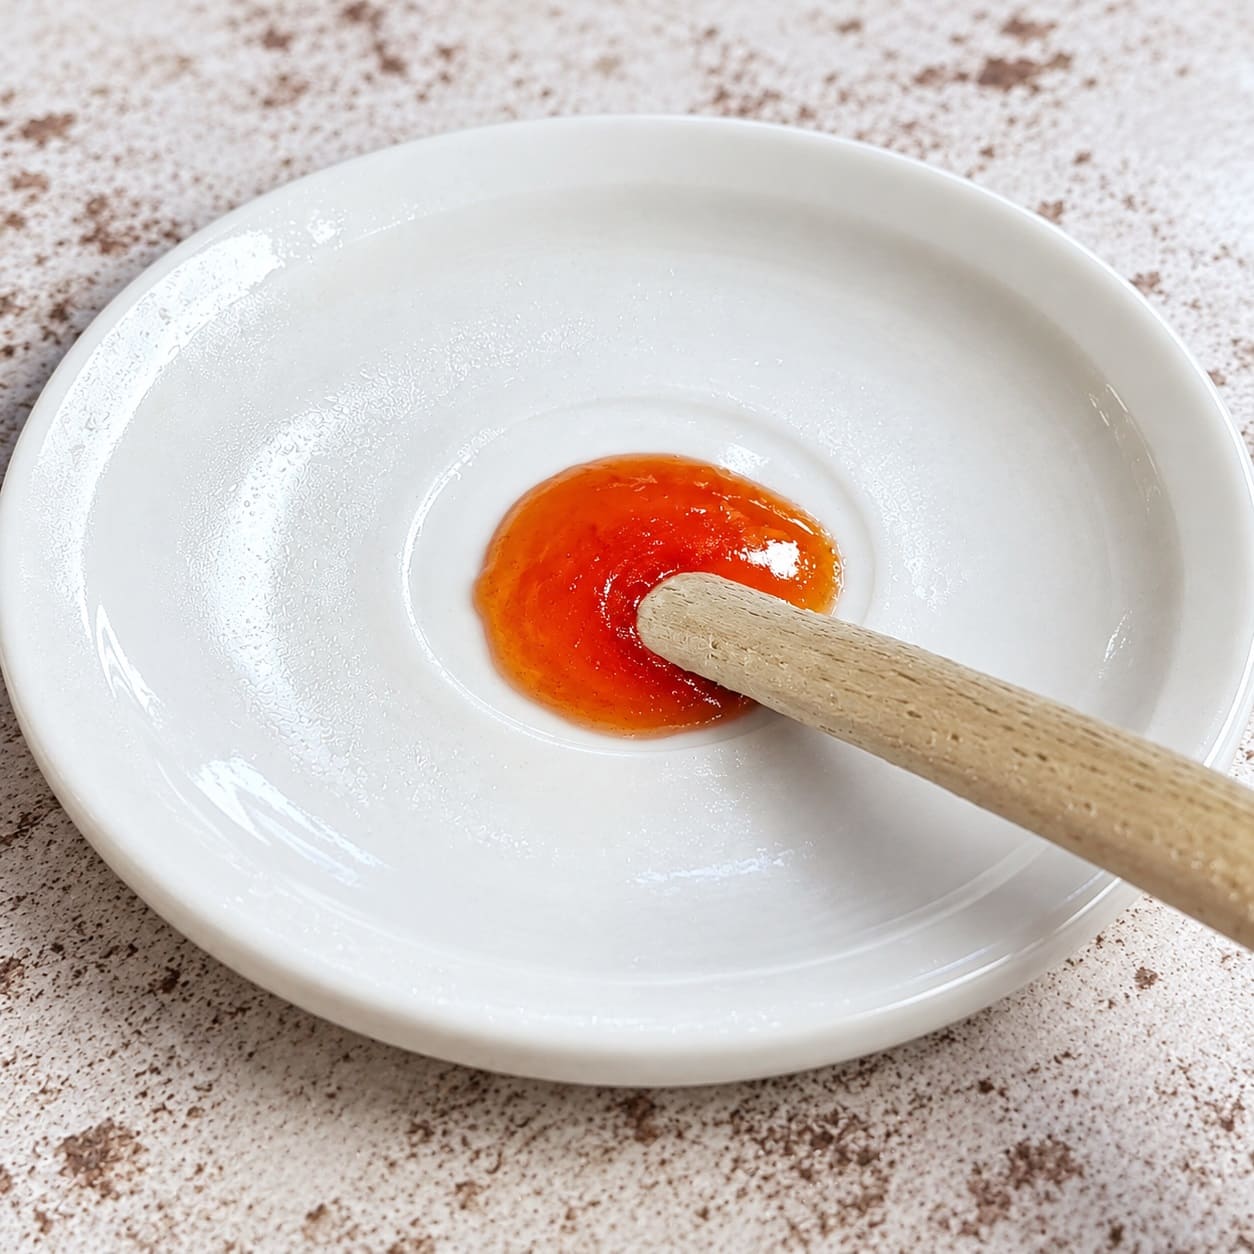
Pull the pan off the burner while you test, because jam keeps cooking on the heat. Drop half a teaspoon onto a frozen plate and put it back in the freezer for 60 seconds, then push the edge with your finger.
A wrinkled surface and a clear path through the jam mean it’s ready. If the jam runs back together, boil for another 2 to 3 minutes and try a fresh plate.
The thermometer
Jam gels at 220°F (104°C) at sea level, which is 8°F (about 4°C) above the boiling point of water.
Water boils cooler at altitude, so the target drops: the NCHFP lists 218°F (103°C) at 1,000 feet, 216°F (102°C) at 2,000 feet, 212°F (100°C) at 4,000 feet and 209°F (98°C) at 6,000 feet.
Not sure of your elevation? Bring plain water to a boil, read the thermometer and add 8°F. In a shallow pan the tip can touch the metal and read high, which is one more reason to confirm with a plate.
What you see
Near the set, the small, frantic bubbles turn into larger, slower ones that pop with a lazy plop.
Jam slides off the side of a spoon in a sheet rather than thin drips, and a spatula dragged across the bottom leaves a track that holds for a moment.
Whichever test you use, expect the jam to look looser in the pan than you want it in the jar. It firms up as it cools, and it goes on setting for another day or two.
If it already looks like finished jam while it’s still boiling, it will be stiff by morning.
How to Store Homemade Apricot Jam
In the Fridge or Freezer
Cool the jam briefly, spoon it into clean jars, cap them and refrigerate once they’re at room temperature.
The everyday batch keeps for about 3 weeks, and a full-sugar jam for closer to a month. Use a clean spoon every time; crumbs and butter carry in the mold that the sugar is holding back.
For the freezer, choose straight-sided or wide-mouth jars, or plastic tubs, with ½ inch (1.3 cm) of room at the top for expansion.
Chill them in the fridge first so the glass is less likely to crack. Frozen jam tastes its best for about 6 months; thaw it overnight in the fridge.
Water-Bath Canning for the Pantry
Use the pantry batch, new lids and canning jars, and follow the NCHFP steps for jams without added pectin:
- Sterilize the jars, since this jam is processed for less than 10 minutes. Stand them on the rack in your canner, fill the jars and canner with hot water to 1 inch (2.5 cm) above the tops, and boil for 10 minutes, adding 1 minute for every 1,000 feet above 1,000 feet. Keep them hot until filling.
- Prepare the lids following the manufacturer’s directions.
- Fill the hot jars with hot jam, leaving ¼ inch (6 mm) of headspace. Clean the rims with a damp cloth, center the lids and turn the bands until fingertip-tight.
- Lower the jars into boiling water that covers them by at least 1 inch. Once it returns to a full boil, process half-pints or pints for 5 minutes at up to 1,000 feet, 10 minutes from 1,001 to 6,000 feet, and 15 minutes above 6,000 feet.
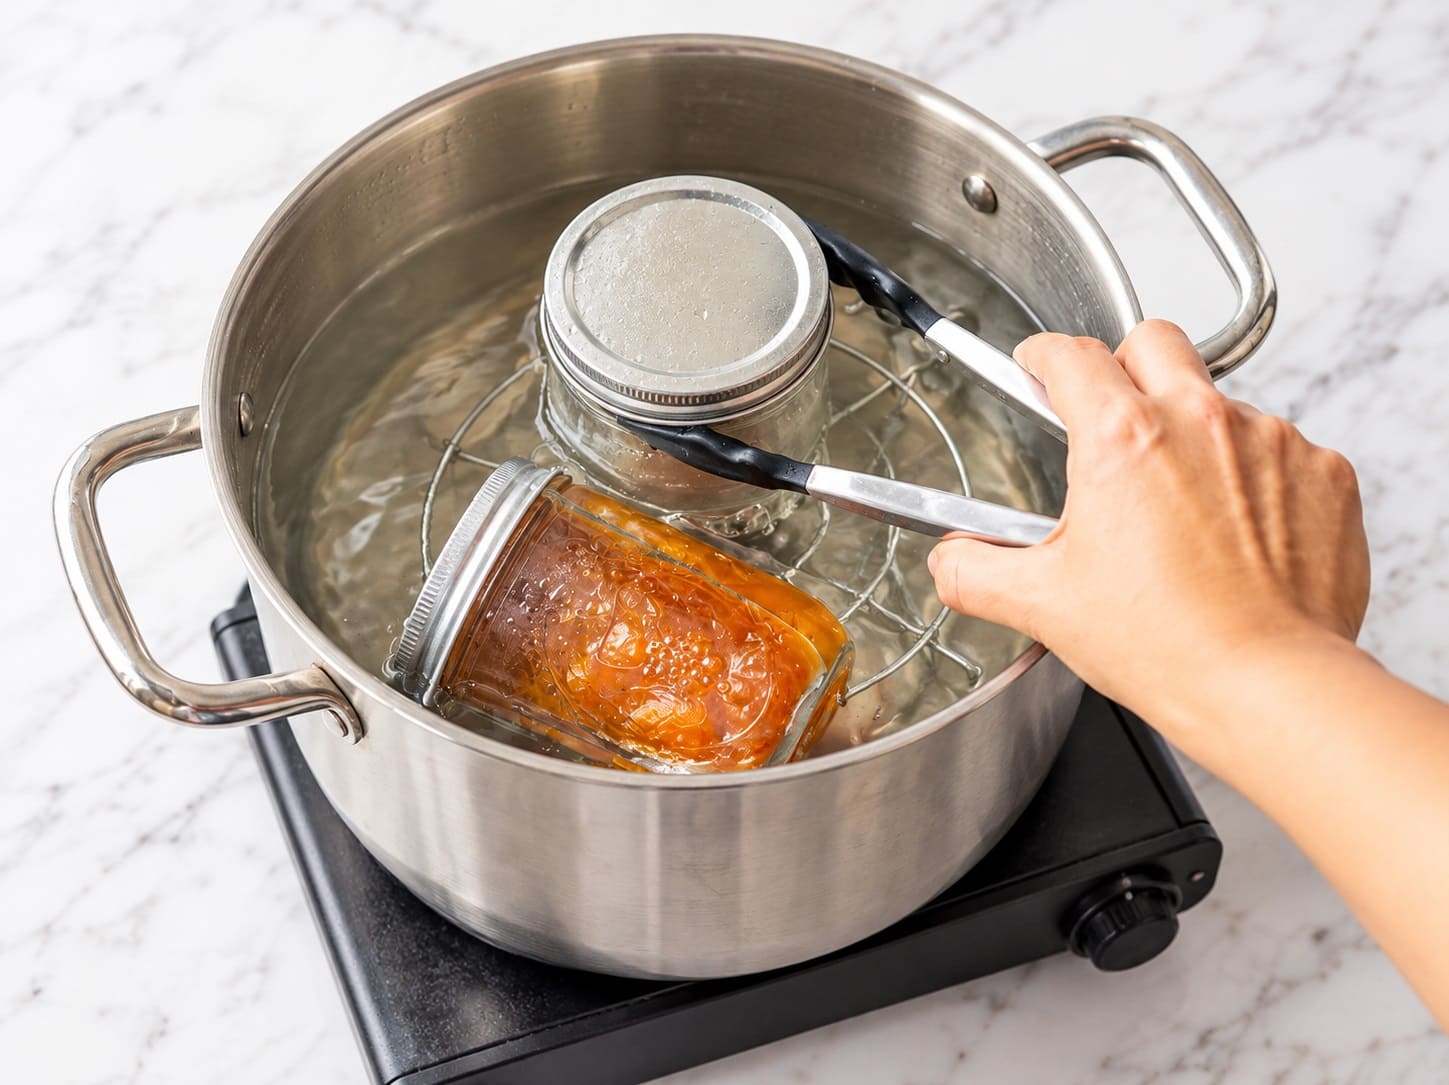
- Turn off the heat, wait 5 minutes, then lift the jars onto a towel and leave them untouched for 12 to 24 hours. Press each lid’s center: if it doesn’t flex, the jar has sealed. Refrigerate any jar whose lid flexes and use it soon.
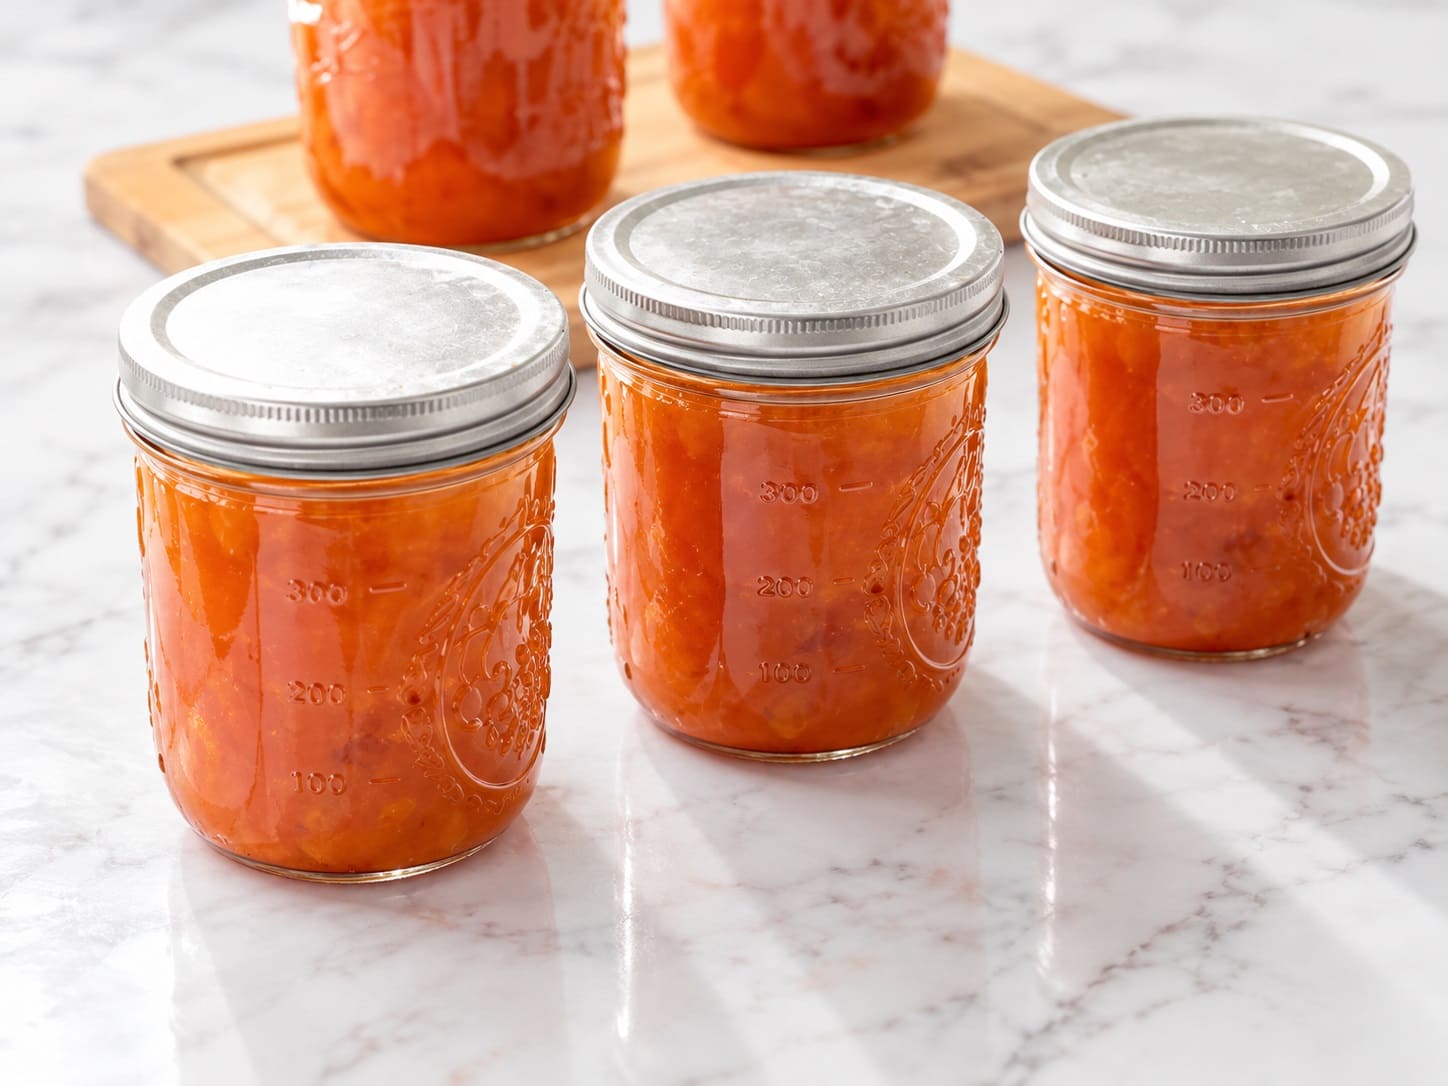
Sealed jars hold their best quality for around a year stored somewhere cool and dark, and once opened, a jar belongs in the fridge like any full-sugar jam.
Look each one over before opening. A bulging or loose lid, rising bubbles, mold or a fermented smell means the whole jar goes in the trash; scraping off mold doesn’t help, because the growth runs deeper than you can see.
Skip these shortcuts: sealing hot jam in jars with no water bath (often with the jars turned upside down), or processing filled jars in the oven.
They’re traditional across much of the UK, Europe and Australia, but the NCHFP advises against them because they don’t prevent all spoilage. If you’d rather not use a water bath, store the jam cold, in the fridge or freezer.
👉 Learn How to Make Crispy Dill Pickles (Refrigerator & Canning Methods)
Fixing Runny, Stiff or Dark Jam
- Still runny. Wait a full 48 hours first. If it’s still loose, bring it back to a hard boil for a few minutes and retest on a cold plate; canned jam that you reboil needs clean, hot jars, new lids and the full processing time again. Or enjoy it as a sauce over pancakes.
- Too stiff to spread. Warm it gently with a splash of water or lemon juice, a spoonful at a time, until it loosens. Keep the result in the fridge.
- Dark and caramel-tasting. It boiled too long, usually because the jam was too deep for the width of the pan. It’s still good and makes a fine glaze for ham or chicken. Next time, go wider, smaller and stop earlier.
- The moment you smell it, pour the jam into a clean pan without scraping the bottom. If the burned taste has already spread, there’s no saving it.
- Gritty sugar crystals. The sugar wasn’t fully dissolved before the boil, or crystals clinging to the pan fell back in. Dissolve it completely and brush the pan sides with a wet pastry brush.
Simple Ways to Flavor Apricot Jam
Plain apricot jam needs nothing, but a small addition can be lovely. Use modest amounts and remove anything solid before jarring.
- Vanilla: ½ teaspoon of extract once the pan is off the heat, or a split vanilla bean cooked in the pot and removed before jarring.
- Almond: ¼ teaspoon of almond extract off the heat. Apricots and almonds are close botanical relatives, so it tastes natural rather than added.
- Earl Grey: one tea bag in the pot for the last 10 minutes of boiling.
- Rosemary or thyme: one sprig simmered with the fruit. Very good with cheese.
- Heat: a pinch of dried chili flakes or ground ginger. For canned batches, stick to small amounts of dried spices; fresh chili or ginger in any quantity adds low-acid material and belongs in a fridge batch.
A warning about the kernels. Some traditional recipes crack the pits and add the almond-like kernel inside. Apricot kernels contain amygdalin, which the body breaks down into cyanide.
In 2016 the European Food Safety Authority (EFSA) concluded that an adult could exceed the safe single dose by eating more than about three small raw kernels, and a toddler with less than one.
There’s no tested guidance on how much passes from kernels into a pot of jam, so I’d leave them out and reach for almond extract.
Apricot Jam Questions
Can I make apricot jam with dried apricots?
Yes, and it’s a good option out of season. Soak the dried fruit overnight in boiling water, blend it with the soaking liquid, then cook it with lemon juice and roughly half its dry weight in sugar until it passes the plate test.
Bright orange sulfured apricots keep their color, while unsulfured brown ones give a darker, more caramel-flavored jam. There’s no tested canning recipe for it, so keep it in the fridge or freezer.
Can I sweeten apricot jam with honey or stevia?
Honey can stand in for part of the sugar in the everyday batch and adds a floral note, though the set will be softer.
Stevia, monk fruit and similar sweeteners do none of sugar’s gelling work. For a sugar-free jam, use a pectin made for low- or no-sugar recipes and follow its package directions.
Can I double the recipe?
Make two batches instead. A deeper layer of jam takes far longer to boil down, and by the time it sets it has usually darkened and lost its fresh taste. With a big harvest, freeze some fruit and cook in rounds.
Does this work with peaches or plums?
Plums and nectarines behave much like apricots in the everyday batch. Peaches need peeling because their skins stay tough, and they’re juicier, so expect a longer boil and a softer set.
For canning, use a recipe tested for that fruit; the USDA’s peach proportions differ from its apricot ones.
Make Your First Batch
If this is your first jam, start with the everyday batch: it teaches you what the set looks and feels like without the canning steps on top. After that, the pantry batch is only a few extra steps.
Apricot season is short wherever it grows, so buy a little more fruit than you think you need and freeze the extra for a second round.

